We've independently reviewed this article to make sure it's as accurate as we can make it.
To find out more about our article creation and review process, check out our editorial guidelines.
Wondering how long it takes for a dryer to cool down?
Most dryers take approximately 15 minutes to cool down after drying your clothes. But, if the dryer’s cool-down cycle is not working, it can take much longer.
If your dryer is refusing to cool down after finishing, there’s likely an airflow issue, the timer is faulty, or the cycle thermostat is not working. A busted heating element could also explain the problem.
Read on to get your dryer working again!
Dryer Not Cooling Down? 4 Reasons Why (With Fixes)
In this section, I’ll explain why the dryer cool-down cycle is not working and provide various solutions to help you forget all about the temperature issue.
#1 Blocked Airflow
When I see a dryer not cooling down, I always check the airflow.
You see, sometimes debris blocks the vent or filter, trapping the hot air that was supposed to exit the vent inside the drum. If the drum overheats, it can cause your dryer to refuse to cool down, damage your clothes, and become a potential fire hazard.
A handy airflow check is to get a piece of paper, and then hold down the door switch on the dryer (so it thinks the door is closed).
Turn on the dryer, and hold the paper up to the vent or filter. If the paper is getting sucked towards the vent – your airflow is fine. If not, then something’s clogging up your vent.
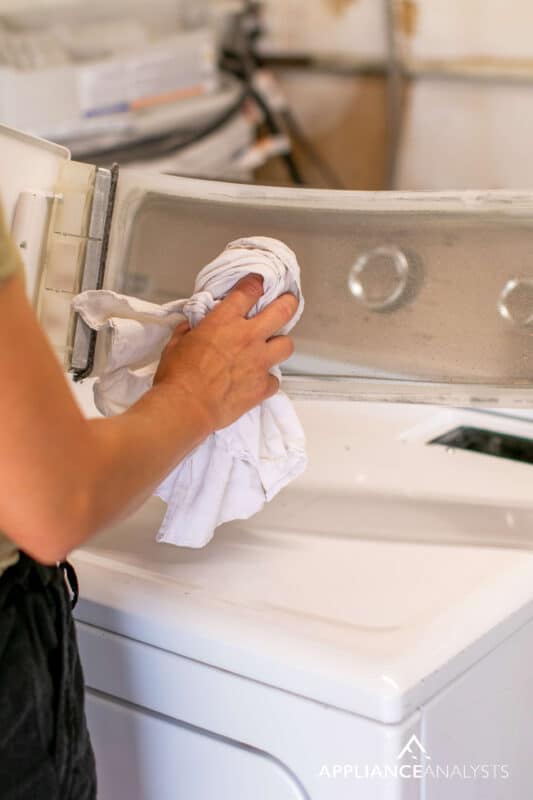
To prevent airflow issues, please clean the lint filter after every load. Try using a magic wand to help you remove all of the lint, dust, and debris.
If you still have airflow issues, you’ll need to clean your dryer’s vent. You can use a vacuum to remove all the debris.
#2 Timer Issues
I tend to find that when a dryer won’t cool down, it’s typically because of timer issues.
You see, the timer determines the inner drum temperature and the length of the drying cycle. So, if the timer malfunctions, the drying cycle will be longer than usual, and the unit will remain hot.
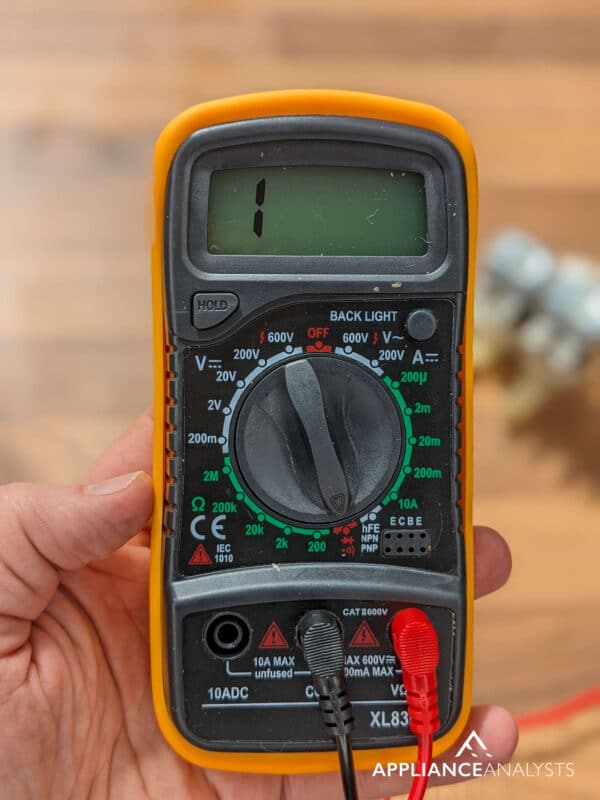
Please unplug your dryer from the power source and access the timer, which is usually located in the control panel. Then, test it with a multimeter and compare the reading with the one recommended by the manufacturer.
If the timer is faulty, replace it with a new one.
#3 Faulty Cycling Thermostat
If your dryer is still refusing to cool down, it’s time for us to check the cycling thermostat.
The cycling thermostat senses the internal temperature and instructs the unit on how long to dry the clothing. So, if the thermostat is not working correctly, it will record wrong temperature readings and instruct the heating element to produce more heat, leading to overheating. Consequently, the dryer will continue to produce heat long after the cycle is finished.
Here’s how to test clothes dryer thermostats:
- Unplug the dryer from the power source to avoid the danger of electrocution during the dismantling and testing phases.
- Open the dryer’s cavity to locate the thermostat. You should typically find it in the blower housing along the air vents.
- Gently loosen the cycling thermostat from its position before lifting it right up. Place it on a dry surface for testing.
- If you don’t have a multimeter, borrow one from a friend or buy one from a nearby convenience store. Set the multimeter to ohms, and then check the thermistor – which should be between 9-20k ohms for temperature control.
- Replace the thermostat with a new one if the reading doesn’t match the expected values.
#4 Busted Heating Element
In my experience, a faulty heating element can also explain why your dryer is having cooling down issues.
The heating element is the machine’s main heat source for drying clothes. So, if it’s damaged, your dryer can overheat and take much longer to cool down after finishing a cycle.
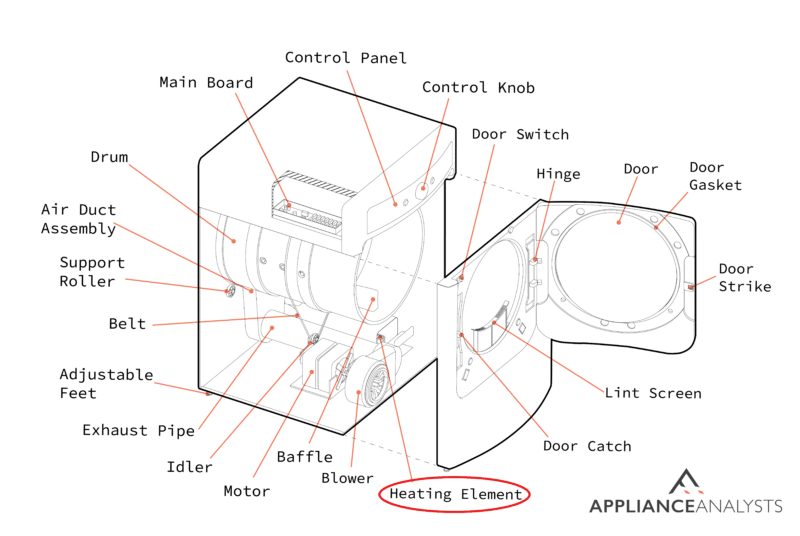
Please disconnect your dryer and read the manufacturer’s manual to determine the heating element’s location to access it. Then, set your multimeter to the ohms resistance and place one probe of the multimeter on one of the heating element’s terminals and the other probe on the other terminal.
If you are not getting any electrical conductivity, please replace the heating element.

If you want to get any replacement part – or see how much one would cost – click to enter your model number in the search bar below. Our partners at AppliancePartsPros stock almost every part with free guides on how to install them.

Addressing Your Dryer’s Cooling Down Issues
Hopefully, now you know how to fix your dryer’s cooling down issues.
Remember that if your dryer is not cooling down after finishing a cycle, you’ll need to check for airflow issues and clean the lint trap. Testing the timer, thermostat, and heating element is also important. Replace any necessary components.
If you’re still unsure, consider contacting an appliance expert.

Please consider signing up to our mailing list and checking out our other helpful content!
Thanks for reading, have a great day.


Designing Modern Living Rooms from Iconic Movies

7 Tips for Heating a Room with High Ceilings (On A Budget)