
We've independently reviewed this article to make sure it's as accurate as we can make it.
To find out more about our article creation and review process, check out our editorial guidelines.
This page is part of our Appliance Challenge – helping our readers save thousands of dollars in just one day’s effort. Click here to return to the challenge homepage.
Wondering what’s the most effective way to use a washing machine?
You’re not alone! In this best practices guide, I’ll walk you through the best maintenance tips for your washer while highlighting common mistakes to avoid.
From leaking water to smelly clothes – a malfunctioning washer can make you consider resorting to the traditional hand-washing methods of centuries past.
But don’t worry. By following the maintenance tips in this article, you’ll make sure your washer is operating well and lasts a full lifespan of up to 15 years. Not to mention monthly cost savings from ensuring your washer works efficiently.
We worked out that these annual cost savings – plus the savings from not needing to buy a new washer for years longer – can be up to $540! And all from just following the tips in this article.
Are you ready? let’s dive in.
Washer Health Check – Essentials
Regular maintenance can help you extend the lifespan of your washer and protect your clothes.
This is why we’ve prepared a list of 5 things you should check to keep your washer operating safely and effectively.
Before trying any of the tips provided in this washer best practices guide, please check out the manufacturer’s manual.

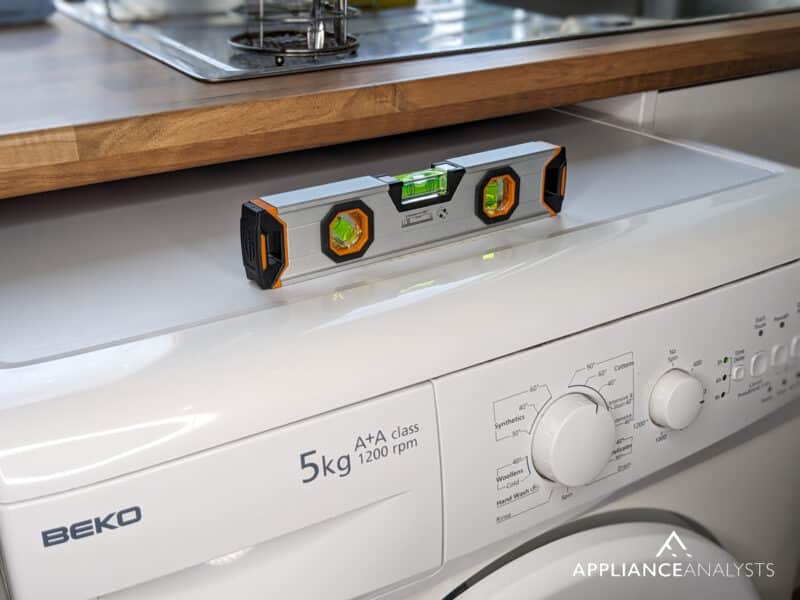
#1 Make Sure It Is Level
The first recommendation in this best practices guide is to ensure your washer is level.
By leveling your washing machine, you’ll limit its movement during the spin cycle and keep it from damaging itself and your floor. It also helps ensure the components are under normal stresses and aren’t getting more wear and tear due to vibrating at an angle.
Follow this quick guide to level your washer:
- Make sure there’s no water or clothes in the drum.
- Unplug the washing machine from the wall outlet.
- Use spirit level/carpenter’s bubble.
- Check the level of your washer side to side and front to back. You’ll have to level your machine if the bubble isn’t centered.
- Carefully tilt your washing machine back to access the adjustable feet. Ask a friend for help if possible since the appliance can be heavy.
- Turn the front leveling feet counterclockwise to lower the washer feet or clockwise to raise them. You can do this by hand or with pliers.
- Use the spirit level again to check if the washing machine is now level again.
- If your washer is level, tighten the lock nuts above each foot.
#2 Give Your Washer Some Personal Space
Ensuring your washer has enough breathing room is one of the best practices I often advise homeowners.
You see, some washers have a heating element at the back responsible for heating the water to the desired temperature.
By ensuring there are at least 4 inches (10.16 cm) of space between your washer and the wall, you’ll prevent heat buildup and keep the hoses from bending or kinking.
Washers can also move around the room during the spin cycle. So, if you ensure yours has enough “breathing room,” you’ll keep it from damaging the appliances next to it.
Don’t forget to make sure you have comfortable access to your machine. You should be able to fully open the lid and remove the laundry.
#3 Clean Filters
My usual advice for taking care of a washing machine is to clean the filters regularly.
You see, front-load washers have a filter designed to trap lint and other debris released during the wash cycle.
By regularly cleaning it- once a quarter or so – you’ll ensure your washer leaves your clothes clean.
Follow these simple instructions to clean the filter:
- Find the filter. It is usually located inside the agitator, near the water pump, at the end of the drain hose, or the top rim of the drum. Check your manual for detailed instructions.
- Remove the filter and use a cloth to wipe away any lint or debris gently.
- Fill a large bowl with hot water and 1 tsp of dish soap or laundry liquid detergent. Then, soak the filter in the soapy water.
- Use a soft brush to scrub the filter and rinse with water.
- Put the filter back in place.

Bear in mind that new high-efficiency washing machines have a self-cleaning pump that traps lint. If you have a HE washer, check the pump regularly and clean it if needed.
#5 Use High-Efficiency Detergent
Now, in this washer best practices guide, I also want to cover high-efficiency detergents.
On average, traditional washers use more than 40 gallons (ca. 151 liters) of water per load, whereas high-efficiency washers use about 10 gallons (37.85 liters).
Having a high-efficient washer can help you save up to 25% on your utility bills!*
*The amount of water used on the wash cycle can vary depending on the brand and model you own.
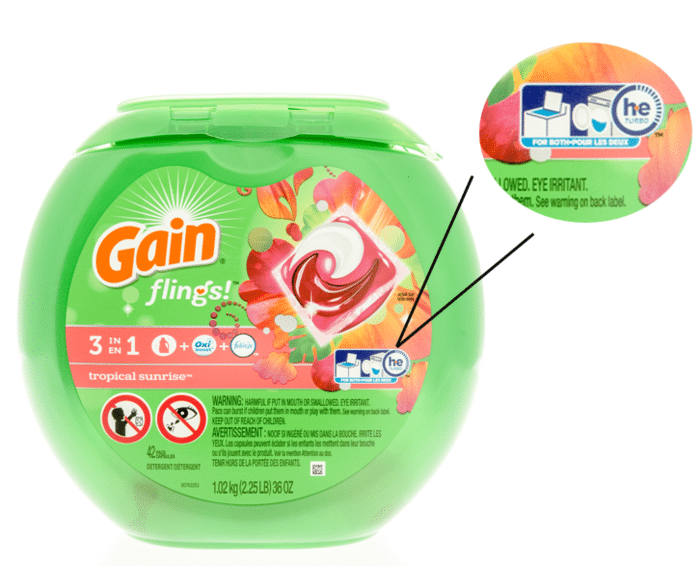
If you have a High-Efficiency washer, you’ll need to use a HE detergent since it’s formulated to be low sudsing (ideal for washers that use less water).
You can use a High-Efficiency detergent on a traditional washer, but I don’t recommend using a conventional detergent in a HE washer because you’ll end up with too many suds, which can affect the cleaning performance.
By checking the container or packaging, you can easily know if you have a HE detergent. You’ll see a “HE” symbol.
Healthy Habits for a Long-Lasting Washer
Now, let’s cover some healthy habits that will make your washer last longer. These are often simple changes you can make in your routine, but over the years, they can keep your washer healthier (and your clothes fresher!)
Follow these nine simple tips to ensure you’re giving your washer and clothes the care they deserve:
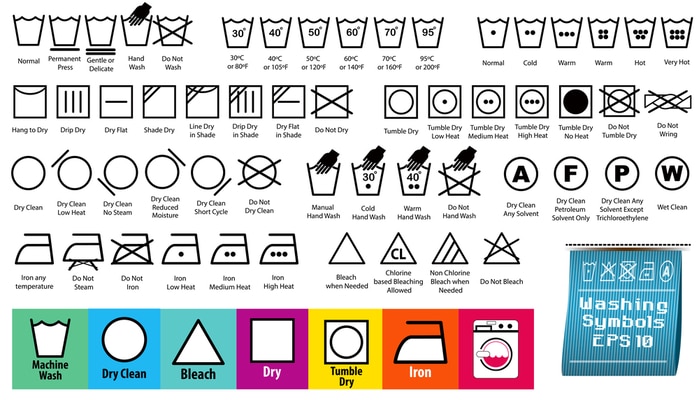
#1 Read the Care Labels on Clothing
Reading the care label on your clothing is also one of the best practices I recommend.
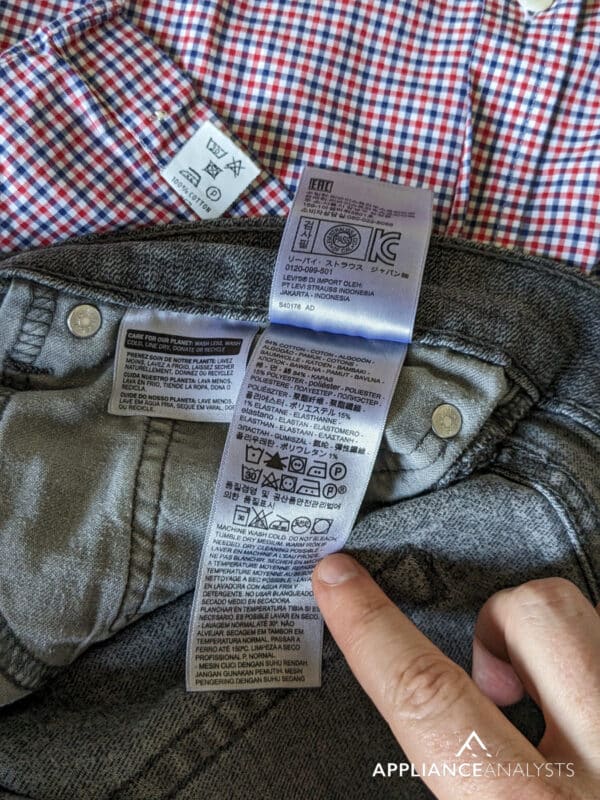
Ignoring the care label can damage your clothes. They can shrink, the colors will fade, and the material can wrinkle and pull if you select the wrong washer temperature or settings.
Please read the care labels on your clothes before putting them in the washing machine to avoid damaging them.
Care labels have different symbols. Please take a look at the following images to learn what they mean.
#2 Check the Pockets
Now, let’s talk about another routine habit that you should do when using your washer: emptying your pockets.
Unfortunately, metal objects like keys or coins can damage the washer’s outer tub and the inner drum. They can also shatter the machine’s glass, clog the drain pipe, and damage your clothes.
My usual advice is to quickly check all your pockets before throwing your clothes into the washing machine.
Tip: Make sure no tissues or paper towels are in your pockets. Otherwise, your clothes will end up with little bits of torn-up tissue.
#3 Put Detergent in the Right Place
Another washer best practice I often suggest is to put the detergent in the right place to avoid damaging your machine and clothes.
You see, the detergent, bleach, and fabric softener are dispensed at different times during the washing cycle to ensure that your clothes come out clean and soft.
So, if you put, for example, bleach on the fabric softener dispenser, your clothes will be stained.
You should always check your manual and ensure you put the laundry detergent in the correct dispenser.
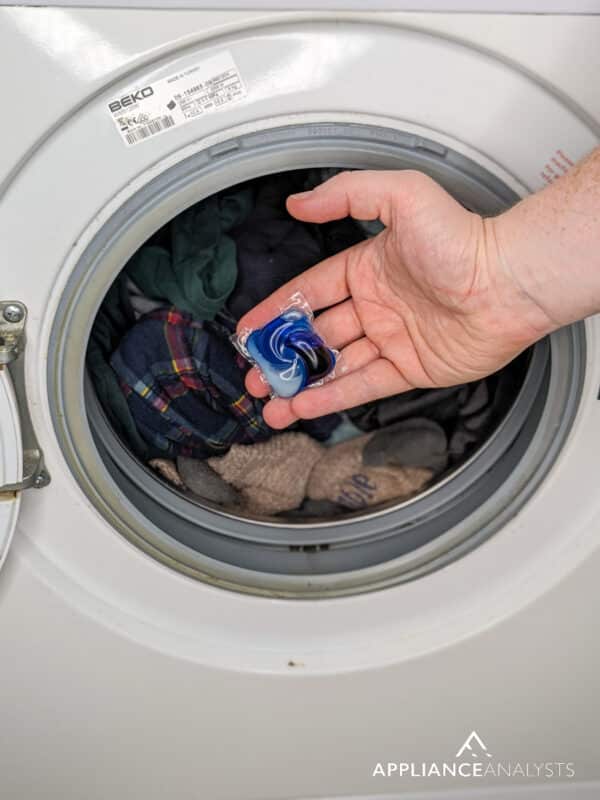
If you use laundry pods, you’ll need to put them in the bottom or back of your washing machine’s drum before adding your clothes
#4 Add the Right Amount of Detergent
Although using a large amount of laundry detergent may seem like it will clean your clothes better, it can affect your washer’s cleaning and rinsing performance.
If you use more detergent than needed, you can affect the bearings of the washer, and you’ll end up with too many suds that will likely trigger extra wash cycles. I find that using too much detergent can also leave your clothes feeling stiff or scratchy.
As a general rule, you should add one tablespoon of detergent for small loads and about 1.5 or 2 tablespoons for medium loads.
But please note that the amount of laundry detergent required will vary depending on the load size, your washer’s model (HE or traditional), and the soil level of your clothes.
#5 Put Delicate Clothes in Laundry Bags
Although most washers offer “Delicate” settings, the agitator or impeller mechanism can sometimes be rough on fine washables, such as silk, lace, or wool.
Try washing your delicate clothes in mesh laundry bags to keep your washer from damaging them.
If you don’t have a mesh laundry bag, don’t worry. You can buy one on Amazon for less than $10 or use a pillowcase!
#6 Don’t Overload or Under-Load It
The next healthy habit or best practice I always suggest is not to overload or underload your washer.
Clothes won’t move freely and get evenly clean if you overload your washer. Additionally, you can damage the drum and affect your machine’s performance, as it will have trouble spinning.
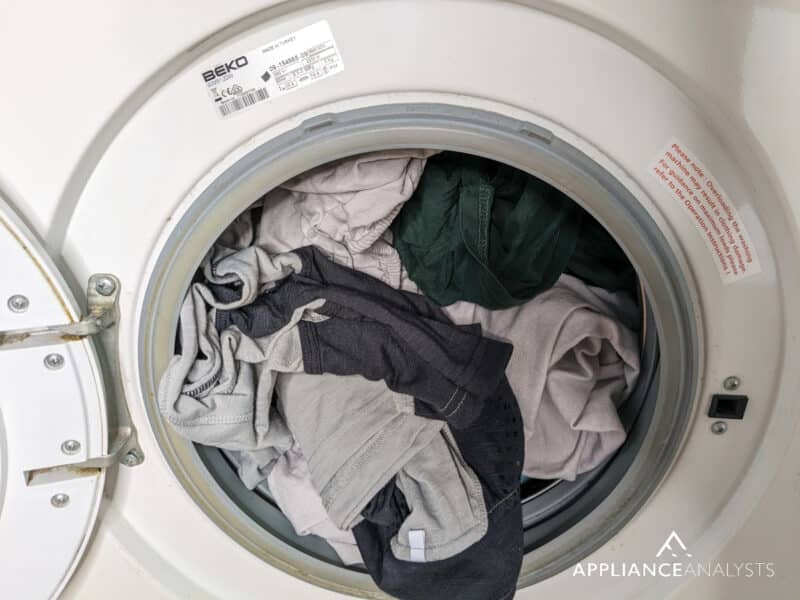
Underloading your washer isn’t good, either. It’s a huge waste of electricity, water, and money. It can also cause your washer to become off-balance.
When putting your clothes in the washer, ensure they have enough room to move. Try filling 3/4 of the drum for the best washing results.
#7 Select the Appropriate Cycle
If you want to make the most out of your washer and protect your clothes, try implementing this healthy habit into your laundry routine.
Most modern washing machines allow you to select the water temperature, size of the load, and type of fabrics to ensure your washer’s effectiveness and prevent damaging your clothes.
Make sure you’re selecting the appropriate cycle before washing your clothes. For example, if you’re going to wash fragile items, you should choose the “Delicate” cycle with cold water.
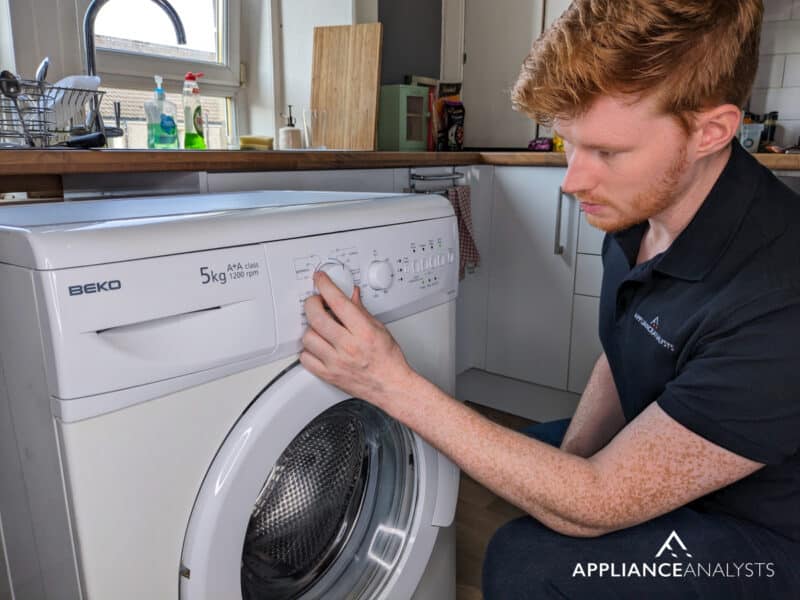
Tip: Don’t forget to read the care labels on your clothes to ensure you’ve selected the correct cycle.
#8 Don’t Leave Wet Clothes in the Washer
We’ve all forgotten to take out the clothes from the washing machine. Unfortunately, mold and bacteria can easily grow in wet environments.
Mold can damage your clothes and cause bad odors, so you’ll need to wash them again, which can increase your energy bill.
Mold buildup will also result in needing to deep clean your washer more often or even call a professional to repair it.
So, if you tend to forget to take out the clothes from the washer, I recommend setting a timer on your phone.
#9 Leave the Door Open After Every Use
Leaving the washer door open after each washing cycle is one of the best habits you can incorporate into your laundry routine.
You see, after the cycle finishes, moisture can be trapped in your washer and lead to mold.
You should always leave the door open for at least 30 minutes after every use.
If leaving the door open after every use is not an option, try using a cloth or a paper towel to dry your washer.
Washer Maintenance Tips
Washing machine maintenance will help you avoid breakdowns that could permanently damage your appliance. It will also help you save money, water, and energy.
The following maintenance tips require a bit more elbow grease, but they’re the secret to preventing longer-term problems with your washer.
#1 Deep Clean Your Washer
In my opinion, the best maintenance tip is to clean your washer regularly.
You see, dirt and grime can build up on your washing machine over time, causing bad smells.
To ensure your clothes are as clean as possible, deep clean your washer every three to six months.
Here’s how to deep clean a top–load washer:
- Ensure your washer is empty and set it to the hottest setting, longest cycle, and largest load. If your washer has a cleaning setting, please select it.
- As the washing machine fills, please add 3 cups of vinegar. Let the washer start to agitate and stop the cycle.
- Add 1/2 cup of baking soda and turn on the agitator again.
- Stop the cycle and wait for at least 30 minutes. Then, run the washer until it finishes.
- Remove the fabric softener dispenser, detergent trays, and agitator. Then, mix vinegar and baking soda and soak a soft brush in the cleaning solution. Clean these compartments.
- Clean the filter and the door gasket with an all-purpose cleaner or equal parts of water and vinegar.
- Use a cotton swab or soft brush to scrub under the lid and around the underside of the lid.
- Clean the outside of your washing machine with an all-purpose cleaner or vinegar with a microfiber cloth.
- Leave the door open so everything dries thoroughly.
If you have a front-load washer, follow these steps to deep clean it:
- Make sure your washer is empty, and select the cleaning cycle. If your washer doesn’t support this cycle, please set it to the hottest setting, longest cycle, and largest load.
- Add 2 cups of vinegar to the detergent tray and allow the washing machine to complete the wash cycle.
- Remove the bleach, fabric softener, and detergent dispensers.
- Fill a bucket with warm water and vinegar or a few drops of dish soap. Drop the trays into the bucket and let them soak.
- Pick the trays and clean them with a soft brush or sponge. Rinse them with water and use a microfiber cloth to dry them. Then, put them back in place. By cleaning these dispensers, you’ll avoid buildup and odors.
- Clean the gasket and the machine exterior with an all-purpose cleaner or equal parts of water and vinegar.
- Leave the door open so everything dries thoroughly.
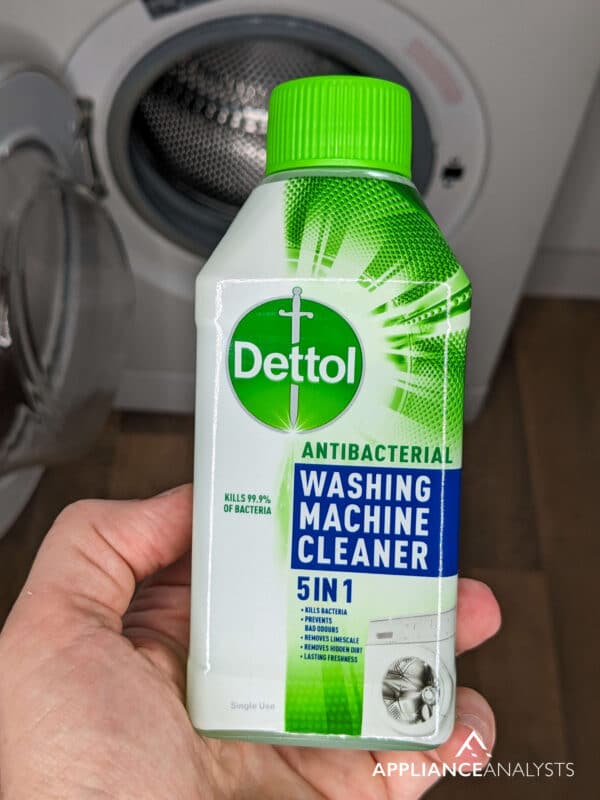
Tip: Use a cleaning tablet from Amazon or any supermarket to clean your washer once a month.
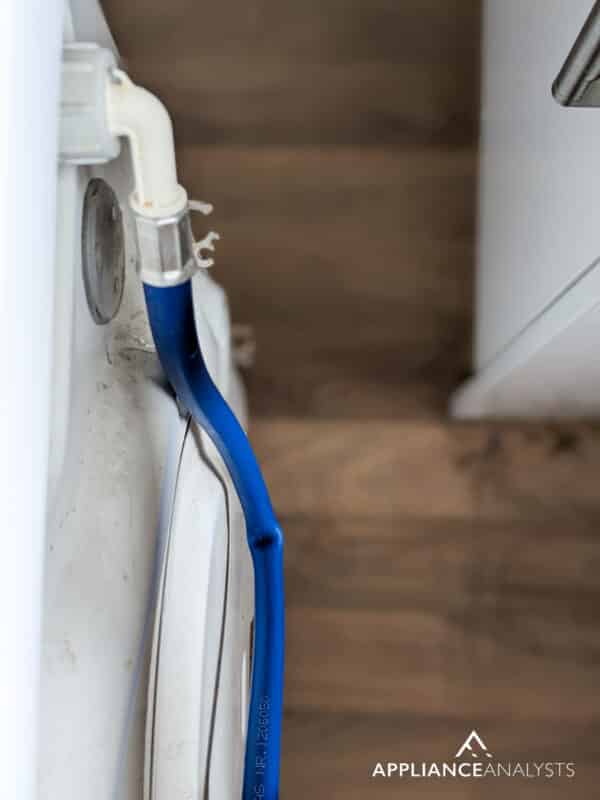
#2 Check Your Water Hoses
My go-to maintenance tip is to check your washer’s water hoses regularly.
Water leaks are very common, and they’re normally caused by a damaged or old hose in your washing machine.
According to the North Texas Municipal Water District, a washer’s hose can leak up to 10–12 gallons per minute (more than 14,000 gallons in 24 hours).
So, the longer you wait to fix a leak, the more money you spend (you can lose more than $100 a day!)
You should check your hoses for cracks or kinks once or twice a year to prevent water leaks, save money, and protect the environment.
Wear and tear can cause hoses to lose their flexibility over time, which is why they usually last three to five years.
If your water hoses are old or damaged, please detach them from the washer and install new ones. Don’t forget to ensure they’re properly installed before using your appliance.
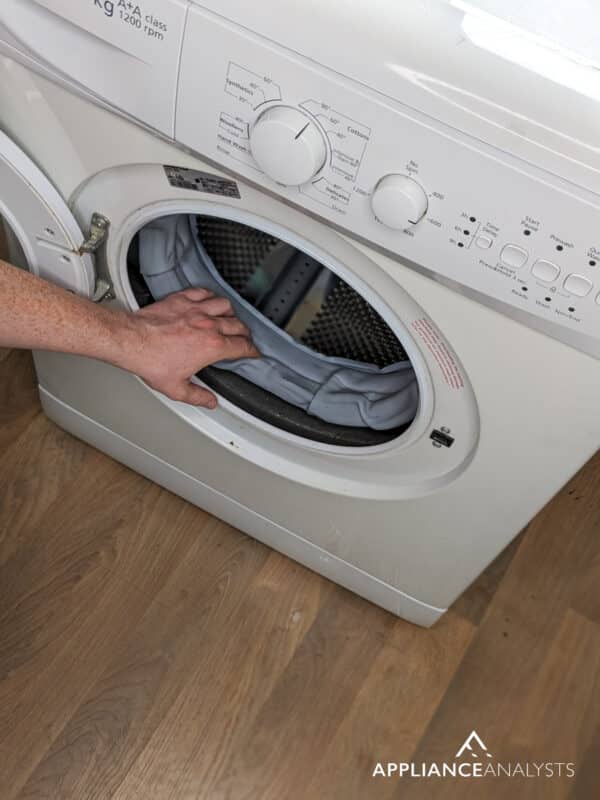
#3 Check the Door Seal
Checking the door seal should also be part of your washer maintenance routine.
You see, the door gasket prevents water from flowing out of your washer and keeps the door closed. Unfortunately, if it becomes damaged or moldy, you’ll experience all sorts of issues while trying to wash your clothes.
If the gasket is dirty, please clean it. To do it, I recommend mixing equal parts of water and vinegar. Then, use a microfiber cloth and a soft brush (you can use an old toothbrush) to remove dirt.
If you notice that it is broken, you need to replace it. Replacing the seal is as easy as finding a replacement part online (type in your model number and “replacement door seal”), popping the old one off, and placing the new one on.
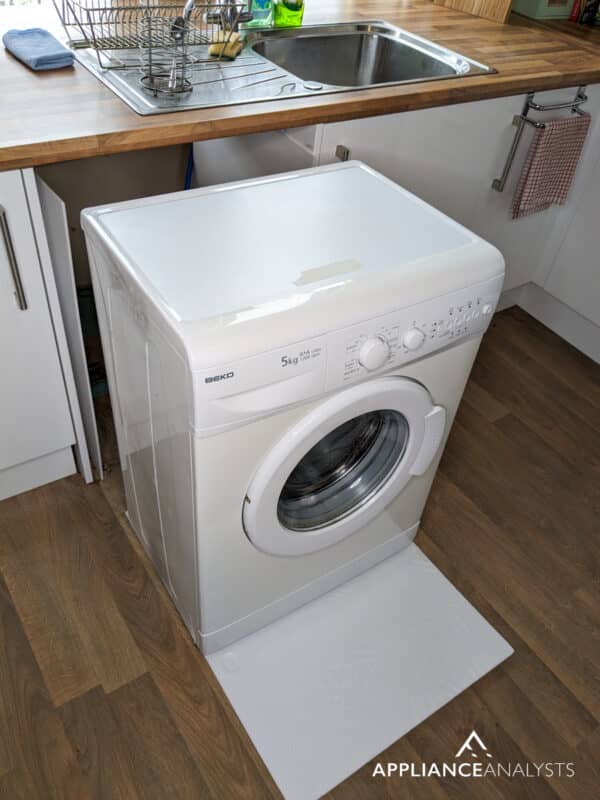
#4 Clean Behind
Another maintenance tip I recommend is cleaning behind your washer every three to six months to prevent dust accumulation.
Remember that if you have a water leak, you must immediately clean behind your washer.
To clean behind your washing machine, you’ll need to:
- Pull the machine in front.
- If the floor is wet, use clean towels to absorb the water.
- Vacuum the back of the washer and mix warm water, vinegar, and essential oils to mop the floor (you can also use a commercial floor cleaner).
- Dry the floor with a microfiber cloth.
- After the area dries up, push the washer back in place.
If you find yourself struggling to remove your washer from a tight space, spray some glass cleaner on the floor. You’ll be amazed at how easily it slides out, making the cleaning process much easier!
Wrapping Up: Washer Best Practices
You made it! If you followed this washer best practices guide, you might have just saved yourself $500 or even more.
I hope you can agree that none of these maintenance tips were complicated. Sure, we need a bit of elbow grease and some determination, but it’s all pretty straightforward.
By following this guide, you’ve made sure:
- Your washer is level and working correctly.
- It’s not smacking against anything, risking damage.
- It’s not being overworked by using the wrong settings.
- It can exhaust warm air properly, making it need to work less.
- You’re following great habits to ensure your washer isn’t working harder than needed.
If you found this guide helpful, please check out the rest of our appliance challenge. In total, our guides can save you over $1,000 a year by just following simple walkthroughs like this one!
Also, sign up to our email list below – and we’ll let you know more money-saving appliance tips and advice.


Designing Modern Living Rooms from Iconic Movies

7 Tips for Heating a Room with High Ceilings (On A Budget)