We've independently reviewed this article to make sure it's as accurate as we can make it.
To find out more about our article creation and review process, check out our editorial guidelines.
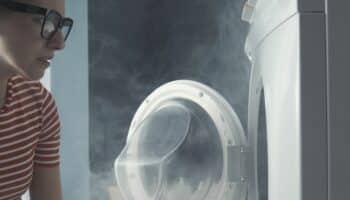
Is your washer leaking from the bottom?
You’re not alone! Unfortunately, water leaks are very common.
But don’t worry. In this article, I’ll guide you through how to fix the problem in just a few simple steps.
If your washer is leaking from the bottom, you’ll need to tighten the hose connections, inspect the drain pump, clean the filter, and replace any damaged parts.
Ready to stop your washer from leaking? Read on!
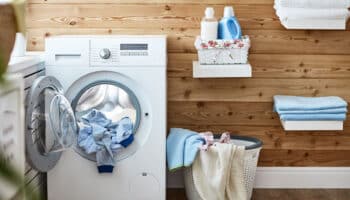
Fixing A Washer Leaking From The Bottom
Different reasons could explain a water leak at the bottom of your washer. Luckily, solving the problem is very simple.

Before fixing the water leak, keep these tips in mind:
- Take pictures as you disassemble your washer to make reassembly a breeze.
- Keep track of any screws or small parts in a labeled container.
- Consider consulting your washer’s user manual for specific guidance on parts and troubleshooting.
- If you need clarification on anything, feel free to contact a professional for help.

#1 Unplug and Disconnect
When fixing a washer leaking from the bottom, I always unplug it from the power source to prevent electrical hazards.
To fix the water leak, you also need to disconnect the water hoses at the back of the machine.
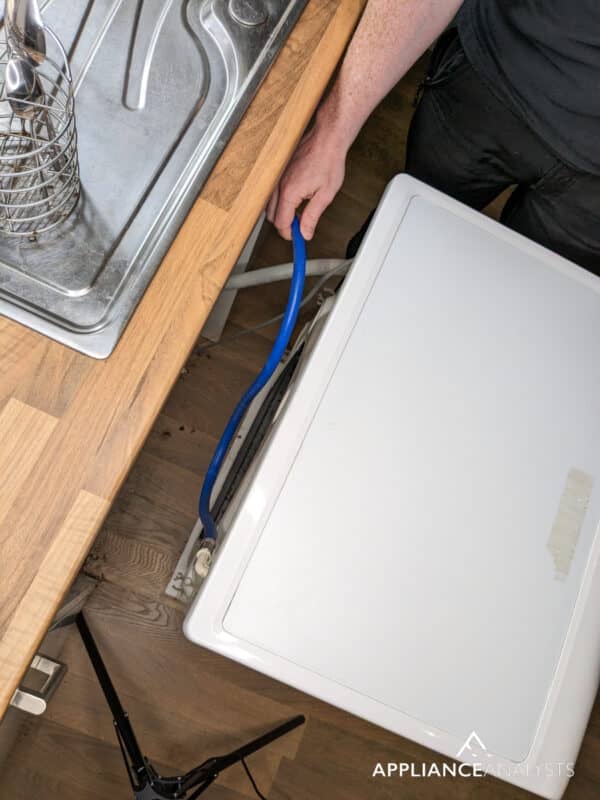
You can use an adjustable wrench to disconnect them. If you’re unsure which hoses are the water supply hoses, look for two hoses connected to the washer, one for hot water (usually marked with red or labeled “H”) and one for cold water (marked with blue or labeled “C”).
Safety first, am I right? Plus, no one wants to accidentally start a wash cycle while trying to fix a leak. That would be… well, messy.
#2 Locate the Water Leak
Now, it’s time to examine the bottom of the washer to determine where the water leak is coming from.
Keep an eye out for any obvious signs of water damage, pooling, or, you know, actual water dripping out. In my experience, the problem can hide in plain sight.
#3 Check Water Supply Hoses
My usual advice when fixing a washer that is leaking from the bottom is to check the supply hoses.
You see, water leaks can be due to loose or damaged water supply hoses. So, let’s give those connections a good once-over.
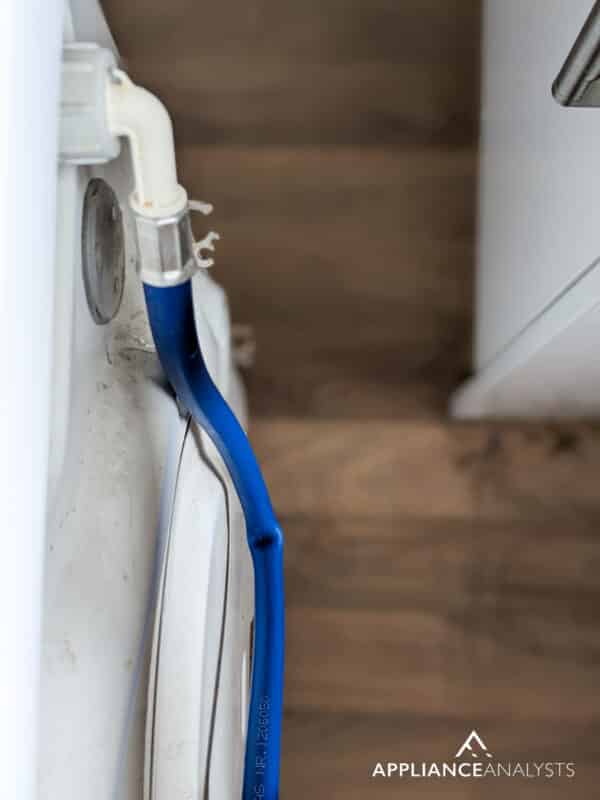
These hoses are found at the back of your washer, connecting it to the water source. They usually have threaded ends that screw onto the washer and faucets. Grab your adjustable wrench and gently tighten them if they look loose.
No need to go Hulk on them. If you notice any cracks or damage, it’s time to swap those old hoses for some shiny new ones.
#4 Inspect the Drain Hose
The drain hose could be another sneaky culprit for the water leak on your washer.
The drain hose is a thick, flexible tube connecting your washer’s back to the drain pipe. To locate it, look for a larger hose near the water supply hoses, often leading to a standpipe or laundry sink. Please give it a thorough examination for any signs of damage or blockage.
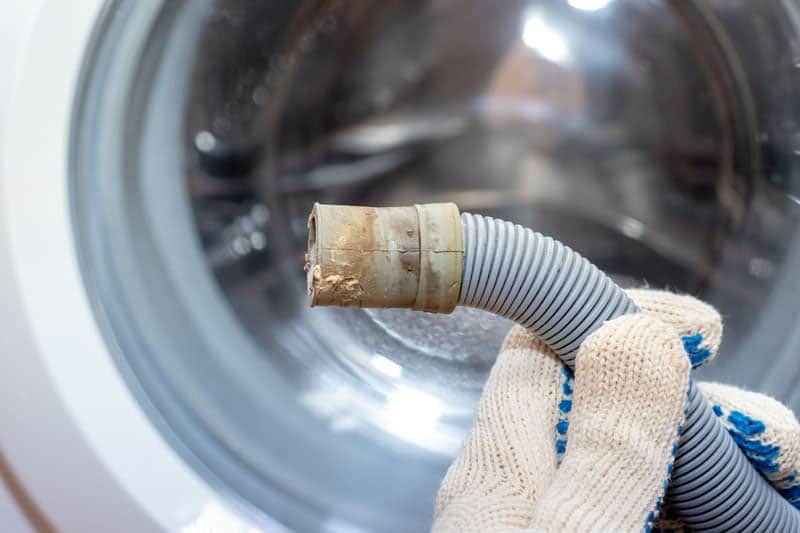
If the drain hose is blocked, try to remove the obstruction – you’d be surprised by what you find there. If it’s damaged, my friend, it’s time to invest in a new drain hose.
#5 Examine the Tub Seal
If your washer leaks from the bottom, I recommend examining the tub seal.
The tub seal is a circular gasket that prevents water from leaking between the washer’s outer and inner tubs.
You must remove the washer’s front panel or cabinet to locate it. Once you’ve exposed the tub, look for a rubber or plastic ring around where the two tubs meet.
However, if it’s damaged or worn, you’ve found your leak culprit. In such cases, it’s time to swap the old seal for a shiny new one.
#6 Look for Cracks in the Tub
If the water leak at the bottom of your washer persists, please check the tub.
I know it’s rare, but a cracked tub can happen. Let’s inspect it thoroughly to ensure no sneaky cracks are hiding there.
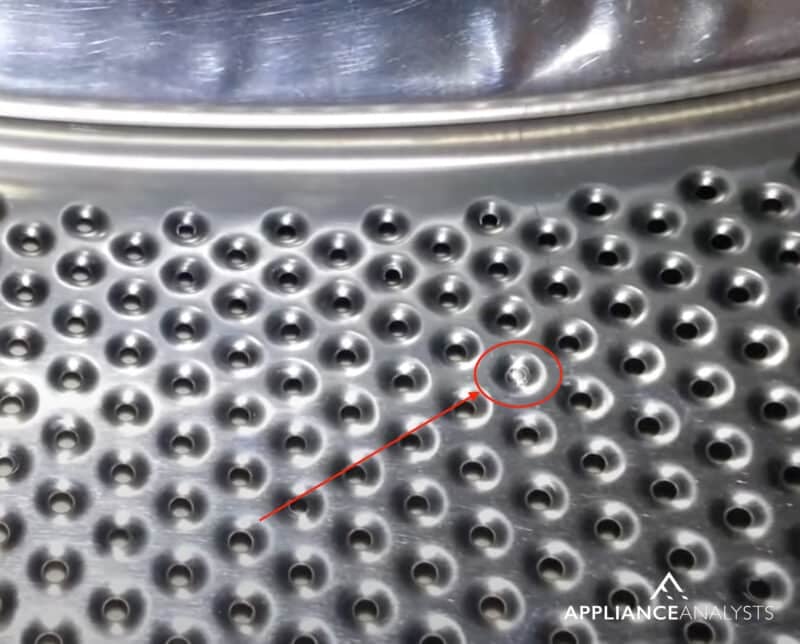
If you find any, it’s likely time to replace the tub – or maybe even consider treating yourself to a brand-new washer.
#7 Assess the Drain Pump
When I see a water leak at the bottom of a washer, I always inspect the drain pump.
The drain pump plays a crucial role in your washer’s overall performance. It’s responsible for draining water out of your machine after a wash cycle.
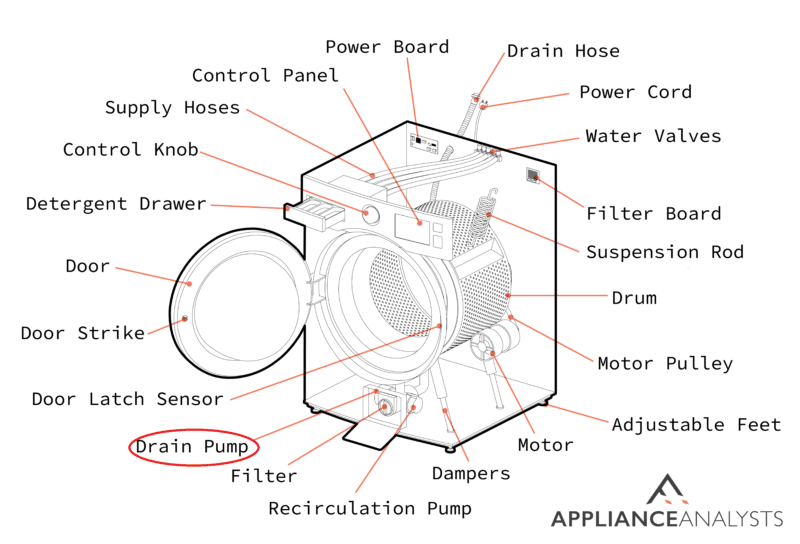
Depending on your model, it’s usually located near the bottom of the machine, either at the front or back. Look for a small, box-like component with an inlet and outlet for water. It’s essential to check if it’s leaking or damaged.
If it is, you’ll need to replace the pump to prevent any future leaks. Drain pumps typically cost $20 to $80.
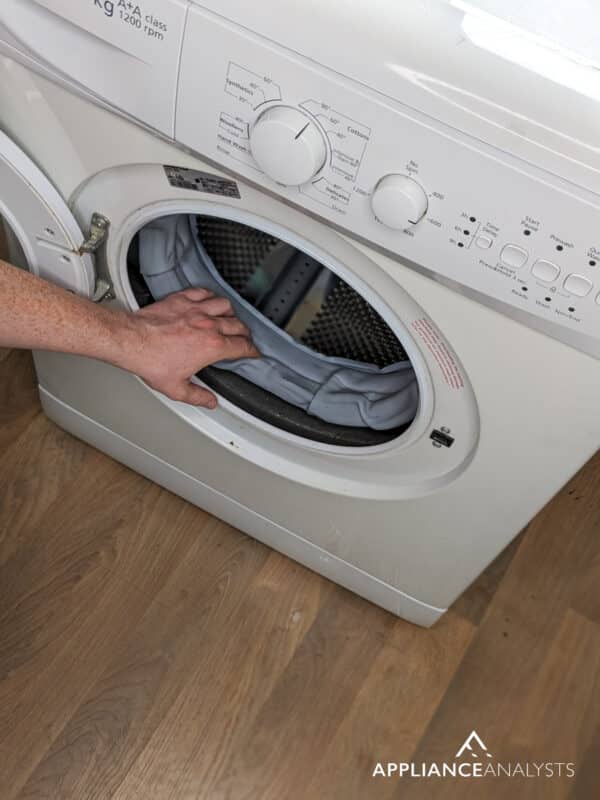
If you have a front-load washer, cleaning the drain filter is also important to prevent drainage issues and further leaks.
#8 Reassemble and Test
Once you’ve gone through all the steps and made any necessary repairs to fix the water leak in your washer, it’s time to reassemble your machine and reconnect those water supply hoses.
Plug it back in and run a short wash cycle to ensure that the leak has been fixed. If everything looks good, give yourself a well-deserved pat on the back for a well-done job.
Conclusion
Hopefully, now you know how to fix the water leak at the bottom of your washer.
Remember to tighten the hose connections, inspect the tub seal, check the drain pump, and replace faulty components.
Don’t forget that regular maintenance is the key to keeping your washer in tip-top shape and ensuring those clean clothes keep coming.
Thank you for reading. Check our articles for more appliance tips and tricks if you found this guide helpful.
Happy washing.


Designing Modern Living Rooms from Iconic Movies

7 Tips for Heating a Room with High Ceilings (On A Budget)