We've independently reviewed this article to make sure it's as accurate as we can make it.
To find out more about our article creation and review process, check out our editorial guidelines.
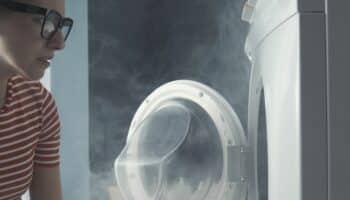
Is your washing machine trying to imitate Niagara Falls?
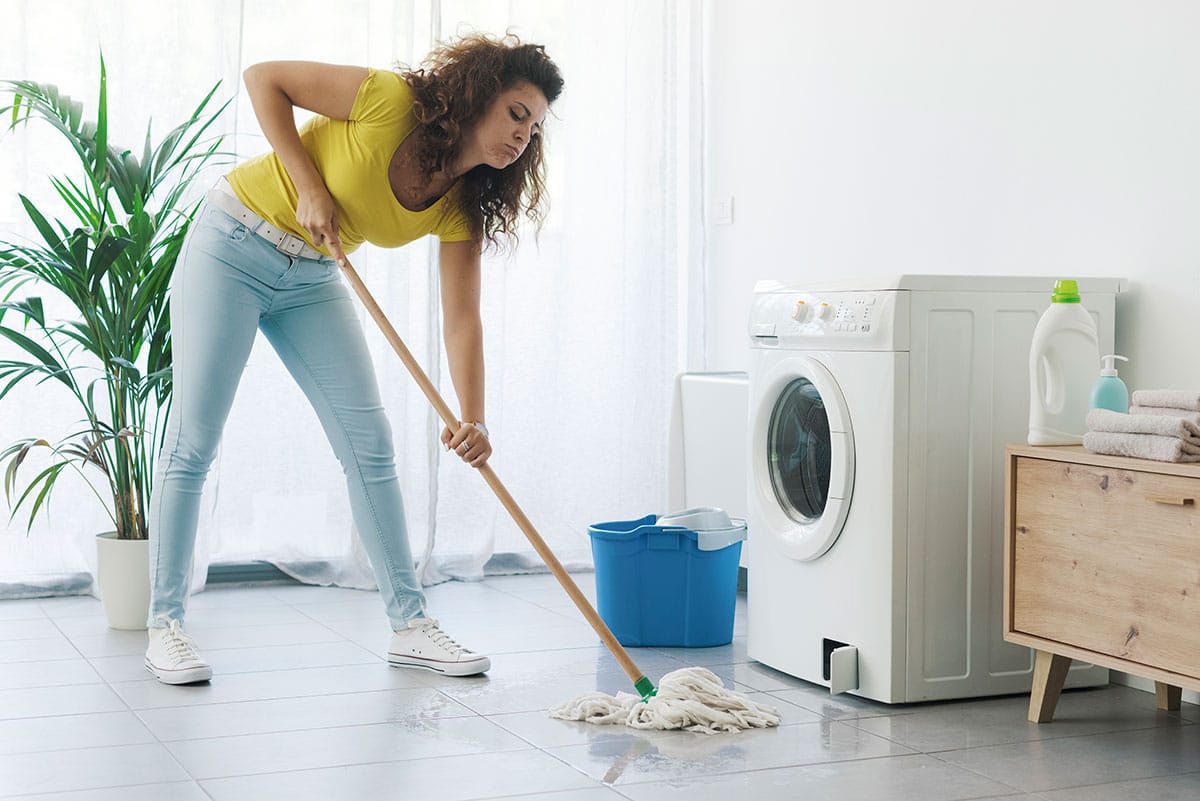
Don’t worry. A washer leaking from the door is quite a common issue, with many homeowners reaching for their mop and bucket. But guess what? You no longer have to settle for soggy socks and wet laundry rooms.
This article will walk you through 8 simple steps to fix your pesky door seal and get your front-load washer back to its watertight best.
Some of the things to try when your washer is leaking from the door are inspecting the door seal, checking the door alignment, and replacing the seal if needed.
Grab your toolbox and a fresh cup of coffee as we explore the world of washer door seals together.
Ready to wave goodbye to soggy socks? Then let’s dive in!
Why trust us? This article was written by Craig Anderson and James Blackford.
Craig has helped thousands of other homeowners repair their appliances since 2016.
James is one of our resident appliance experts with over 16 years of experience. He currently works as a Master Technician for SquareTrade, and runs his own appliance repair business.
Washing Machine Leaking From The Door? Follow These 8 Steps
#1: Assess the Leak
When your washing machine is leaking from the door, assessing the source of the leaking is critical. Start by running a wash cycle and observing where the water is escaping. If the water is indeed leaking from the door area, you’re in the right place.

However, if the leak comes from elsewhere, you’ll need to investigate other potential causes.
#2: Level Your Washer
If your washing machine is leaking from the door, the leaking might be due to the appliance not being level or balanced.
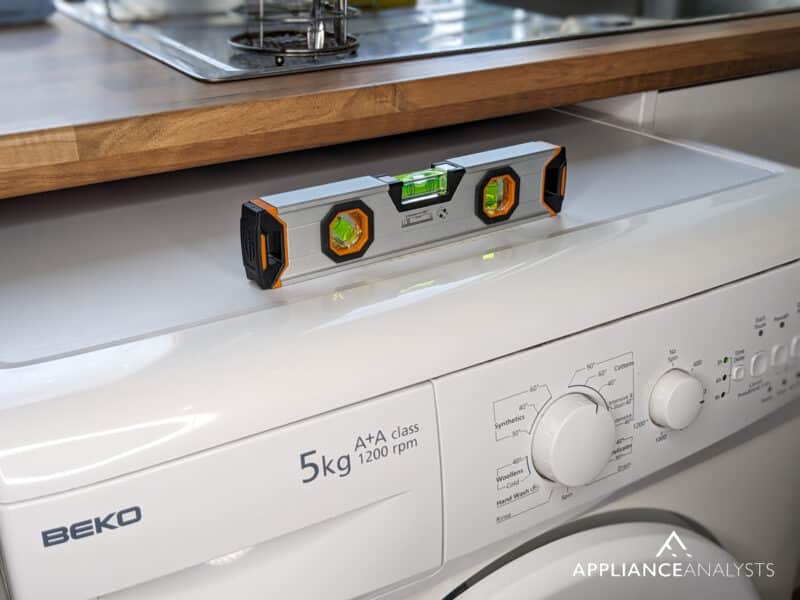
To check your washing machine’s leveling, place a spirit level on top of the washer and see if the bubble inside the spirit level stays in the center. If not, adjust the washer’s feet by twisting them clockwise or counterclockwise until the washer is level.
#3: Adjust the Door Latch
A misaligned door latch could also explain why your washing machine is leaking from the door. To check your washer’s door latch, close the door and see if it aligns correctly with the latch. If not, you’ll have to adjust the latch or the door hinges to ensure a snug fit.
#4: Identify the Door Seal Problem
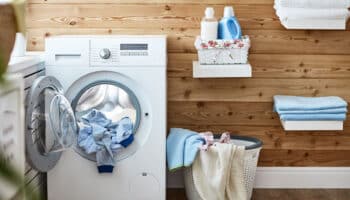
From what I’ve seen over the years, a door seal issue (also known as a gasket or boot) is the most common reason a washing machine leaks from the door. The seal is a rubbery, circular component between the door and the drum that creates a watertight barrier.
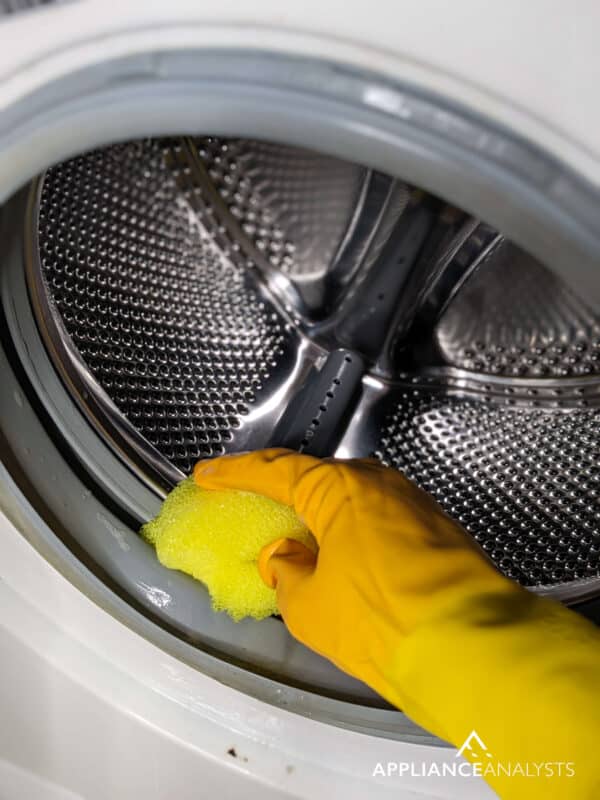
To check the seal, open the washer door and visually inspect it for any signs of wear or damage, such as tears, cracks, or mold. You can also run your fingers along the seal, feeling for any irregularities.
#5: Remove the Old Seal
Provided your washing machine is still leaking from the door, there’s a good chance you’ll have to replace the old door seal.
Before attempting to remove the old seal, it’s essential to consult a tech manual or search online for model-specific instructions, as the process can vary between models and might not be suitable for all users.

Consider calling a professional technician if you need clarification or are uncomfortable performing the seal repair.
If you decide you want to tackle the repair yourself, here are some steps I recommend you follow:
- Unplug your washer to ensure your safety during the repair process.
- Open the washer door and locate the outer clamp that secures the seal to the door. The clamp is usually a thin wire or band with a spring.
- Using a flat-head screwdriver, carefully pry the clamp away from the seal.
- Once you remove the outer clamp, peel the seal away from the door opening, revealing the inner clamp that holds the seal to the drum.
- The clamp is typically a circular metal band tightened with a screw. Use a Phillips screwdriver to loosen the screw and remove the inner clamp.
- Pull the seal off the drum and set it aside.
Remember, these steps won’t apply to all washer models, so use our resource above to consult a tech manual or search online for model-specific instructions before attempting any repairs.
It’s also worth noting that for some models – particularly LG washers – you’ll need special pliers to remove the seal.
#6: Clean the Area
Before placing the new door seal in your washing machine, take some time to clean the area where it will go, as proper cleaning can prevent your washing machine from leaking from the door in the future. You can use a towel or rag dampened with a mild detergent or dish soap to wipe away any residue, dirt, or mold.
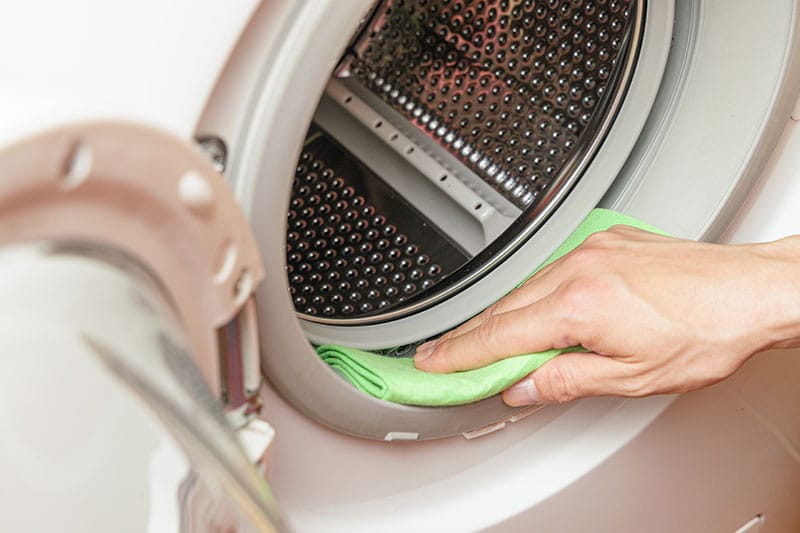
Cleaning the area before installing the new seal will ensure a secure fit. Once you’re finished cleaning, please wait a few minutes for the area to completely dry.
#7: Test Your Handiwork
Before reattaching the clamps in your washing machine, my usual advice is to test your handiwork by plugging in the washer and running a short, empty cycle to ensure there are no leaks or puddles on the floor.
If you spot any water escaping, double-check the seal’s positioning and make any necessary adjustments. If everything looks good, it’s time to reattach the clamps.
Note: If you followed the above instructions correctly, washing cycles should be smooth from now on. However, I still recommend keeping an eye out for a couple of weeks to be sure your washing machine is no longer leaking from the door.
#8: Maintain Your Seal for Future Leak-Free Laundry Days
Failing to give the door seal maintenance is also a common cause of a washing machine leaking from the door. To prevent leaking in the future, make sure to wipe the seal down with a damp cloth to remove any soap residue or debris at least once per week.
Leaving the washer door open between uses can also help prevent mold and mildew growth, extending your seal’s life.
Conclusion:
Confusion and concern are very common when your washing machine leaks from the door, especially when your living spaces are flooding.
Luckily, as I hope this piece has helped you better understand, addressing the most common causes behind a washing machine leaking from the door is often easy and quick. More often than not, simple things, like replacing the door seal and ensuring your washing machine is level, will do the trick.
Thanks for reading. If this article proved useful and gave you a solution, please consider checking out our other incredible resources below and subscribing to our newsletter.
Enjoy your dry floors!
-Craig.
Frequently Asked Questions
How Often Should You Replace Your Washer’s Door Seal?
It depends on your user habits, how frequently you wash your clothes, and how well you maintain the washer.
A properly cared-for door seal can last many years, whereas a poorly treated one can break within a year or less.
How Much Does It Cost to Replace a Washer’s Door Seal?
Depending on the washer model you own, you could be looking at anywhere between $50-$200.
Can a Washer Door Seal Be Repaired?
If the damage to the seal is not too extensive, I’d say it’s likely. However, there’s no way to ensure a repaired door seal will do its job as well as a new one, so if you can afford a replacement, much better.


Designing Modern Living Rooms from Iconic Movies

7 Tips for Heating a Room with High Ceilings (On A Budget)