We've independently reviewed this article to make sure it's as accurate as we can make it.
To find out more about our article creation and review process, check out our editorial guidelines.
Are you wondering how to hook up a dishwasher?
You’re not alone! In this guide, I’ll walk you through every step you need to take.
To install your countertop dishwasher, connect the water inlet to the faucet and put the drainage hose into the sink. Then, open the water faucet, plug your dishwasher into the wall outlet, and select a cycle.
Keep reading to learn more details about your countertop dishwasher installation!
Why trust us? This article was written by Craig Anderson and James Blackford.
Craig has helped thousands of other homeowners repair their appliances since 2016. James is one of our resident appliance experts, with over 16 years of experience. He currently works as a Master Technician for SquareTrade, and runs his own appliance repair business.
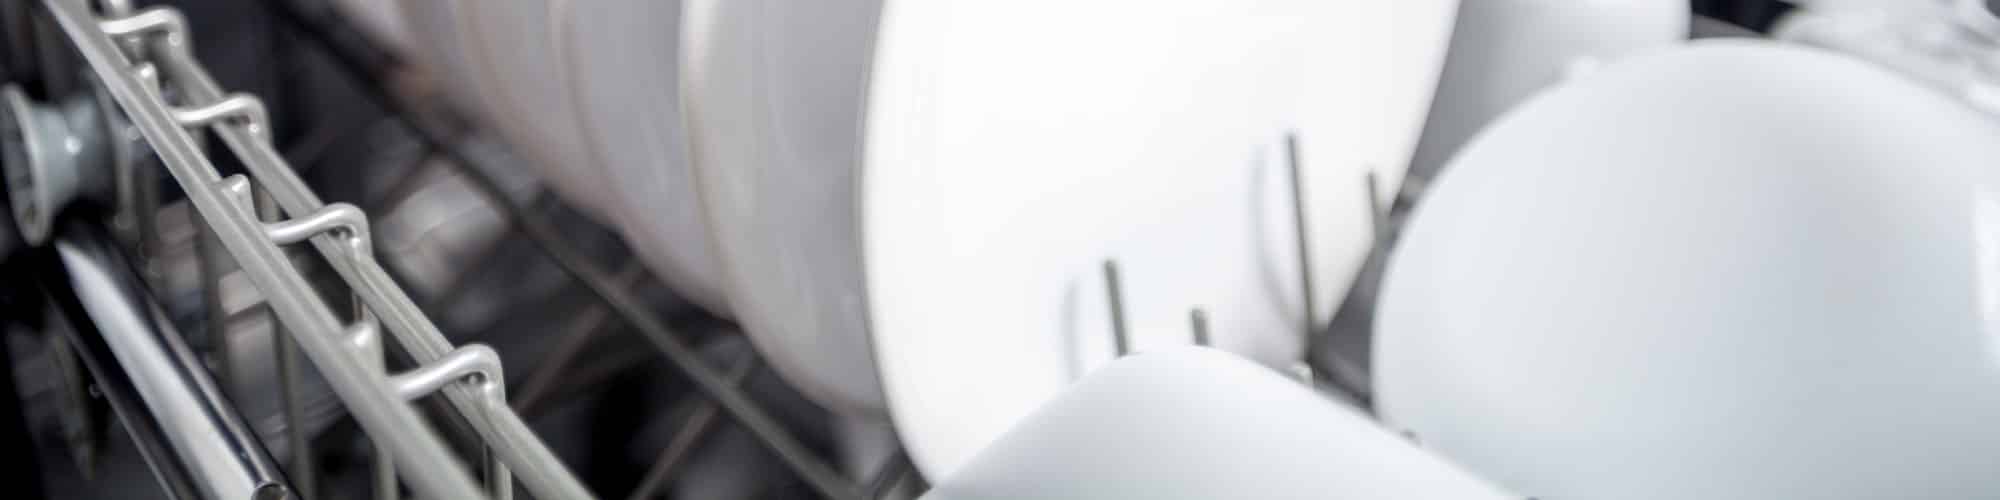
6 Steps to Installing Your Countertop Dishwasher
Installing your countertop dishwasher is very simple. In fact, you’re only six steps away from starting your first load of dishes.
Follow these steps for a seamless countertop dishwasher setup:
#1 Put Your Dishwasher on a Countertop
The first step in the countertop dishwasher installation process is very simple. You’ll just need to put your dishwasher on the countertop.
But here’s something to bear in mind. Your countertop dishwasher will need access to a sink for water supply and drainage. So, it’s best to install it right next to your kitchen sink.
You will also need a power outlet nearby. So, I recommend placing your dishwasher close to a power outlet and sink.
Tabletop dishwashers have a little height on them. In my experience, they average about 50 cm or 20 inches tall. So if you’ve only got an 18-inch gap between your work surface and your cupboard units, you’ll need to rethink where you will put it.
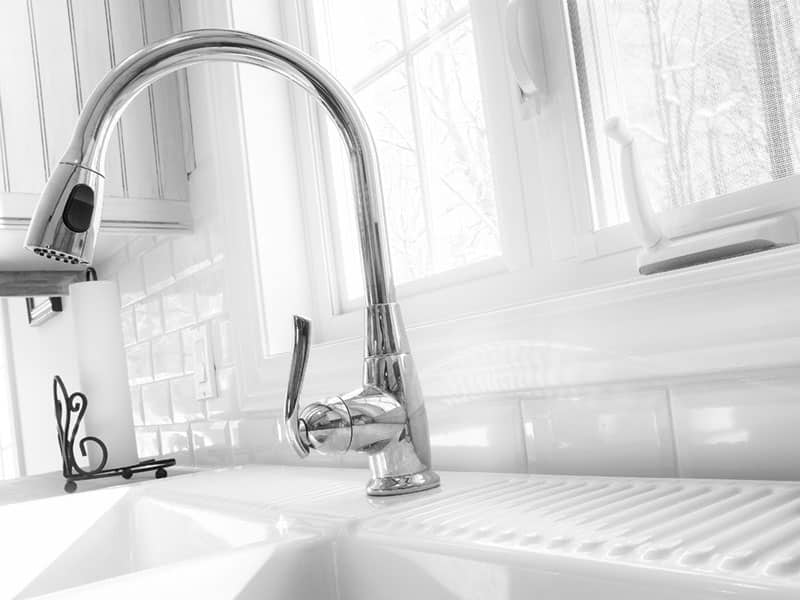
#2 Connect the Water Inlet to the Faucet
To install your countertop dishwasher correctly, you’ll need to connect the water inlet to your kitchen faucet.
You can identify the water inlet hose as the one with the threaded connection around it. It is also typically the bigger of the two.
Here’s how to connect your water inlet to your kitchen faucet:
- Make sure the water faucet is turned off.
- Check that the water inlet is connected to the back of your dishwasher. If not, secure it by screwing the hose to your dishwasher. I recommend using pliers to tighten the connection between your dishwasher and the inlet hose as part of your tabletop dishwasher plumbing setup.
- Thread the water inlet to the kitchen faucet. In my experience, it’s best to use a faucet adapter if you have a modern faucet. But, if your faucet has a secondary outlet behind it, you can connect your water inlet to it so you use the faucet while your countertop dishwasher is running. Ensure you’ve got the secondary faucet in the “off” position before attempting to connect the hose to it.
NOTE: If you are connecting the hose to a faucet that is lower than your worktop dishwasher, you will need a pump to keep the water flowing. If you cannot connect the hose to your kitchen sink faucet, I recommend connecting it to a water tank as part of your alternative dishwasher plumbing strategy.
All dishwashers have a water valve that is responsible for allowing water to enter when instructed by the control board. By properly connecting the water inlet to the faucet, you’ll ensure a smooth flow of water.
#3 Put the Drainage Hose Into the Sink
The next step in the countertop dishwasher installation process is to connect the drainage hose to the sink.
You see, once your countertop dishwasher has finished cleaning your dishes, the control board activates the drain pump to propel the dirty water through a drainage hose. This hose drains the water into your sink.
Here’s how the drainage hose should be set up:
- Check that the drain hose is connected to the back of your dishwasher. If it isn’t, please connect it by screwing it to the back of your countertop dishwasher. I recommend using pliers to tighten the connection between your dishwasher and the drainage hose.
- Put the hose face down into the sink.
Here are a couple of things to bear in mind when installing the drainage hose:
- The drainage hose needs to flow downwards from your dishwasher. If it doesn’t, dirty water can drain back into your worktop dishwasher and cause it to leak if it were to overfill. Introducing dirty water into your dishwasher can also cause your dishes to end up dirtier than they were before they went in.
- Keep the drainage hose out of the plughole. Keep it a couple of inches from the plughole, but still in the sink. In my experience, this will stop it from becoming submerged when the sink begins to fill with water. With the hose in the right position, the wastewater will not back up into the unit when it drains.
#4 Open the Water Faucet
The next thing to do when installing a countertop dishwasher is to open the water faucet.
There are a couple of checks to do at this point. Here’s a walkthrough of them.
- Open the water faucet before you plug in your countertop dishwasher. This is so that you can make sure that you have connected the inlet hose properly and that it does not have any leaks.
- If you see a leak, turn off the water immediately. Then unscrew the hose and try to connect it again. If necessary, use pliers to tighten the connections. Then, I recommend opening the faucet again to check that the connection is watertight. If it is, please move on to step 5.
#5 Plug Your Dishwasher In
Once you’ve finished installing your worktop dishwasher, it’s time for you to plug it into the wall outlet using the main cable behind the unit.
Avoid contact with water when plugging your countertop dishwasher into the wall outlet to prevent any electrical hazards.
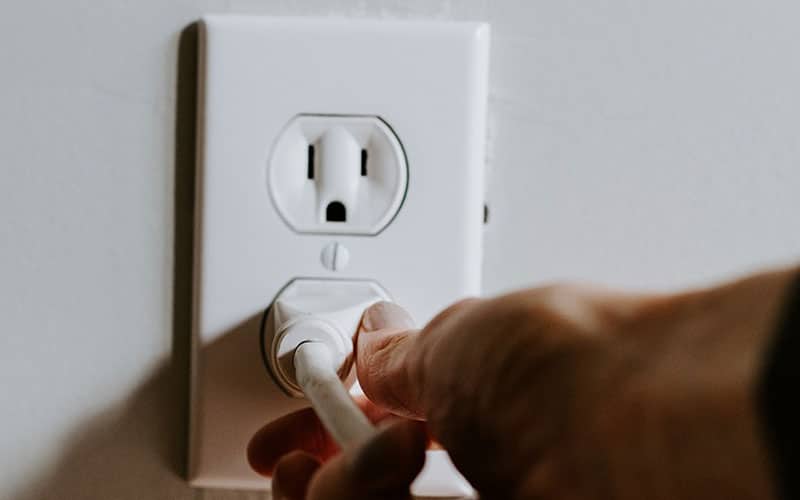
If your countertop dishwasher won’t turn on, make sure the cable is not damaged and check the circuit breaker.
Then, load your dishwasher so that you can give it a whirl in the next step.
#6 Turn a Cycle On
Finally, I recommend turning on a cycle in your worktop dishwasher to make sure it was installed correctly.
Here’s how to do it:
- Fill the soap tray with dishwasher soap. If you live in an area with hard water, I recommend adding salt before the soap to counteract the effects of hard water.
- Turn a dishwasher cycle on using the controls on the front of your dishwasher. Please keep an eye on the first wash to make sure that everything is working as it should.
Finding Your Installation Manual
Every countertop dishwasher is unique. They’re all slightly different heights, shapes, and sizes. Their installation is also different.
Some come with their hoses detached from the dishwasher. Others come with various options for connecting the water inlet to the faucet.
If general installation instructions aren’t cutting it, you’ll need to dig a little deeper.
Here’s how to find your dishwasher’s manual online:

If you still cannot find your countertop dishwasher instruction manual, you will have to contact the manufacturer. They will be able to provide you with specific instructions so that you can set up your dishwasher.
Don’t forget to check out our free dishwasher’s maintenance & care guide to make the most out of your countertop dishwasher!
FAQ
Do Countertop Dishwashers Have to be Plumbed In?
No, countertop dishwashers do not have to be plumbed in.
They are designed for easy installation, eliminating the need for permanent plumbing.
Once you’re finished using it, you can easily disconnect the hoses. Additionally, a worktop dishwasher typically drains into the kitchen sink, so you don’t need a dedicated drain line.
Can You Connect a Countertop Dishwasher Under the Sink?
I don’t recommend connecting your countertop dishwasher under the sink because doing so would require more complex plumbing and electrical connections since its original hoses are designed to reach a nearby faucet.
Additionally, if the drain hose is not elevated, your countertop dishwasher will not drain properly, resulting in different issues, such as leaks, error codes, and poor cleaning results.
What’s the Difference Between a Built-In and a Countertop Dishwasher?
The main difference between a built-in and a countertop dishwasher lies in their installation and capacity.
Built-in dishwashers are installed under the kitchen countertops, whereas countertop dishwashers sit on top of the counter and can be easily connected.
Countertop dishwashers are ideal for people with limited space, as they’re designed to clean small loads of dishes. Built-in dishwashers, on the other hand, have larger capacity and more features, making them great for big families.
Conclusion
Now that we’ve covered everything, hopefully, you’ll know how to hook up a dishwasher.
Remember, you’ll need to put your dishwasher on the countertop, connect the water inlet to the faucet, put the drainage hose into the sink, open the water faucet, and plug it into the wall outlet.
Thank you so much for taking the time to read this article. Don’t forget to check out our other free guides. You could even sign up to our email list.
Have a great day!
-Craig


Designing Modern Living Rooms from Iconic Movies

7 Tips for Heating a Room with High Ceilings (On A Budget)