Stuck trying to stop your freezer from leaking water into your fridge?
Don’t worry, you’re not alone. You wouldn’t believe how many people I’ve seen struggle with the same issue.
Luckily, solving it is very simple.
If your freezer leaks water into your fridge, you’ll need to check if the drain is frozen or clogged, ensure the ice maker is working as it should, and inspect the door seal . I also recommend checking your freezer’s temperature.
Keep reading to learn more about the issue!
How to Repair a Freezer That Is Leaking Water Into Your Fridge: 4 Steps
Having to constantly clean your appliance because your freezer keeps leaking water into your fridge can be super annoying.
Unfortunately, this may happen due to different reasons. This is why I’ve created a list of 4 things you should check to solve the issue.
#1 Check if the Drain Is Frozen or Clogged
In order for a freezer or refrigerator to cool your food and maintain its internal temperature, a refrigerant passes through the internal and external coils of your appliance in the form of liquid or gas.
When it circulates through the internal coils, it evaporates (transforming into a gas) and absorbs heat. During this process, frost can form in the coils.
This is why most modern freezers support an Auto Defrost or Frost Free feature that activates a heater, typically located under the internal coils, to automatically melt any frost.
Then, the remaining water goes into a drain hole and travels to a drip pan, usually located under your appliance.
Unfortunately, if the drain is frozen, your freezer may leak water into your fridge.
Don’t worry, though. Fixing this issue is very simple, you’ll just need to:
- Unplug your freezer from the wall outlet to avoid electrical hazards.
- Locate the drain hole and remove any covering panels (you may need a screwdriver). The drain is typically located at the bottom back of your freezer under the evaporator coils, but please check your manual for detailed instructions.
- Once you’ve accessed the drain, check if it’s covered in ice. If it is, use warm water to melt it. Don’t use any sharp objects to remove debris, this way you’ll avoid damaging your freezer.
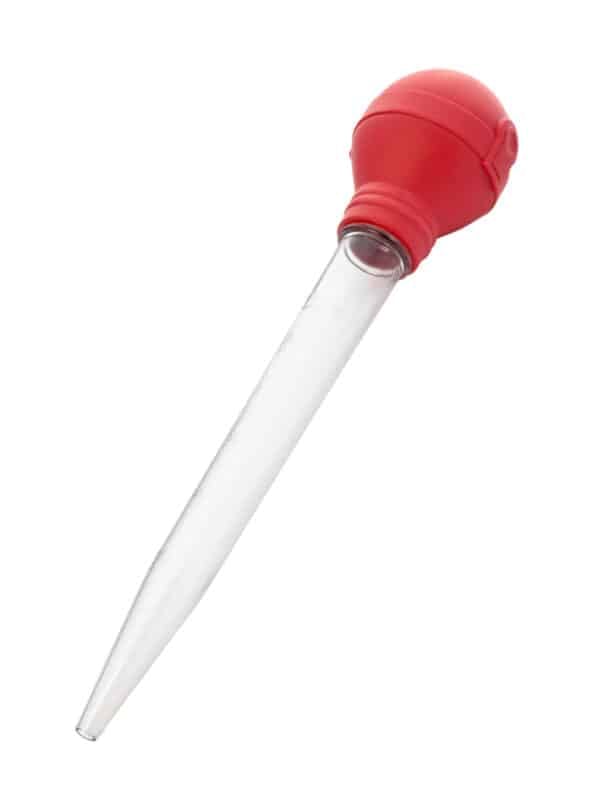
- Use a turkey baster to pour warm water down the drain hole and melt any ice buildup.
If you’d like to prevent this issue from happening again, I recommend using a copper wire. Wrap one end of a 12-gauge copper wire around the heating element and the other end on the drain hole.
Copper is a great conductor of heat, so it will transfer heat into the drain to keep frost from building up.
Bear in mind that if the drain keeps freezing up, you’ll need to check the defrost system (heating element, timer, and thermostat). If it’s faulty, ice can form in the evaporator coils and inside your freezer and eventually melt, causing water to leak into your fridge.
#2 Check the Ice Maker
As you may already know, ice makers are connected to the water supply of your home (normally located beneath the kitchen sink).
Unfortunately, if the water supply line is broken, loose, or damaged, water may leak into your fridge. This is why you should inspect your ice maker’s water supply line.
If you notice any signs of damage, please repair or replace it.
I also recommend checking if the dispenser chute is clogged with ice. If it is, break up the ice with a long-handled wooden spoon.
Your ice maker can also leak water if your fridge isn’t level. To check if that’s the case, place a spirit level inside your appliance. The bubble should be centered. If it’s not:
- Locate the leveling legs or adjustable rollers (they’re located behind the lower kick plate).
- If your fridge has leveling legs, use a wrench to level it. If it has adjustable rollers, use a screwdriver instead.
- To raise your fridge, turn the wrench to the left. But, if you want to lower it, turn the wrench to the right.
- Place the level inside your fridge and measure again to make sure it is level.
Don’t forget to replace your water filter every 6 months. Otherwise, it may leak.
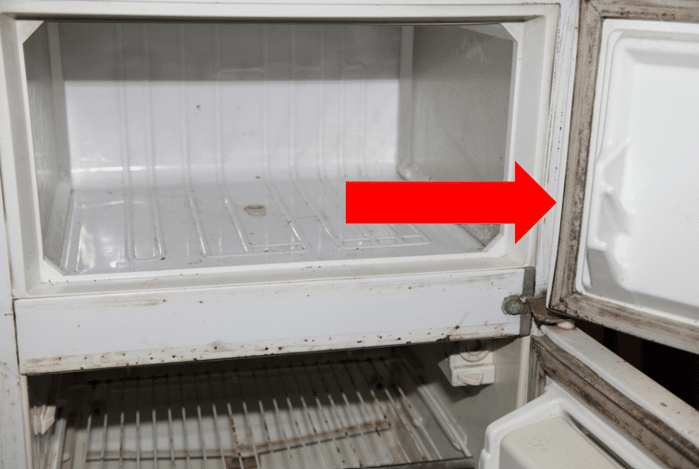
#3 Inspect the Door Seal
Moving on, I’d like us to rule out the door seal (also known as “gasket”) as our possible culprit.
Your freezer’s door gasket is responsible for sealing the cold air in and preventing warm air from entering. This avoids unexpected temperature changes and their related issues.
Unfortunately, it can wear out over time, break, or get dirty.
If the door seal is damaged or dirty, your freezer will struggle to maintain its temperature, which may result in melted ice and excess water which can leak into the refrigerator.
This is why the first thing I recommend doing is cleaning the gasket with equal parts of vinegar and warm water. You can use a soft sponge or an old toothbrush to wipe out any food debris, dirt, or grime.
I don’t recommend using cleaners with harsh chemicals, as the interiors of your freezer, ice cubes, and food items that are not properly wrapped can absorb the chemical smell.
Then, inspect the door seal. The easiest way to do it is by closing the freezer door on a dollar bill and pulling it out. If it slides out with no effort, then your door seal is likely damaged.
You can also visually inspect your door seal and look for tears, rips, or other signs of damage.
If the door seal is broken or damaged, please replace it with a new one. Don’t worry, though. Replacing the gasket is usually a simple task that you can do on your own, and it’s usually not expensive.
#4 Check the Temperature
If you’ve tried all the fixes above, but your freezer is still leaking water into your fridge, you might want to keep reading.
Your freezer should be set to 0 °F (ca. -18 °C). If that’s not the case, it may melt and thaw, or accumulate ice and clog the drain, resulting in water leaks.
Place a thermostat in an ice cream that has been stored in your freezer for at least 12 hours. Then, check the temperature. If it’s too high, or too low, please adjust the temperature dial.
Change the temperature settings one increment (or decrement) at a time, and wait 24 hours for the change to take effect.
Then, check the temperature again, and if necessary, re-adjust it.
Conclusion
That about covers it! I hope that this article has helped you solve the issue.
If you take anything away, please let it be that if your freezer is leaking water into your fridge, there’s a good chance the drain is frozen. To melt any ice buildup, use a turkey baster and warm water.
But, if that wasn’t the issue, remember to check the ice maker, door seal, and temperature.
Thank you so much for taking the time to read the four fixes above. If you found them useful or need help with a different appliance, please check out our site. Here at Appliance Analysts, we love helping our readers solve all sorts of appliance issues.
Have a wonderful rest of the day!


Designing Modern Living Rooms from Iconic Movies

7 Tips for Heating a Room with High Ceilings (On A Budget)