Are you wondering how your freezer works?
You’re in luck! In this article, you’ll learn how the components of your freezer work together to keep your food at the desired temperature.
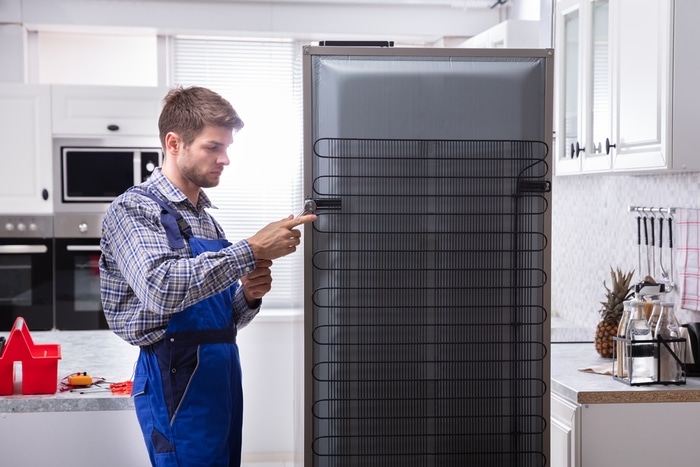
During the refrigeration process, a coolant flows through your freezer’s external and internal coils in the form of liquid or gas to absorb heat from the inside and keep your food cool. The components that make this process possible are the refrigerant, compressor expansion valve, and coils.
Keep reading to learn more about the refrigeration process!
How Does the Refrigeration Process Work? 4 Main Stages
All freezers, refrigerators, and other cooling systems contain a substance called “refrigerant” (also known as Freon).
This substance is a cooling agent that flows through all your freezer’s main components to keep it at the right temperature.
To figure out how the refrigeration process works, it is important to understand what happens to the refrigerant as it passes through the different parts of your freezer.
The 4 main components of your freezer that we will discuss are:
#1 Compressor
The first part of your freezer that the refrigerant enters (as a gas) is the compressor. You can think of it as the heart of the refrigeration process.
This mechanical device is usually located at the lower back of your freezer and is responsible for compressing the refrigerant to a high-pressure vapor and pumping it through the system.
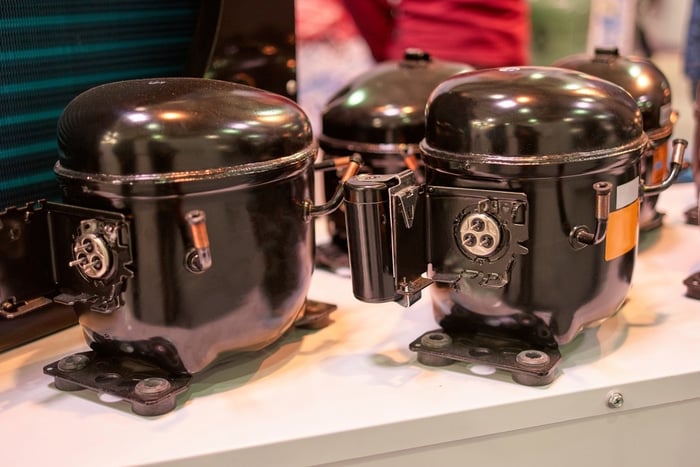
There are different types of compressors, but all of them perform the same primary function in the refrigeration process.
#2 Condenser Coils
Once the compressor pumps the refrigerant to the condenser coils, it transforms into a hot liquid (due to the changes in pressure).
As the refrigerant passes through the condenser coils, it releases the heat that it contains. Although freezers have a fan that facilitates the dissipation of heat, you should always make sure your appliance has enough breathing room to avoid heat buildup.
Try leaving at least 1 or 2 inches (2.54 cm—5 cm) of extra room on each side of your appliance.
The condenser coils should be cleaned at least once a year. Otherwise, they won’t be able to efficiently release heat and the compressor will need to work harder. This can increase your energy bills and shorten your freezer’s life span.
#4 Expansion Valve
Now, the refrigerant enters an expansion valve or capillary tube.
You see, when the refrigerant traveled through the condenser coils, it maintained its high pressure and warm temperature.
So, the expansion valve or capillary tube is responsible for dropping the pressure and temperature of the refrigerant.
Then, the refrigerant heads to the next freezer component: the evaporator coils.
#5 Evaporator Coils
The evaporator (or internal coil) is located inside your freezer, and this is the refrigerant’s final destination before heading back to the compressor.
As mentioned in the step above, the expansion valve decreases the pressure on the refrigerant. So, when the coolant flows through the evaporator coils, it changes its state from a liquid to a gas.
When a liquid evaporates, it absorbs and removes heat from its surroundings. So, any warm food stored in your will become colder thanks to the evaporator.
After the heat transfer, the gas flows at low pressure to the compressor to begin the process again.
Bear in mind that during the evaporation process, frost can form in the evaporator coils. This is completely normal. This is why most modern freezers have an auto-defrost system that melts this ice.
If you notice that you have a lot of ice and frost buildup (more than 1/4 in thick), you’ll need to check your defrost system (defrost heater, timer, and thermostat).
If your freezer doesn’t have an auto defrost function, you’ll need to manually defrost it to remove ice buildup from the coils.
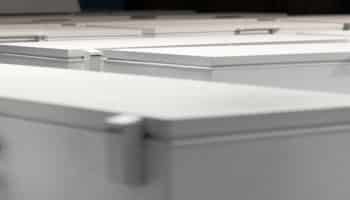
How Different Variations of Freezers Work?
You have probably heard that there are different types of freezers, and it is very common to get confused about their differences.
For example, I have seen hundreds of people struggling to understand the difference between a deep freezer and a chest freezer.
In essence, they’re the same.
Deep freezers used to be associated with lower temperatures (compared to other types of freezers, such as fridge freezers). However, nowadays, all domestic freezers can cool to similar temperatures (0º F).
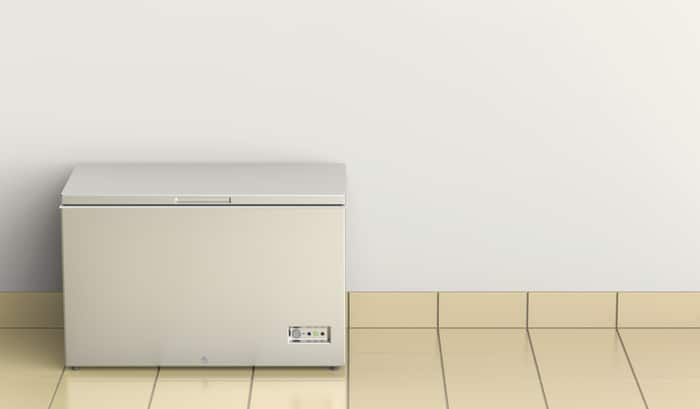
So, deep freezers are freezers designed solely to freeze things (they do not have a refrigerator compartment). This is why some people consider chest and upright freezers as deep freezers.
The main difference between upright and chest freezers is orientation. While chest freezers lay horizontally, upright freezers stand vertically. This is why it’s usually easier to organize frozen food in upright freezers.
As you have probably noticed, features can vary from model to model, however, all freezers follow the same refrigeration process explained above.
In all of them, the refrigerant passes through the compressor, condenser coils, expansion valve, and evaporator coils to absorb heat and maintain the right internal temperature.
The only difference is that the location of the components, such as the coils, may vary.
Are You Planning to Move Your Freezer? Read This First
If you are moving or just want to place your freezer in a different location, you shouldn’t change its orientation. Otherwise, it can stop working.
As discussed earlier, your freezer’s compressor is responsible for pumping the refrigerant to the coils. This component has an oil that acts as a lubricant and is essential for the proper functioning of the compressor.
However, if the freezer is tilted out of its normal position, the compressor oil can leak into a different compartment and can damage your appliance permanently.
Moreover, as you learned in the sections above, the refrigerant flows through your freezer’s system in the form of gas and liquid.
Some components of your appliance are not meant to be in contact with gas, just liquid (and vice-versa). So, if you put your freezer on its side or back, the refrigerant can move to a compartment in the wrong state and damage your appliance.
If you want to move your freezer to a different location, you should transport it in its normal position (as it would sit in your home).
Follow these instructions to move your freezer safely:
- Unplug your freezer from the wall outlet and wait for a couple of hours. I recommend taping the power cord to the freezer, so you can easily move it.
- Remove all the shelves, drawers, and groceries from your freezer. This is a great time to clean your freezer with equal parts of vinegar and warm water.
- Secure the doors and cover the freezer with blankets to avoid damaging it.
- Get a dolly (you can borrow one from a friend or rent it) to carry the freezer and try your best to prevent excessive tilting. Do not tilt it more than 45 degrees to keep the refrigerant in the right place.
You can also call a moving company. They are usually familiarized with the protocols that must be followed when moving a freezer.
Once you’ve moved your freezer to the desired location, you’ll need to wait for it to settle. If it was transported in the right position, you should wait for at least 4 hours.
Then, make sure it’s level. Otherwise, the refrigerant won’t be able to flow too quickly to your freezer’s compartments and keep up with the refrigeration process.
Checking if your freezer is level is very simple. You’ll just need to get a spirit level and place it on top or inside your appliance. If the air bubble inside the spirit level is not centered, then you’ll need to adjust your freezer.

Most freezers have leveling legs on the bottom that can be rotated clockwise or counterclockwise to lower or rise them. Adjust the “feet” until the bubble in the spirit level is centered.
Some adjustable “feet” may be behind a kick plate. If that’s the case, I recommend checking your manual to see how to remove it and adjust the leveling feet.
If you can’t find your manual, please search for the model number. It is usually located on a label on the inside wall, behind the lower kick plate, under the lid, or on the sides or back of your appliance.
Then, search for the model number and brand on Google. For instance, if you own a Frigidaire freezer, you’ll need to search for “Frigidaire [model number] Freezer Manual PDF”.
Don’t forget to make sure your freezer has enough breathing room to ensure that the heat can dissipate without any problem.
Conclusion
That about covers it! I hope that this article has helped you understand how your freezer works.
If you take anything away, please let it be that a refrigerant circulates through the compressor, condenser coils, expansion valve, and evaporator coils in the form of gas or liquid to absorb heat and keep your food frozen.
Don’t forget that if you want to move your freezer, you should transport it in its normal position (as it would sit in your home). Otherwise, the refrigerant and compressor oil may leak and permanently damage your appliance.
Finally, remember to make sure your freezer is level and ensure that it has enough breathing room to avoid heat buildup.
Thank you so much for taking the time to read this guide. If you found it helpful, I recommend checking our related articles below. You’ll be able to solve different issues on your own.
Have a wonderful rest of the day!


Designing Modern Living Rooms from Iconic Movies

7 Tips for Heating a Room with High Ceilings (On A Budget)