Stuck trying to figure out how to fix a frozen drain without having to perform a full defrost?
Don’t worry, you’re not alone. You wouldn’t believe how many people I’ve seen struggle with this annoying issue.
The good news is that if you have a spare 10 minutes and aren’t afraid to roll up your sleeves, then you’ve come to the right place to get it fixed.
If your freezer drain is freezing up, you’ll need to locate the drain hole and melt the ice with warm water. To prevent this issue from happening again, check your freezer’s temperature and wrap one end of a copper wire around the heating element and insert the other end into the drain hole.
Keep reading to learn more about these tips and solve the issue!
How to Fix a Freezer Drain That Is Freezing Up? 6 Simple Steps
Most modern freezers have an auto-defrost feature that activates a heater in the evaporator coils to melt any frost and prevent ice buildup.
Then, the remaining water goes into a drain hole located directly below the evaporator and travels down a hose to a drip pan.
However, if the water freezes before making its way through the drain, the hole can easily get blocked.
So, if you have a pool of water under the bottom drawers or water is leaking from underneath your freezer, there’s a good chance the drain is frozen.
This is a common issue and can be easily solved without having to fully defrost your freezer. The 6 steps you should follow to fix a frozen drain are:
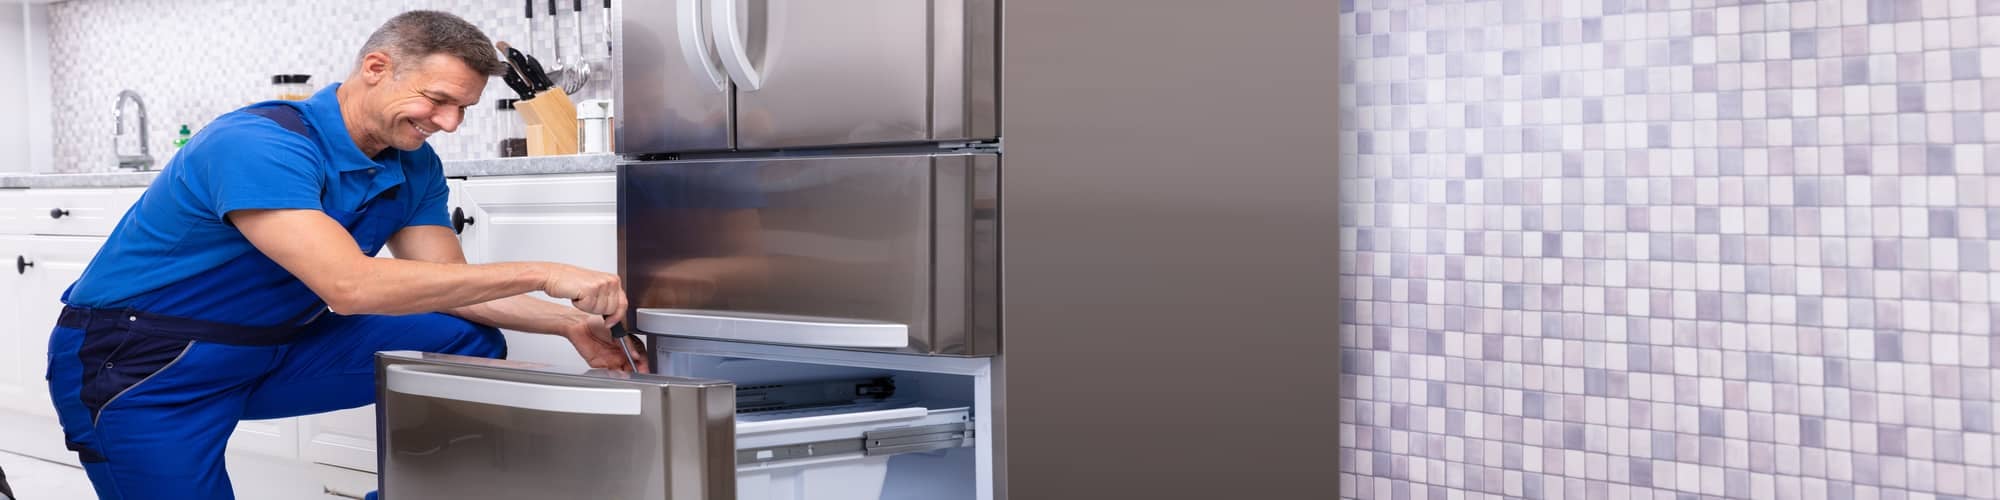
#1 Unplug Your Freezer
When repairing your freezer or disassembling it, you may be in contact with water, which can conduct electricity.
So, to prevent electrical hazards, it’s important to make sure there is no flowing electricity inside your freezer by unplugging it from the wall outlet.
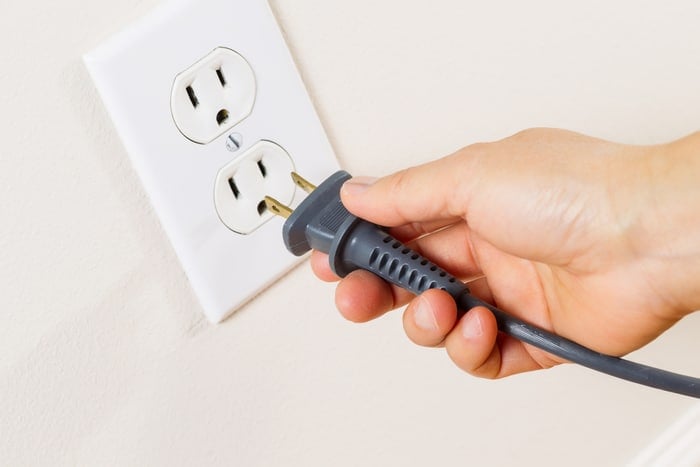
If you can’t reach the power cord or can’t move the freezer because it’s too heavy, please turn it off at the circuit breaker.
#2 Remove Food and Drawers
Once you’ve unplugged your freezer from the wall outlet, it’s time to remove all your frozen food, bottom drawers, or shelves.
This way, you’ll be able to easily access the drain hole.
Although the process of unclogging the drain hole is quick, I recommend transferring your food to a cooler. This way, you’ll keep it from thawing.
If you notice that excess water has been collected in the bottom of your appliance, please clean it with a microfiber cloth.
#3 Locate the Drain Hole
Now, you need to locate the drain hole to fix the issue.
The location of the defrost drain may vary depending on the freezer model and brand you own, but it is usually located at the bottom back under the evaporator coil.
In some models, the drain tube and hole are covered by a plastic panel. If that’s the case, please use a screwdriver to carefully remove it.
But, if you can’t find the drain hole, please read the manufacturer’s manual.
If you don’t have it, don’t worry! You can easily search for it on Google. The only thing that you need to know is your freezer’s model number and brand.
This information is typically located on a label that can be found under the lid, behind the lower kick plate, on the inside wall, or on the sides or back of the appliance.
Once you’ve located the label, enter the model number and brand on Google’s search bar. For example, if you have a Whirlpool freezer, you’ll need to search for “Whirlpool Freezer [model number] manual PDF”.
Then, download the manual and search for the location of the freezer drain.
#4 Use Warm Water
If you’ve located the drain hole, but it’s covered in ice, you’ll need to use warm water to melt it. You should also remove any other debris that may be blocking the drain hole.
Do not use sharp objects, such as knives, to remove debris, since they can damage your appliance.
Once you can access the freezer drain, please pour hot water down the hole. I recommend using a turkey baster.
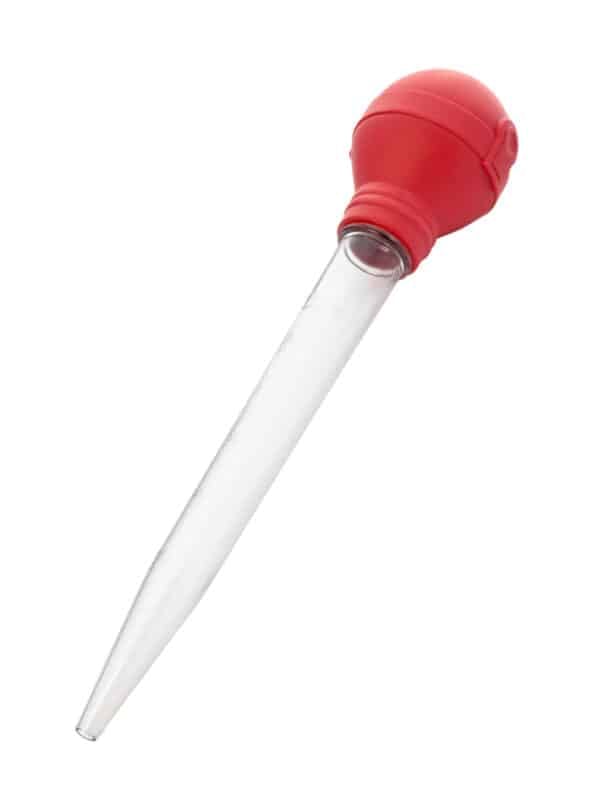
I know this solution may sound too simple, but believe me, it works. The force and heat of the water should remove any remaining ice from the drain.
#5 Clean the Drip Pan
Once you’ve melted the ice that was stuck in the freezer drain, the remaining water goes into the drain pan.
Normally, this water evaporates, but if there’s too much water, I recommend cleaning the pan.
You should be able to find the drip pan in the front rear of your appliance, but remember to check your manual, since the location may vary depending on your freezer’s model.
Disconnect the water supply and remove the drip pan, you may need to use a screwdriver. Then, remove the remaining water from the pan and use warm water and soap to clean any built-up grime.
Rinse with water and dry the pan with a clean microfiber cloth or let it air-dry.
#6 Put Everything Back in Place
Finally, you’ll need to put the drip pan and any other components that you removed (such as drawers and shelves) back in place.
Don’t forget to plug your freezer back into the wall outlet, or turn it on at the circuit breaker.
Then, please transfer your food back into your freezer. If you followed all the steps above, the problem should be solved.
How to Keep Your Freezer Drain From Freezing Up Again? 2 Simple Tips
Now that we’ve covered how to fix a frozen drain, it’s important to learn how to prevent this issue from happening again.
This way, you will not only save time and money, but you will also ensure the effectiveness of your freezer.
Follow these simple tips to keep your freezer drain from freezing up again:
#1 Use a Copper Wire
What if I told you that you can prevent the issue from happening again by simply wrapping one end of a copper wire around your freezer’s heating element and putting the other end into the drain hole?
Yes, that’s all it might take.
You see, copper is considered one of the best conductors of heat. It can immediately transfer heat into the drain to prevent future frost or ice buildup.
Follow these simple instructions to install the copper wire:
- Locate the evaporator coils and drain hole (they’re usually next to each other). Remember, you’ll need to check your manual, since their location may vary.
- Remove the plastic panel covering the evaporator coil. You may need to use a screwdriver.
- Wrap one end of a 12-gauge copper wire around the heating element and put the other end on the drain hole.
- Use some pliers to align the wire into the middle of the hole.
- Put the evaporator cover back in place.
If you’re a visual learner, check out the following video:
Note: If you installed the copper wire, but the drain keeps freezing up, you’ll need to check the defrost timer, heater, and thermostat. If any of these components are faulty, please replace them.
#2 Check the Temperature
You also need to make your freezer is set to the correct temperature. Otherwise, the drain will keep freezing up.
To check the temperature, I recommend placing a thermostat in an ice cream that has been in the freezer for at least 12 hours.
Then, check the temperature. Your freezer should be set to 0 °F (ca. -18 °C).
If your freezer is too cold, you’ll need to safely raise the temperature. Here’s how to do it:
- Locate the temperature control. Try checking your manual since its location may vary.
- Change the temperature setting one increment at a time and wait 24 hours for the change to take effect.
- Check the temperature again, and if you need to make an additional change, remember that you’ll need to let your freezer sit for 24 hours first.
Conclusion
That about covers it! I hope that this article has helped you gain some more confidence in solving the issue.
If you take anything away, remember that if your freezer drain keeps freezing up, you’ll need to use a turkey baster with warm water to solve the problem.
Don’t forget to check your freezer’s temperature and wrap one end of a copper wire around the heating element and put the other end on the drain hole to transfer heat and prevent the issue from happening again.
Thank you so much for reading this guide. If you found the tips above helpful, please check out our related articles below.
Good luck!


Designing Modern Living Rooms from Iconic Movies

7 Tips for Heating a Room with High Ceilings (On A Budget)