We've independently reviewed this article to make sure it's as accurate as we can make it.
To find out more about our article creation and review process, check out our editorial guidelines.
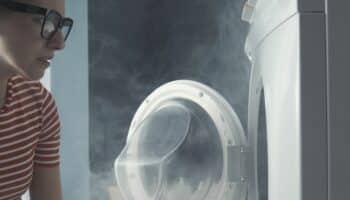
Is your washer not filling with water?
You’re not alone! I know how frustrating it can be, especially when you have a pile of dirty laundry.
But don’t worry; I’m here to help!
If your washer is not filling with water, chances are you have clogged inlet filters, a faulty water inlet valve, kinked hoses, or a malfunctioning pressure switch. A problematic timer and control board issues can also explain the problem.
Read on to get your washer filled up again!
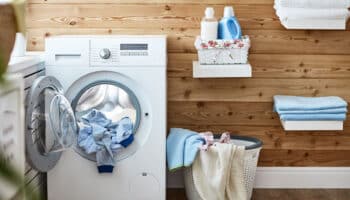
Washer Not Filling With Water? 8 Troubleshooting Steps
Different reasons can explain why your washer is not filling with water. Luckily, fixing the problem is very simple.
Here’s the tools you need:
- Pair of pliers.
- Multimeter.
- Screwdriver.
- Bucket.
- Cloth or towel.
- Replacement parts.
- Flashlight.
Keep reading to fill your washer with water again!
#1 Check the Water Supply
If your washer is not filling with water, I recommend checking the water supply.
To ensure the water supply is properly functioning, turn off the valves behind your washer, near the wall.
They’ll look like small, round knobs or levers, with one for hot water (red) and one for cold water (blue). Next, remove the hoses from the valves and point them into the washer tub.
Turn on the water supply valves and check if water flows out of the hoses. If no water comes out, you may have a plumbing issue that needs to be addressed.
If water flows without any issue, reconnect the hoses and proceed to the next step to investigate potential washer-related problems.
It’s important to note that High-Efficiency washers use less water than older models. For example, brands like Kemmore, Whirlpool, and Maytag have top load washers that use the bare minimum amount of water.
To determine whether your washer has enough water, wait until it indicates it’s washing, pause it, and open the lid. If you can submerge the clothes underwater by gently pushing them down, then there’s enough water in the washer.
#2 Inspect the Supply Hoses
When I see a washer not filling with water, I always inspect the supply hoses.
The supply hoses connect your washer to the water supply valves and can sometimes become kinked or damaged, preventing water from flowing.
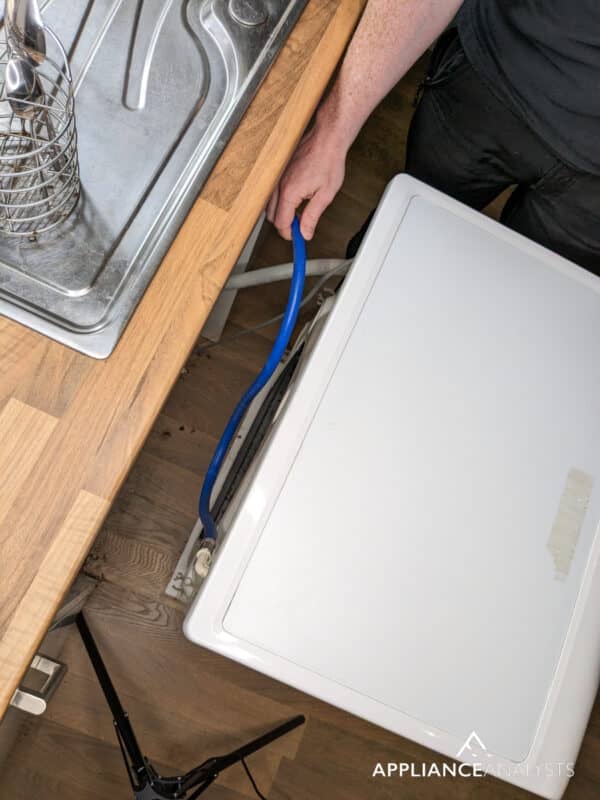
While the hoses are disconnected from the washer, check them for kinks, cracks, or leaks. If you find any issues, replace the hoses with new ones.
#3 Examine the Inlet Filter Screens
My usual advice for homeowners with a washer that doesn’t fill with water is to examine the filter screens.
The filter screens prevent debris from entering your washer and are inside the water inlet valve, where the hoses connect to your washer. If they’re clogged, they can restrict water into your washer.
To access the filter screens, turn off the water supply valves and disconnect the hoses from the back of the washer using players.
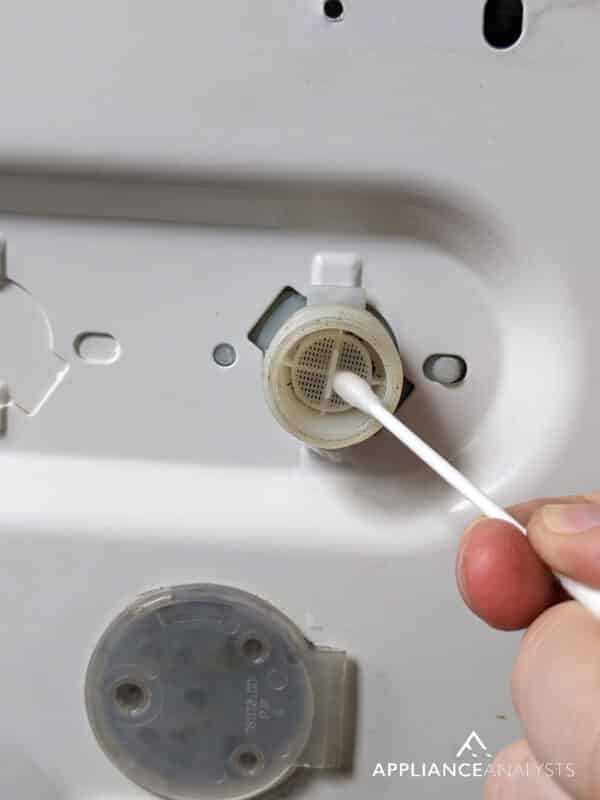
Once disconnected, use a flashlight to peek inside the inlet valve and locate the small, circular screens. Older ones are metal screens, while newer ones are plastic. Remove them gently with needle-nose pliers, and clean them under the faucet.
#4 Test the Water Inlet Valve
When homeowners report that their washer isn’t filling with water, I find that in 9 out of 10 cases, the problem lies with the water valve.
The valve controls water flow into your washer. So, if it’s malfunctioning, it won’t allow water to flow in fast enough, resulting in your washer not filling properly.
To test the water valve’s functionality, you’ll need a multimeter.
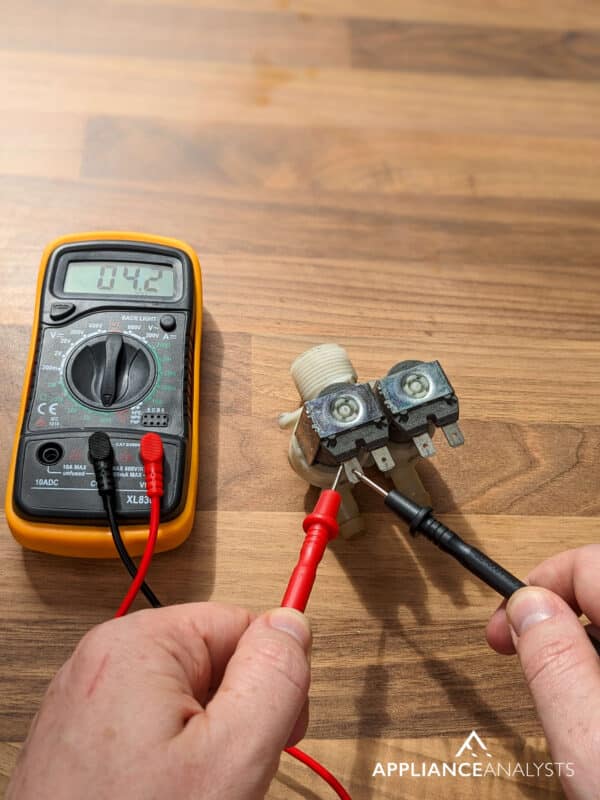
First, locate the valve (typically found near where the hoses connect to the washer) and remove the wiring harness by pulling it gently.
To properly test the valve, you must be in service mode or at the point where the water valve is activated in the wash cycle. With the multimeter set to measure AC voltage, check if the valve gets 120V AC.
If the valve is receiving power but still not working, replace it with a new one. Remember to exercise caution when working with electrical components and, if in doubt, consult a professional.
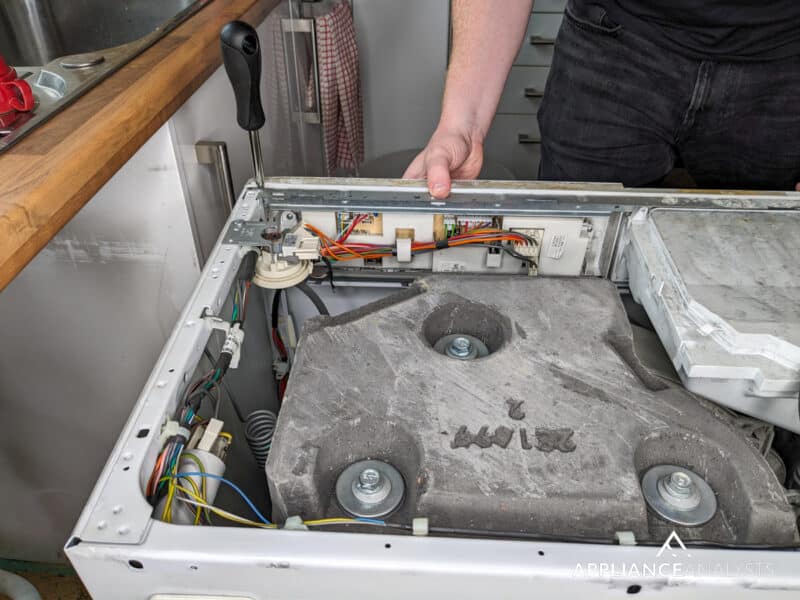
#5 Investigate the Pressure Switch
If your washer is still not filling with water, then you need to check the pressure switch.
The pressure switch, or the water level switch, tells your washer when to stop filling with water. It is inside the control panel, behind the wash cycle selector knob.
To inspect the water level switch, please unplug your washer and remove the screws securing the control panel to access it. Then, gently lift the panel to reveal the pressure switch, which looks like a small, round component with a hose and wires attached.
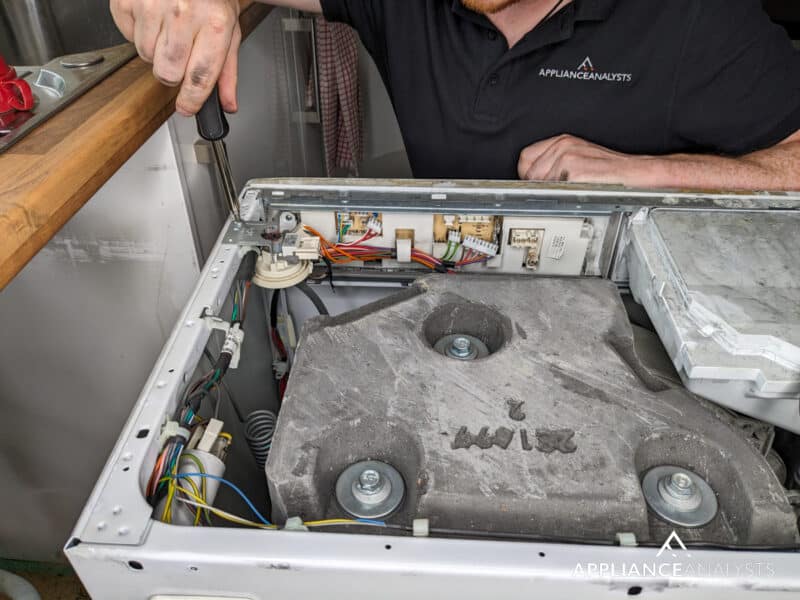
You cannot determine whether the pressure switch works through visual inspection alone. Instead, you’ll need to access your washer’s test or diagnostic mode to see if the pressure switch is registering water level changes.
Consult your washer’s model-specific instructions online to enter test mode. If the pressure switch fails to detect water level changes, replace it with a new one.

Ensure you reconnect the hose and wires before reassembling the control panel.
#6 Assess the Timer
The timer is another component that could be the culprit when your washer isn’t filling with water. It is within the control panel, near the pressure switch.
To test the timer, you’ll need to use your multimeter.
However, testing the timer can be quite involved and requires more advanced knowledge of your washer’s electrical system. You’ll need to consult your washer’s model-specific instructions online to locate the specific terminals on the timer corresponding to the water valve output voltage.
Once you’ve identified the correct terminals, disconnect the wiring harness from the timer and use your multimeter to test the timer’s electrical connections. If the timer fails the test, please replace it.
Remember to reconnect the wiring harness and reassemble the control panel after completing your tests.
Don’t forget to call a professional technician if you need clarification on any step in the process.
#7 Inspect the Control Board
If your washer is still not filling with water, there’s a good chance the control board is faulty.
The control board is like the washer’s brain because it manages various functions, so it can be challenging to diagnose and fix.
When a control board is faulty, my usual advice is to consult a professional or your washer’s user manual for guidance.
Please keep in mind that repairing the control board can be expensive. Sometimes replacing the washer is more cost-effective.
#8 Look for Internal Hose Blockages
When repairing a washer that is not filling with water, I always inspect the internal hoses.
Try checking for any blockages in the internal hoses connecting the various components of your washer, as blockages can prevent water from flowing freely.
To inspect the hoses, you’ll need to remove the washer’s outer casing, following the instructions in your washer’s model manual.
Next, look for any hose kinks, clogs, or damage and fix any issues.
Conclusion
Hopefully, now you know how to fix the issue causing your washer not to fill with water.
Remember to check the water supply, examine the inlet filter screens, test the water valve, and inspect the pressure switch. Don’t forget to check the timer and control board.
Thank you so much for reading! If you need more help with your home appliances, please check out our other articles below.


Designing Modern Living Rooms from Iconic Movies

7 Tips for Heating a Room with High Ceilings (On A Budget)