When your ice maker works, it’s an amazing (and, dare I say, indispensable) tool in your kitchen. You no longer have to fill those annoying plastic ice trays or plan ahead to have enough ice for dinner parties or house guests.
But when your ice maker stops working, it can quickly become a headache. Not having ice on a hot day is annoying—and that’s just the tip of the iceberg. (See what we did there?)
Now, don’t worry; as annoying as it is to have your ice maker stop working, there are some simple explanations and solutions. Below, I’ve prepared an article including the most common causes behind the situation and many ways to address each.
Ready? Let’s dive in!
Why trust us? This article was written by Craig Anderson and Andy Fulenchek.
Craig has helped thousands of other homeowners repair their appliances since 2016.
Andy is one of our resident appliance repair experts with over a decade of experience. He currently runs his appliance repair company with a team of trusted technicians.
10 Steps to Fix Your Ice Maker
When your ice maker is not working, many ideas can come to your mind to address the issue. Over the years, I’ve seen my fair share of faulty ice makers, so here are some things I recommend your try.
#1 Check Your Doors
The first thing I recommend trying when your ice maker is not working is to ensure the refrigerator doors are completely closed before attempting to dispense ice. If one of the doors is even slightly ajar or isn’t closing correctly, it can cause some issues.
#2 Check Your Display.
Another easily overlooked problem with an equally simple solution.
I find that when your ice dispenser is not working, there’s a good chance the display has been locked—either accidentally or with the intentional child lock. Press and hold down the lock key on the refrigerator display for three full seconds to unlock it.
Then, double-check that the child lock is no longer enabled. If either lock is the problem, you can quickly be on your way to getting back to a working ice maker!
#3 Check the Dispenser Paddle
If your ice maker isn’t working, it could also be due to an issue with the dispenser paddle.
Sometimes the dispenser paddle can be pressed too long, resulting in an automatic shutoff after three minutes of continuous use. While annoying, the shutoff feature is meant to prevent the ice maker motor from overheating.
If you think your dispenser paddle may have been pressed too long and be the source of the problem, try resetting it. Simply release the dispenser paddle, give it a couple of minutes to rest, and then try again.
Depending on the fridge brand and model you own, you might have a single or double paddle system. If it’s a single paddle and water is dispensed, the issue likely lies elsewhere. However, if your fridge has a dual paddle system, being able to get water isn’t a sign that the paddle’s fine, as ice and water are dispensed independently.
#4 Check for Jams
Jams can also explain why your ice maker is not working.
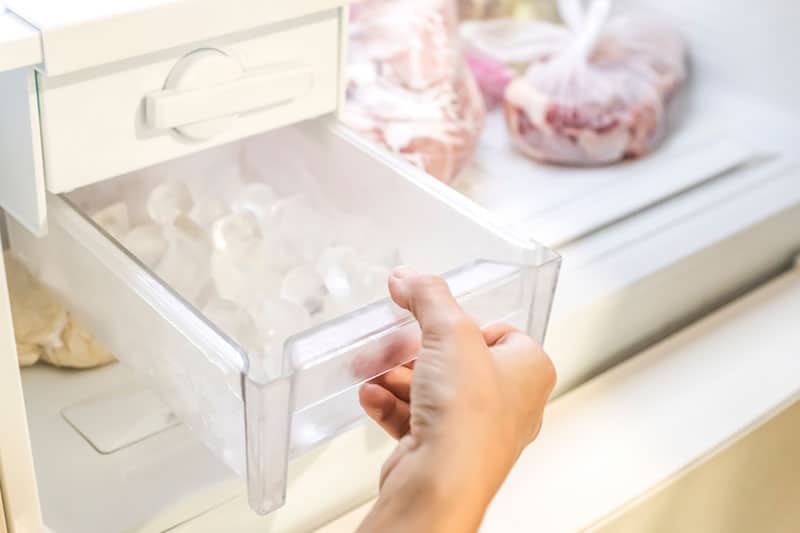
I’ve found that if ice melts and re-freezes due to infrequent use, recent power outages, or sudden swings in the refrigerator’s temperature, a jam can occur and cause problems. To address jams, remove the ice bin, thaw it, and empty the water.
Thoroughly wipe down and dry the ice bin before putting it back in place. If a jam was to blame, the dispenser will work normally once it has time to make new ice. Although the process is a bit time-consuming, it’s a refrigerator good practice to keep things running smoothly.
If you do remove and then replace the ice bin, be sure to avoid moving the auger in any way. A misaligned auger can be responsible for the ice dispenser not working and can also be the reason the refrigerator door fails to close correctly.
It should also be noted that if ice cubes are in the bin, you shouldn’t continue using the dispenser, as doing so can damage plastic parts or the auger mechanism.
#5 Check the Ice Bucket Auger
The ice bucket auger inside the recycle bin pushes the ice out when you press the dispenser. The auger is propelled by the motor that’s located behind the ice bin. If you suspect the auger isn’t working properly, verify that the motor is working.
You can check the functioning of the motor visually by removing the ice bin, holding down the door switch, and pressing down the dispenser switch. Just be careful, as augers carry massive amounts of torque, so they can hurt you badly if you’re not careful.
You can also listen for noise coming from the gearbox.
Sometimes, the auger and motor might try to work, but they’re too weak, rusted, or frozen with ice. The problem might also be caused due to the auger’s assembly fingers being corroded. Since the fingers are normally reverse-threaded, they can be challenging to remove if stuck in place.
#6 Check the Water Supply Line
A faulty water supply line can also explain why your ice dispenser is not working.
In my experience, if you press a cup against the dispenser as you normally would and—instead of getting ice—you hear a buzzing sound for approximately 15 seconds, it means the water valve isn’t getting the water it needs to make ice.
Your next step is to identify the reason for the disruption in the water supply line.
Sometimes, addressing water supply line issues is as simple as straightening out a kink in the line. Look for the tube behind or beneath your refrigerator.
If there’s no kink in the supply line, ensure the tube supplying water to your freezer isn’t blocked. Here’s how to check for blockages:
- Locate and turn off the shutoff valve.
- After dismantling the supply tube, put one end in a bucket.
- Turn the valve back on and see if water comes out of the tube.
- If no water comes from the tube, it’s time to replace it.
If you want to get any replacement part – or see how much one would cost – click to enter your model number in the search bar below. Our partners at AppliancePartsPros stock almost every part with free guides on how to install them.

#7 Check the Fill Tube
If your ice cubes were getting smaller day after day before your ice maker stopped working, it’s likely because your fill tube was slowly freezing. Unfortunately, many of your refrigerator’s components can be responsible for the malfunction.
The best course of action in such cases is to call a repairman to come out and assess (and hopefully fix) the problem.

I find that a frozen fill tube is typically caused by a faulty water valve. If you notice there is some water flowing, chances are your water inlet is failing, your filters are clogged, or you have a defective filter housing.
An easy way to spot the issue is to closely examine your cube size. If the size is significantly smaller than usual, something’s off.
#8 Check the Ice Mold/Chute
If the water supply line is okay and the fill tube isn’t to blame for your ice maker not dispensing ice, the next step is to check the ice mold. Specifically, look for cracks or more severe damage on the part that could be causing water to drip our pour out.
Check the ice chute for blockages if you determine the mold is ok. Sometimes ice can get stuck and build up on the chute, preventing ice from coming out. You can use a hair dryer to melt any large chunks you spot blocking the free exit of ice.
#9 Check the Solenoid
The supply line that brings water into your house attaches to the solenoid. The solenoid is typically found on your refrigerator’s bottom or back. It’s critically important that the solenoid receives power and that it’s working well, as otherwise, it may prevent water from getting into your ice maker.
To check the solenoid:
- Cut off power to the refrigerator.
- Remove the solenoid sediment screen and clean it thoroughly with water – this is also a good time to check the condition of the seals that attach the solenoid.
If you see anything wrong with the solenoid during the process, the component likely is to blame for the situation.
#10 Check the Tap Valve
The last possible reason your ice maker is not working is a faulty tap valve. The small device connecting your water supply tube to your home’s water supply pipe is called a tap valve or incoming water valve.
If the valve is damaged, your ice maker won’t properly dispense ice. If the valve appears to be damaged in any way, please replace it.
Note: If you do decide to replace your tap valve, be sure to order the exact size, as anything else will not fit correctly, and continue to prevent your ice maker from dispensing ice.
How Much Will You Have to Pay For Replacement Parts?
Depending on your fridge model and brand, prices will vary regarding replacement parts. However, here are some averages to give you an idea:
| Auger Replacement Costs | Switch and Dispenser Assembly Costs |
| $250-$350 | $165-$350 |
If you want to get any replacement part – or see how much one would cost – click to enter your model number in the search bar below. Our partners at AppliancePartsPros stock almost every part with free guides on how to install them.
Given that replacement parts can be expensive, my usual advice is to consider what you paid for your fridge to determine whether a replacement part is worth it over buying a new refrigerator.
- Auger Replacement Costs:
- Switch and Dispenser Assembly Costs:
Getting Your Ice Maker to Dispense Ice
When your ice maker is not working and leaving you with no ice, you can feel annoyed and worried about repair costs.
Luckily, as I hope this piece has helped you better understand, addressing the most common causes behind an ice dispenser not working is quick, easy, and sometimes free. More often than not, something as simple as thawing out ice buildup on the chute and checking the auger will do the trick.
Thanks for reading. If this article was useful and answered your questions, please check out our other resources below and consider subscribing to our newsletter.
Have a great day!
-Craig.


Designing Modern Living Rooms from Iconic Movies

7 Tips for Heating a Room with High Ceilings (On A Budget)