Let’s face it — water dispensers or ice makers are one of the most critical home and office appliances today. True, these incredible machines significantly contribute to helping us beat the roasting hot weather by ensuring we stay hydrated, especially during summer.
Even so, like other appliances, water dispensers and ice makers in your fridge can break down or develop mechanical problems.
Read on for a detailed insight into how you can fix the different types of water dispenser malfunctions. What’s more, we will also provide you with cleaning tips to help in maintenance.
Let’s dive in!
Water Dispenser: Problems and Solutions
1. Frozen Water Supply Tube
A frozen water supply tube is one of the most common water dispenser issues. The problem occurs when the tubing that links your water supply to the door where the water dispenser is located freezes due to incorrect temperatures in the side-by-side freezers.
The best way to identify whether your water supply tube is frozen is to disconnect the tube at the bottom of the door and blow air through it.
If air does not go through, it is an indication that it might be clogged up.
Solution: Defrost the Water Line
As you might have guessed, all you need to do to correct the problem is simply thaw it out.
Check the ice maker, water lines, and freezer door to see whether there is ice inside the tubes. If there is, using a hairdryer on low heat is the quickest way to safely thaw your water lines without having to defrost the freezer or disassemble the lines.
That’s it! Your problem should be fixed. However, it is imperative to note that the freezer temperature should be kept between 0 and -18°C. Your water line may also get frozen if your freezer is set too cold.
2. Clogged Water Filter
A clogged water filter is yet another cause of an ice maker not working correctly. When the water filter becomes blocked, it inhibits water flow to your ice maker and water dispenser. As a result of the low water pressure, the ice maker will not make as much ice.
Solution
A hairdryer on low heat (moved along the fill tube) can be used to melt and remove the clogged ice.
All you need to do is ensure you soak up any melted water as you go to prevent it from freezing again and generating further leaks. Also, make sure the fridge is unplugged from the power source. Water and electricity can be a dangerous combination.
No hairdryer? No problem! You can use a turkey baster to pour warm water down the fill tube to melt the ice but place a big bowl or basin beneath to catch any drips.
Alternatively, you can also replace the filters. Your water filters might be too old to function correctly. A faulty water filter can either contaminate or stop purifying the water. It also increases the likelihood of a blockage produced by chalky minerals, which are often filtered.
If it’s been more than six months since your last water filter replacement, it is recommended to get a replacement — just to be safe.
Most importantly, ensure you check the user manual to help you find the right water filter for your refrigerator model.
If you want to get any replacement part – or see how much one would cost – click to enter your model number in the search bar below. Our partners at AppliancePartsPros stock almost every part with free guides on how to install them.

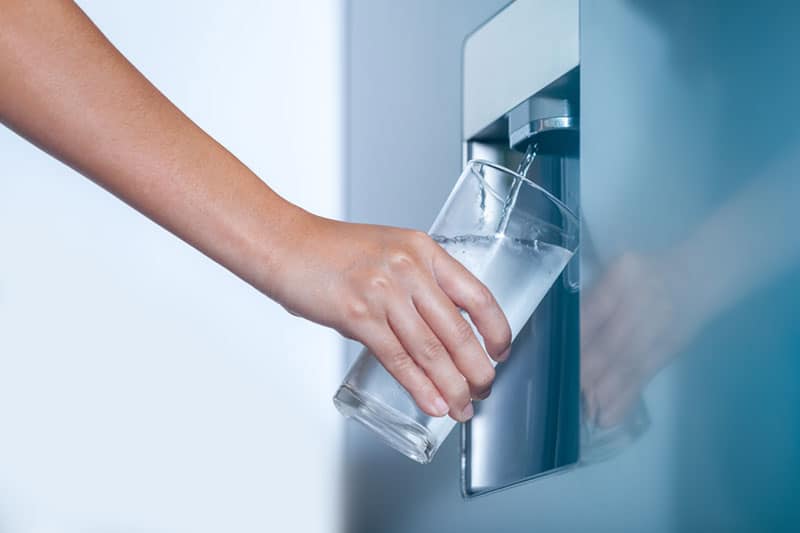
3. Water Leakage From the Dispenser
Technically, it is normal for 1 or 2 droplets of water to escape from your dispenser system shortly after removing your glass.
For this reason, it is always recommended to hold your glass beneath the water dispenser for around 2-3 seconds after releasing the dispenser lever.
However, suppose there is constant water leaking even after dispensing? Problems might have occurred if you recently changed your water filter or a faulty dispenser connection.
Solution: Flush the System Once
Addressing this issue is quite simple. The most recommended option is to clean the machine thoroughly to guarantee proper flow, especially if you had a new water distributor fitted or a new water filter installed.
Besides, you can always check the operation and care instruction manual for detailed insight.
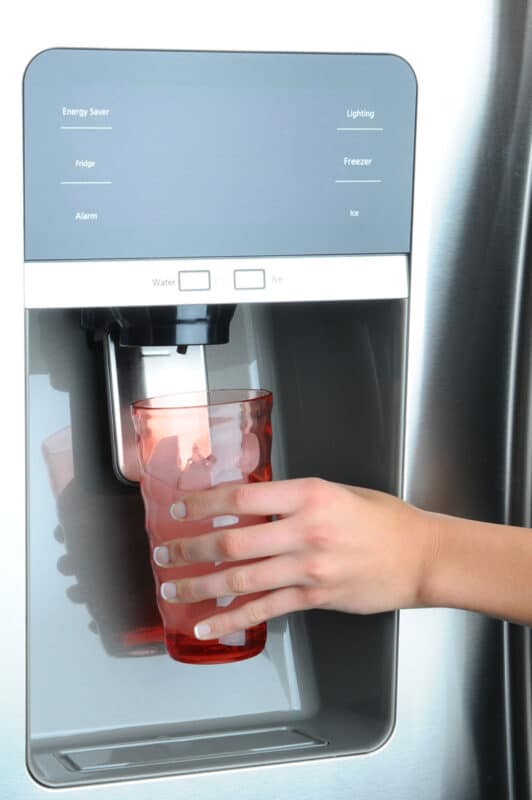
4. Ice Maker is Not Making Enough Ice
When your ice maker does not produce enough or any ice, the cause is usually connected to the water supply. The refrigerator might not be connected to the water supply, there might be insufficient water pressure, or the supply shutdown valve is turned off.
Solution: Check the Connection
Fixing this problem is relatively easy. All you need to do is locate the shut-off valve, which is usually located beneath the sink or behind the refrigerator. Close or turn the valve to the off position. Fill a turkey baster halfway with warm water and pour it over the waterline.
You can also defrost the waterline using a hair drier or by leaving the refrigerator disconnected for up to two hours.
After doing so, reconnect the refrigerator’s electricity and wait for the water supply to fill the ice mold.
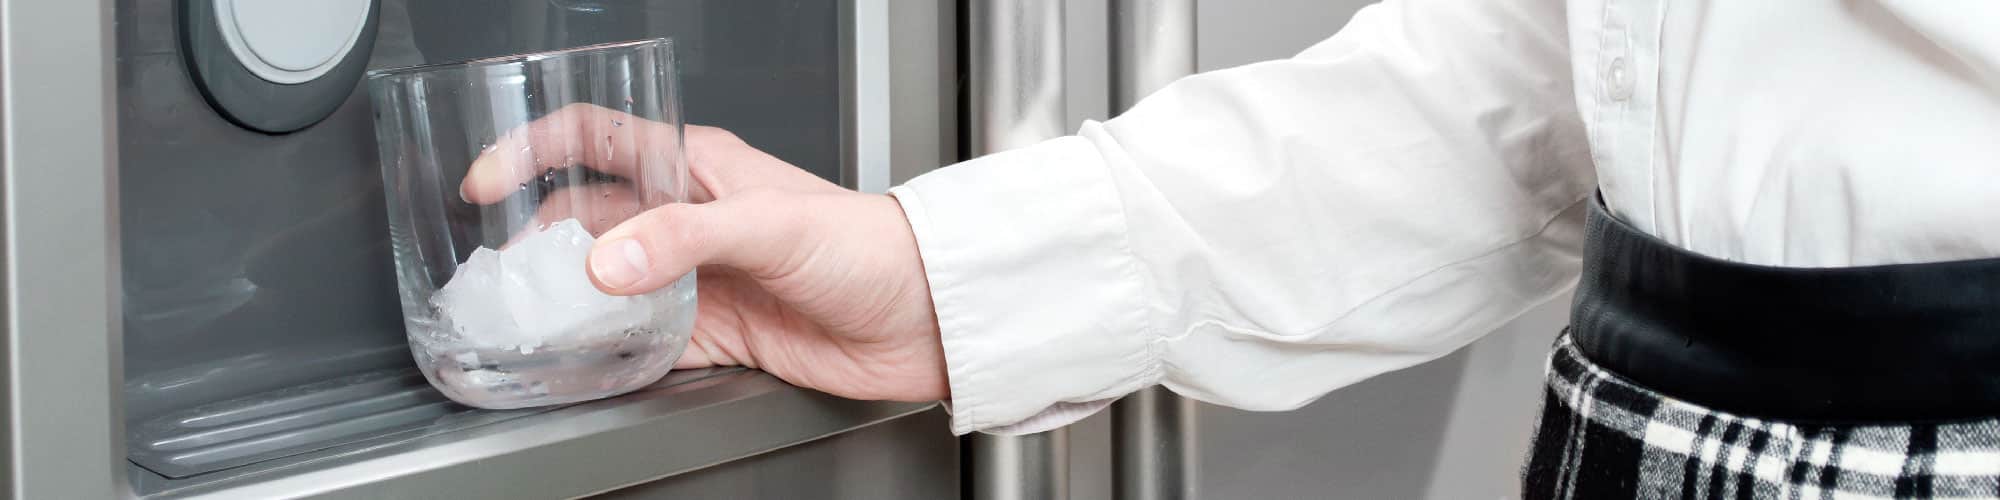
5. The Ice Has an Off Taste
Usually, ice should be odorless, tasteless, and transparent. However, if your ice cubes have some characteristics that are not normal, there may be some concerns that need to be addressed.
This problem can be due to various factors such as new plumbing connections, ice that has been kept for an extended period, odor transfer from exposed food placed within, minerals in the water, or water filtration problems.
Solution
If the discoloration or off-flavor is due to the new plumbing, it will fade with time. However, if the ice has been kept for an extended period, it is necessary to dump the old ice, clean the ice bin, and allow around 24 hours for the fresh ice to develop in the ice maker.
If the water contains minerals, a water filter should be installed to remove the minerals.
Also, keep your food in airtight containers and moisture-free. Additionally, if you already have a water filter installed and the water is still discolored or gray, it implies that your water filter needs to be replaced.
How to Clean a Water Dispenser
Proper cleaning of water dispensers requires users to understand how they function before they can start cleaning. You can learn all about the machine in the manual. It will help you determine which components should or should not be cleaned.
The manual should include detailed instructions for dismantling the machine to help you clean the components correctly.
Here is a step-by-step guide on how to clean your water dispenser.
Step 1: Unplug the Machine
Before you do anything else, start by unplugging the machine. What’s more, if you are cleaning the machine’s inner components, you might need to power off the power supply.
Next, get your tools ready. Among some of the tools you will need include:
-
Gloves
-
Washcloth
-
Screwdriver
-
Scrubbing brush
-
Disinfecting wipes
-
Cleaning solution
-
Instruction manual
Step 2: Make the Cleaning Solution
You can either use a vinegar solution or a store-bought cleaner. To make a vinegar solution, add one drop of vinegar and mix it with three drops of water. You can make as many solutions as you want.
Cleaning a Top-Loading Water Dispenser
Top-loading dispensers are the “traditional” water dispensers, with the water jug sitting at the top of the machine. Although different manufacturers and models have somewhat different cleaning techniques, we’ll walk you through a standard cleaning procedure.
Step 1: Turn off the machine
Step 2: Drain all the water
Step 3: Disconnect the water bottle
Step 4: Clean the valve. Use a scrubbing brush, washcloth, and a cleaning solution to remove the stubborn marks.
Step 5: Remove the components — remove the water guard, filter, drip tray, and baffle from the reservoir
Step 6: Scrub the parts thoroughly
Step 7: Fill the water reservoir with a cleaning solution and drain the water with the dispenser. Repeat the process twice.
Step 8: Taste the water to ensure it’s clean
Step 9: Fix the parts and plug-in power
Cleaning a Bottom-Loading Water Dispenser
A bottom-loading water dispenser has the water bottle loaded beneath it. Because it is a separate machine, there are noticeable variations in the cleaning procedure. Here is how to go about cleaning a bottom-loading water dispenser.
Step 1: Unplug the machine.
Step 2: Drain all the water from the reservoir.
Step 3: Add vinegar, bleach, or cleaning solution to the water reservoir and reattach it.
Step 4: Leave the mixture for 10 minutes and drain the reservoir.
Step 5: Fill the water bottle halfway with clean water after thoroughly rinsing it. Reattach the reservoir and let it fill up again.
Step 6: Drain all you can with the spigots, and then use the open valve (usually located at the rear of the machine) to drain the machine completely.
Step 7: Although this should be enough, you might need to repeat the process with clean water until the water no longer tastes like a cleaning solution.
Step 8: Clean the drip tray by removing it and scrubbing it.
Note that although the above guidelines apply to most types of water dispensers, if you want your machine to be completely clean, you should use the recommended information from your appliance’s instruction manual.
Final Thoughts
Ice makers and water dispensers are fantastic appliances but can be a real source of frustration when they are not functioning properly. It is my hope that this short guide will help you find and fix the problem where necessary.
Check out our blog for related articles, and let us work on ensuring you remain updated with the latest DIY fixes.


Designing Modern Living Rooms from Iconic Movies

7 Tips for Heating a Room with High Ceilings (On A Budget)