Are you wondering how to remove freezer ice without having to perform a full defrost?
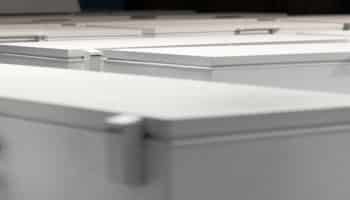
Although modern freezers can self-defrost automatically, almost all chest freezers and older models don’t have this feature.
If you have any of these older models, you’re in luck. In this article, you’ll learn different ways in which you can remove ice quickly without defrosting.
To remove freezer ice without defrosting, you’ll need to gather your cleaning supplies, unplug the appliance to prevent electrical hazards, and transfer your food to a cooler. Then, use warm water and a wooden spoon to scrape the ice. Don’t forget to clean your freezer when you’re finished.
Read on to learn more about these tips!
How to Remove Freezer Ice Without Defrosting? 6 Quick Steps
If you’ve bought a freezer that doesn’t have the Auto-Defrost feature, you’ll probably agree with me that manually defrosting it can be super annoying and time-consuming.
This is why I’ve prepared a list of 6 steps that you should follow to remove ice without defrosting:
#1 Gather the Required Materials
Before doing anything else, you’ll need to gather all the supplies that we’ll be using to remove ice from your freezer.
Don’t worry, though. You can easily find all the materials you’ll need at home. You probably won’t need to buy anything.
If by any chance you don’t have one of the materials, I recommend borrowing it from a friend.
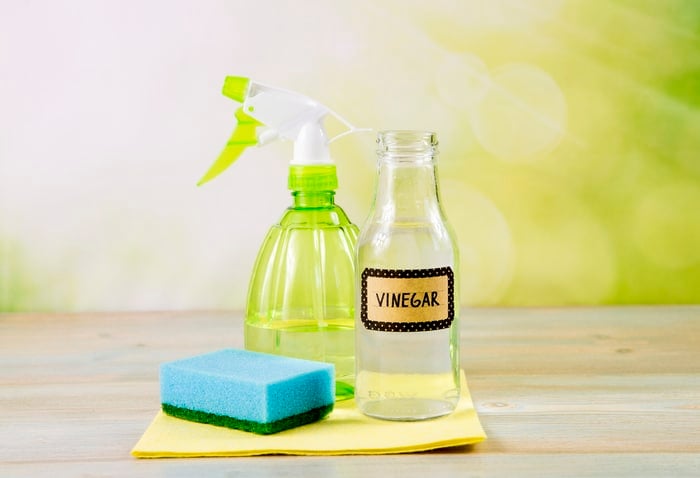
You’ll need:
- Cooler: To keep your food frozen while you remove the ice and clean your appliance.
- Towels: To soak up the melting ice and make the cleaning process much easier.
- Warm water: To facilitate the ice removal process. Try heating the water in a high-temperature-resistant container.
- Wooden Spoon: To scrape the ice without damaging your appliance.
- Freezer gloves: To avoid frostbite.
- Vinegar: To clean your freezer once you’ve removed the ice.
- Kitchen cloths, sponge, or rags: To wipe out any dirt and grime.
- Spray bottle: To spray water on all your freezer’s surfaces.
Once you’ve gathered all the materials above, it’s time to start removing the ice. Keep reading to learn more about the process.
#2 Unplug Your Freezer
Although the ice removal process is very quick and simple, I recommend unplugging your freezer from the wall outlet first for safety reasons.
You see, water can come in contact with some electrical components, which can damage the unit and result in an electrical hazard.
To prevent this issue from happening, carefully unplug the power cord from the wall outlet.
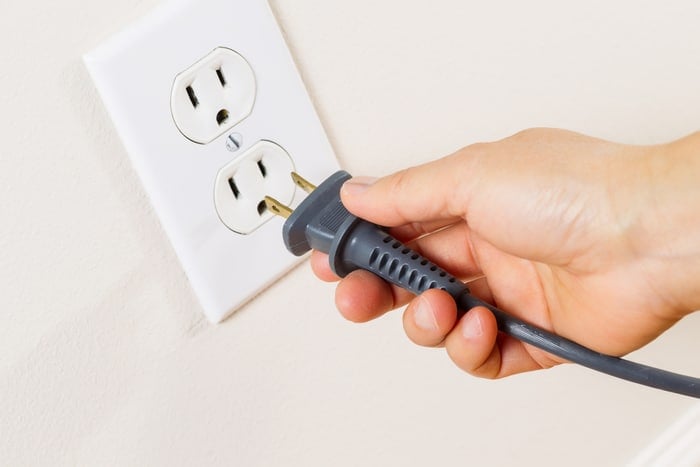
If the freezer is too heavy, and you can’t move it, you can minimize the risk of electrical hazards by switching off the circuit breaker that controls the power to the freezer.
#3 Transfer Your Food
In order to remove all the ice buildup, you’ll need to transfer the food containers stored in your freezer to a cooler.
This is the best way to keep your food from thawing and spoiling.
When transferring your food, please make sure the cooler is clean and use ice or frozen gel packs to keep the items cold. Moreover, try packing your food tightly and filling the cooler.
If you’re going to store raw meat, fish, or poultry, please place it in a plastic bag and at the bottom of a separate cooler to prevent cross-contamination.
I also recommend opening the cooler door only when necessary to maintain its internal temperature.
This is the perfect time to discard any food items that have been in your freezer for more than 6–12 months.
#4 Use Warm Water
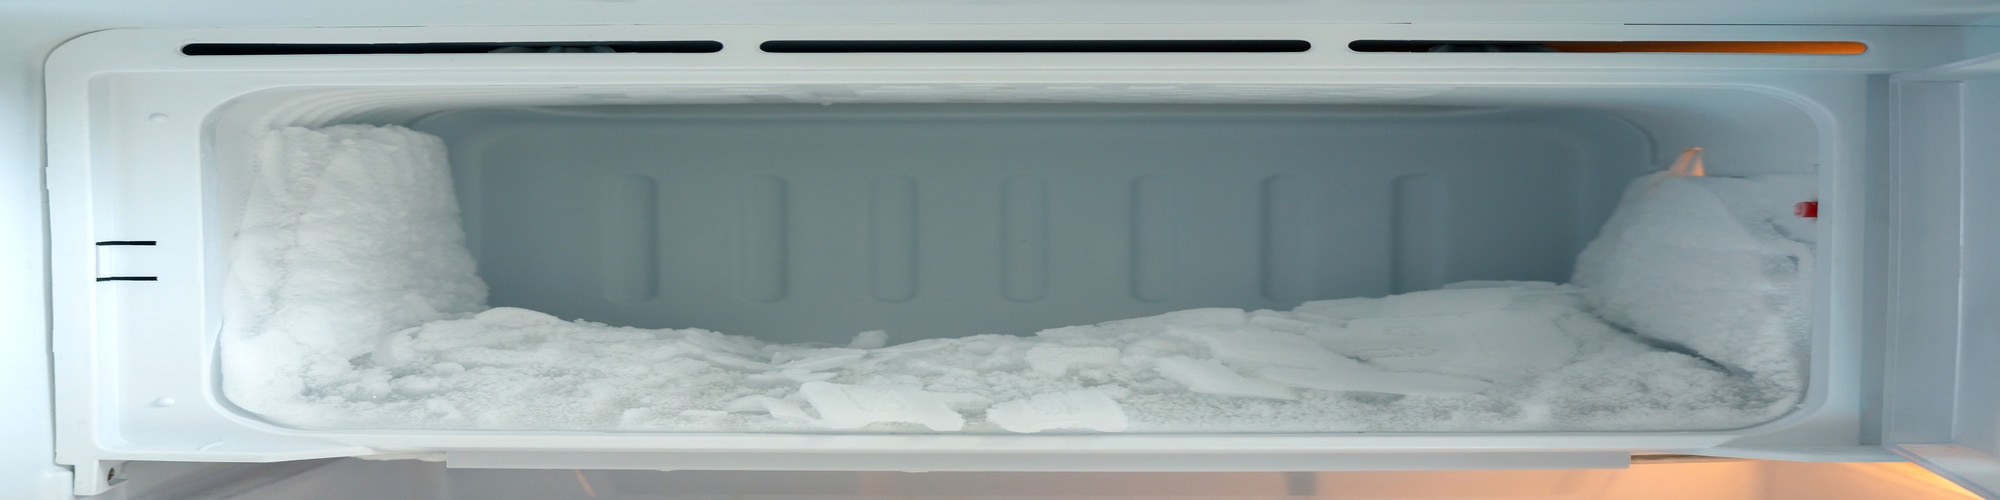
Now that your freezer is empty, it’s time to remove the ice buildup that is taking up space.
But first, please place a few towels around your freezer to catch any water spills. Then, fill a large bowl with warm water.
You should never use boiling water to remove ice or clean your freezer, as it can damage the unit.
Now, you’ll need to pour the warm water on the ice and use a kitchen cloth, sponge, or rag to gently wipe it away.
Tip: Use a spray bottle to spray warm water on the hard-to-reach spots.
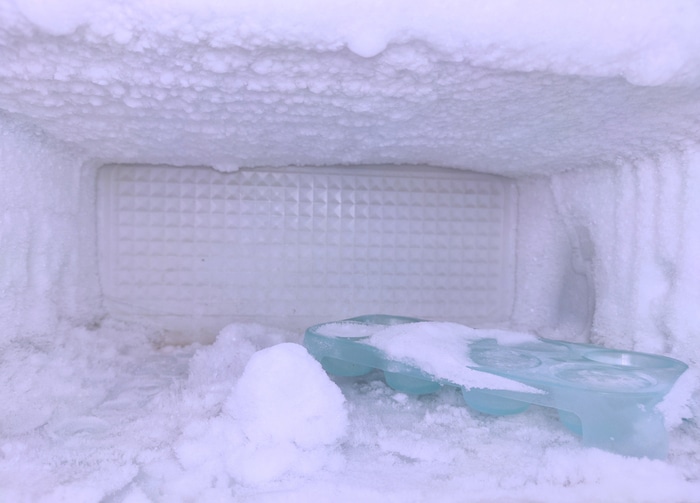
#5 Use a Wooden Spoon
If there’s still ice left, try using a wooden spoon to carefully scrape it.
Bear in mind that you should never use sharp objects, such as knives, to scrape ice as these can damage the interior walls of your freezer.
To gently scrape the ice, use a downward motion and work slowly to avoid damaging the freezer.
If it’s too hard, pour more warm water on the ice. This will speed up the process.
I recommend using a towel to collect the ice shaving and any remaining water. This will facilitate the cleaning process.
#6 Clean the Freezer
Although you can skip this step, I strongly recommend cleaning your freezer to get rid of any remaining odors or stains.
You can use a commercial cleaner, but if possible, try using equal parts of warm water and vinegar.
Vinegar is not expensive and is non-toxic. Moreover, this natural cleaner can easily break down stains and grime due to its acidity.
I also recommend using vinegar because it has antimicrobial properties, and it’s great to remove mold.
You can use a sponge, microfiber cloth, or an old toothbrush to wipe the freezer.
Once you’ve finished cleaning your appliance, dry it with a clean cloth or paper towel. This step is crucial to keep ice from forming again and to prevent mold.
Then, please put your food back into your freezer and plug it back into the wall outlet. If you turned it off at the circuit breaker, please turn it back on.
How to Keep Ice From Forming In Your Freezer? 5 Simple Tips
As you probably noticed, removing freezer ice without performing a full defrost is very simple.
However, I’m sure you would want to know how to prevent this issue from happening again. This is why I’ve prepared a list of 5 essential tips that will help you:
- Check the door seal regularly: The gasket is responsible for sealing cold air in. If it’s broken, dirty, or damaged, warm air may enter your freezer and the remaining moisture can transform into frost. Replace the seal if necessary.
- Open the door only when necessary: This way you’ll also keep warm air from entering your freezer and reduce the risk of ice buildup.
- Make sure your freezer is level: During the refrigeration process, a coolant flows through your freezer’s main compartments in the form of gas and liquid to absorb heat and keep your food cool. If your freezer is not level, the refrigerant may not flow too quickly, and the temperature may drop or raise and cause ice buildup. Use a spirit level to check if your freezer is level, and if it’s not, adjust its leveling legs.
- Check the temperature: Place a thermostat in an ice cream that has been in your freezer for 12 hours. The temperature should be set to 0 °F (ca. -18 °C). If it’s too cold, adjust the temperature dial one increment at a time. You’ll need to wait 24 hours before making any additional adjustments.
- Organize your freezer: Make sure there are no food items blocking the exhaust vent. Otherwise, airflow will be restricted, resulting in ice buildup.
If you want to get any replacement part – or see how much one would cost – click to enter your model number in the search bar below. Our partners at AppliancePartsPros stock almost every part with free guides on how to install them.

Conclusion
That about covers it! I hope that this article has helped you remove freezer ice without defrosting.
If you take anything away, please let it be that you’ll need to unplug your freezer to prevent electrical hazards, transfer your food to a cooler, and use warm water. Don’t forget that you can also use a wooden spoon to scrape ice.
Remember, you’ll need to check the door seals regularly, keep the door closed, level and organize your freezer, and check the temperature to prevent ice from forming again.
Thank you so much for taking the time to read this article. If you found the tips above helpful, please check out our related content below and visit our site.
Good luck!


Designing Modern Living Rooms from Iconic Movies

7 Tips for Heating a Room with High Ceilings (On A Budget)