Does your Dyson vacuum cut out before you’ve had the chance to use it? Then coming up, you’ll see 7 ways to fix this problem and finally finish cleaning.
If your Dyson vacuum keeps cutting out, do this
- Make sure it is fully charged
- Use a different power outlet
- Press the trigger for 10 seconds
- Disconnect the docking station to charge the battery
- Check for blockages
- Clean the filter
- Replace the battery
Intermittent power and cutting out are unfortunately common problems with cordless Dyson vacuums. Are you ready to get yours sorted? Then take a look at the full guide below.
7 Things to Do When Your Dyson Vacuum Keeps Cutting Out
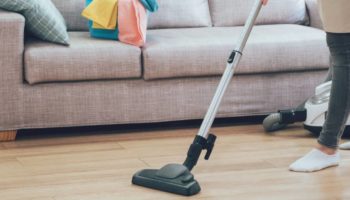
It’s been a long day. And getting the energy together to clean the house is not easy. So it’s very frustrating when you haul yourself up ready to tackle the cleaning, take the vacuum off of charge press the trigger and it does nothing.
Does your Dyson vacuum show it has a full battery but fails to do anything? Before you conclude that you need a new one, coming up are 7 things that you can do to fix it.
Step #1 Make Sure It Is Fully Charged
The first thing to do when you’re having trouble with your vacuum is to make sure the battery is fully charged.
Here are a couple of things to bear in mind about charging your Dyson vacuum:
- Make sure that you have connected the charging cable properly. If you do not insert it well, the battery will not be able to charge to full capacity.
- You will need to charge the vacuum regularly if you use it often. The battery life on cordless vacuums depletes over time. If you use the vacuum on “max” or “boost” mode, the battery in some cases will only last 5 minutes.
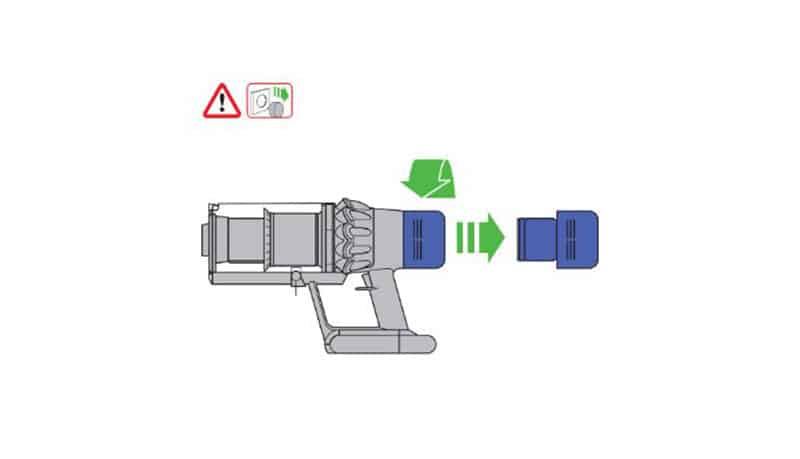
- Unplug the battery before you turn the vacuum on. Most Dyson cordless vacuums will not work while you have the charging cord plugged in.
- Are you using a regular Dyson vacuum (not cordless)? Then make sure you insert the power plug properly into the mains outlet.
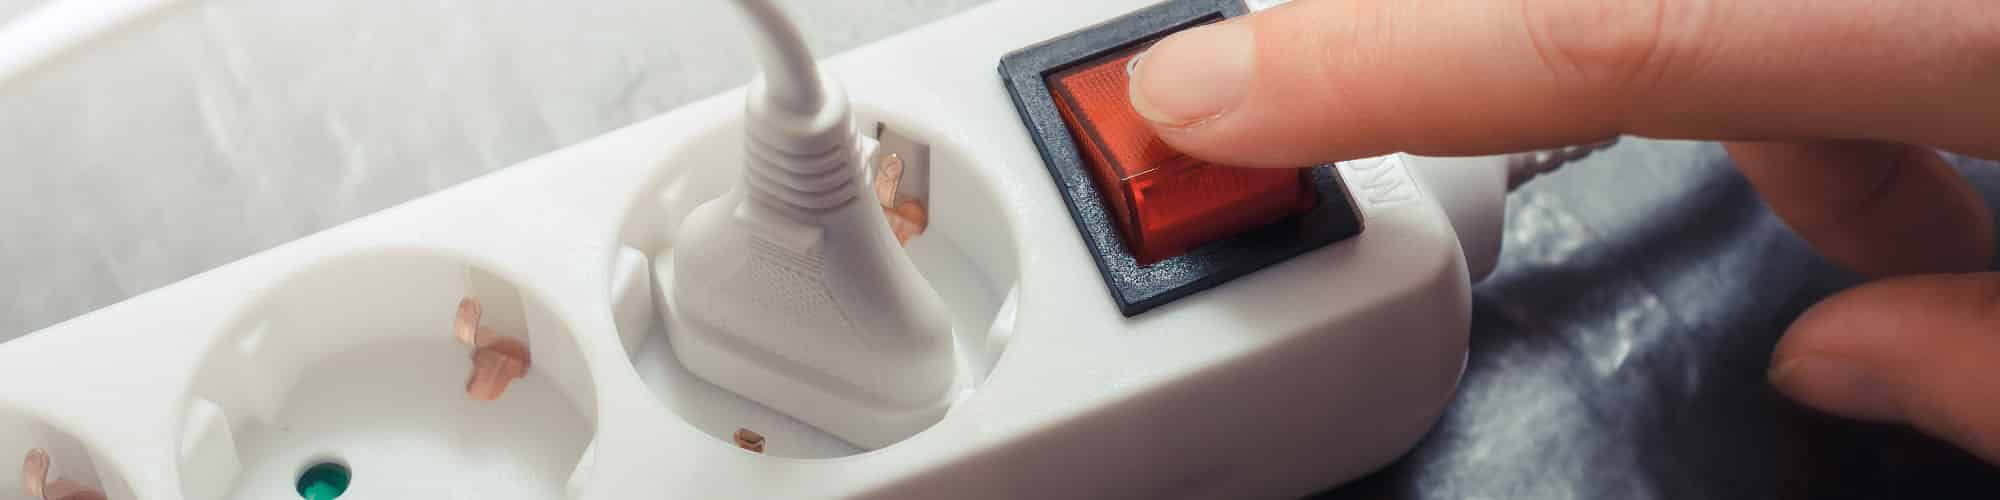
Step #2 Use a Different Power Outlet
The problem with your cordless vacuum does not necessarily lie with the vacuum itself. What could be at fault are your electrics. To check whether this is the case or not, do the following:
- Plug the Dyson vacuum into a different power outlet. Allow the battery to charge for the recommended amount of time.
- Unplug the vacuum
- Press the trigger. Does the vacuum work properly when charged from a different power outlet? Then you may need to call an electrician.
Step #3 Press the Trigger for 10 Seconds
If you haven’t used your Dyson vacuum for a while it might need a little extra push to get it to start working as it should. Here’s how you can do it:
- Remove the power cord
- Press and hold the trigger for 10 seconds
- Press the trigger normally
Step #4 Disconnect the Docking Station to Charge the Battery
Do you charge your Dyson vacuum battery via a docking station? Then there is something we can do to check if the problem lies with the docking station or the battery. Here’s what you can do:
- Unplug the charging cable from the docking station
- Plug the charging cable directly into the vacuum
- Leave the vacuum to charge for the recommended amount of time
- Remove the charging cable
- Press the trigger. If the vacuum works normally, you can conclude that there is a problem with the docking station. You will need to replace the docking station.
Fortunately, replacement docking stations tend to be a lot cheaper than replacement batteries. Depending on the model of your vacuum, you may be able to pick one up for as little as $10.
If you want to get any replacement part – or see how much one would cost – click to enter your model number in the search bar below. Our partners at AppliancePartsPros stock almost every part with free guides on how to install them.


Step #5 Check for Blockages
Most Dyson cordless vacuums are fitted with an automatic shut-off feature. This feature stops the vacuum from working when it detects a blockage.
Is your Dyson vacuum cleaner fully charged? Does it stop working seconds after you press the trigger? Then it might have a blockage. If it does, you should refrain from pressing the trigger again until you have found the problem and removed it. This will prevent you from doing any further damage to the vacuum.
The following items could easily block your Dyson vacuum:
- Hair
- Coins
- Paperclips
- Anything wet
- Ashes or very fine dust
There are a couple of things to do to clear a blockage in your vacuum. Here is a list of them:
- Leave the vacuum to cool. Do not attempt to clear a blockage while the vacuum is still hot.
- Empty the garbage bin. Make sure there isn’t any dirt lodged in the bin. You may need to use a small brush to clean it out. The vacuum will stop if it thinks that the bin is too full to continue working.
- Remove the tools. The tools include:
- The cleaner head. Remove the cleaning head and clear it of any obstacles. When cleaning brush heads, be sure to remove the hair from between the bristles.
- The crevice tool. Clean the crevice tool out.
- The wand. Remove any blockages from the wand.
- Press and hold the trigger button. If the machine still pulsates, move on to the next step.
- Check the shroud opening for blockages. Release the bin base to clean around it. Hold the base over a trash can and then clean around it to remove any dust or blockages.
- Return the bin and the tools to their places
- Press the trigger
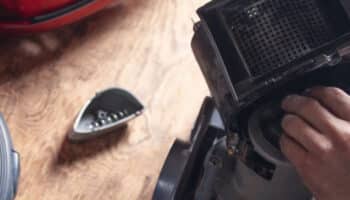
Step #6 Clean the Filter
If checking your vacuum for blockages didn’t solve the problem, the next step is to clean the filter. If there is a blockage in your vacuum’s filter, it will not able to operate properly. This will cause problems with intermittent and pulsating running.
Here’s how you can clean the filter of your Dyson cordless vacuum:
- To remove the filter, twist it anticlockwise then pull
- Remove any large bits of dust or dirt from the filter using your hands
- Run the filter under cold water to remove any fine dust or dirt from it. Use a soft-bristled brush to move any stubborn dirt.
- Run the foam under cold water. Squeeze the foam to release the dirt from inside. Continue washing the filter until the water runs clear.
- Wash the pleated paper by running it under cold water. Rinse it until all visible dirt is gone.
- Rinse the outside of the filter
- Wait for the filter to dry for 24 hours
- Return the filter to the vacuum
- Press the trigger
Step #7 Replace the Battery
The battery life of any electronic appliance will degrade over time. So we can expect this to happen to your Dyson vacuum’s battery too. How quickly this happens will depend on a few factors:
- How often you use the vacuum
- The model of the Dyson vacuum
- How often you use the vacuum in “max” or “boost” mode.
Have you tried all the other suggestions in this article and not had any success? If your Dyson vacuum only holds its charge for a couple of seconds, then it might be time for you to change the battery.
Battery prices can change depending on the model of your vacuum. Some will only set you back about $30. But others can go up to and exceed $100. I recommend replacing your Dyson battery with another genuine battery. This is also so that you can benefit from their 1-year guarantee.
If you want to get any replacement part – or see how much one would cost – click to enter your model number in the search bar below. Our partners at AppliancePartsPros stock almost every part with free guides on how to install them.
Conclusion
Does your Dyson vacuum give up the ghost before you’re able to use it? Going back to your corded vacuum or hand broom and dustpan is hard work. Following the 7 steps in this article will no doubt help you fix your vacuum quickly and resume your normal cleaning in no time.
Has this article been helpful to you? Then make sure you check out some of our other articles and free guides. You could even sign up to our email list.
Have a great day!
-Craig


Designing Modern Living Rooms from Iconic Movies

7 Tips for Heating a Room with High Ceilings (On A Budget)