There’s no good time for a vacuum not turning on. Still, it’s particularly frustrating when you’re staring down a mess on your floor.
If you’re currently cursing your vacuum for standing between you and a clean floor, you’re in the right place. If your vacuum simply isn’t turning on (and isn’t, you know, on fire or broke in half), then you can most likely fix the problem!
Read on to learn the steps you should try when your vacuum won’t turn on.
#1 – Got Power?
The first thing to look into is whether or not your vacuum is getting power. Don’t laugh! In a past life, I worked as tech support for a cable company and I cannot tell you how many calls ended with customers not even having the equipment turned on.
Of course, check that the vacuum is actually plugged into an outlet. It needs to be fully inserted – halfway won’t cut it.
Also, ensure the outlet is in good working order. If the outlet in question happens to be a GFI one, try the “reset” button.
If everything so far is good, try another outlet. Outlets can have their own issues and trying a second outlet makes sure it’s not an issue with the vacuum itself.
If you don’t have any luck with any outlets, examine the power cord from the vacuum. Check for fraying or exposed wires. A damaged cord won’t just prevent a vacuum from turning on; it can also be very dangerous.
In the event of a damaged power cord, you can attempt to replace it yourself or you can contact your local vacuum repair shop.
If you have a cordless vacuum, check to make sure the vacuum has been charged if it won’t turn on. The issue may be in the charger, not the vacuum.
#2 – Too Hot
So, it isn’t an issue with power. Moving along, you’ll need to check that your vacuum isn’t overheated. Is it warm to the touch?
Some vacuums are programmed to shut off automatically if the appliance overheats. If you are dealing with a hot vacuum, give it about 30 minutes to cool down.
This trick is really only relevant if the vacuum has been used recently. It’s especially possible if the vacuum stopped while in use. If the vacuum was idle previously, proceed to the next step.
#3 – In the Bag
Too often, I store my vacuum away with a full canister. If you’re guilty of the same, check the vacuum bag or canister.
Some vacuums are designed to not turn on if the bag is too full. Plus, your vacuum could probably use an emptying!
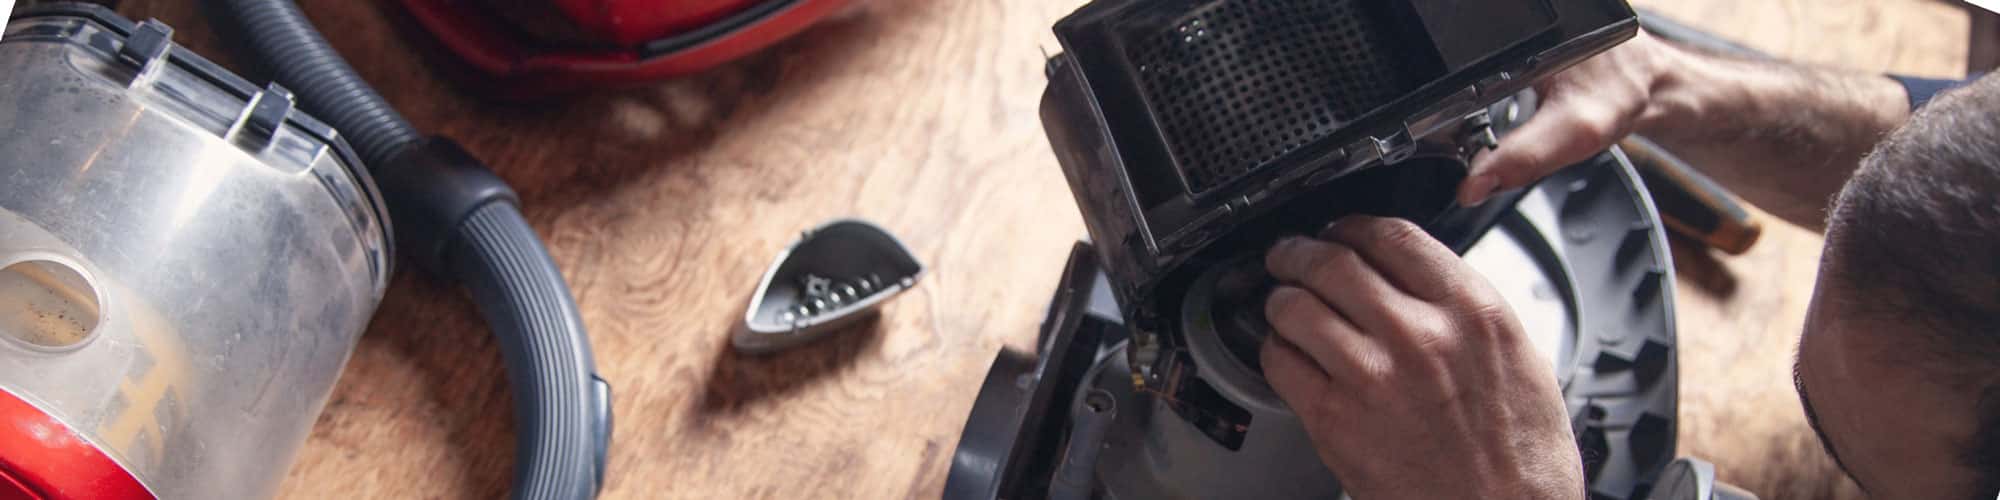
#4- Check the Filters
While you’re at it, check your vacuum’s filters. You might be surprised to learn that those should be cleaned or replaced regularly! I once had a vacuum not turn on because a filter I didn’t even know it had was clogged!
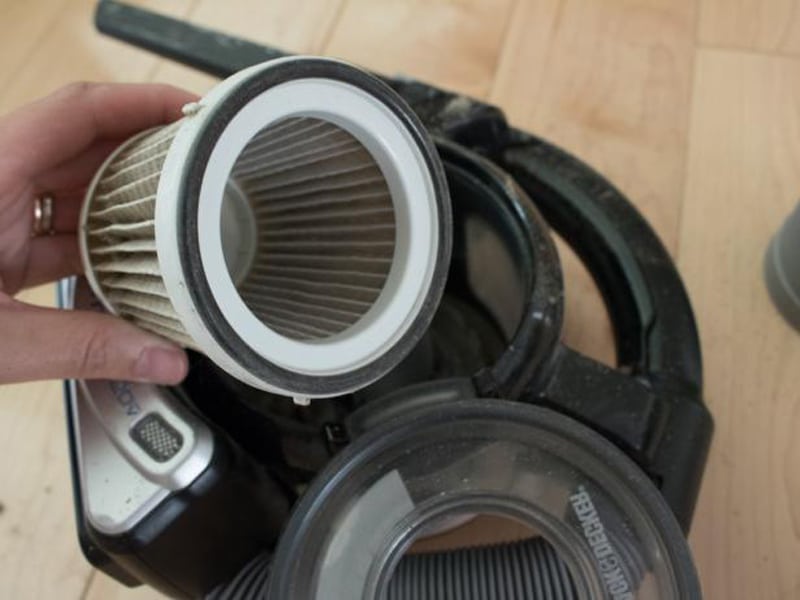
Different vacuums have different filter types. Bagless or canister vacuums typically have foam filters. If you start taking apart your vacuum and encounter a part similar to the sponge, that’s the filter.
Always consult your vacuum’s instruction manual, but most foam filters can be washed with water and left to air dry. Never place a foam filter back into a vacuum still wet.
Instead of a larger foam filter, your vacuum may have reusable disc filters. These should be cleaned regularly as well, but check the details for your particular vacuum because the discs may need to be kept dry.
Most vacuums also have HEPA filters. There are washable and non-washable HEPA filters, so it’s best you know which one you’re dealing with. You’ll need to check your product manual.
A washable HEPA filter can be dipped and rinsed under running water. Let the filter air dry completely. For non-washable filters, keep them dry. Using your hands or a brush, remove the lint and fluff from the filter.
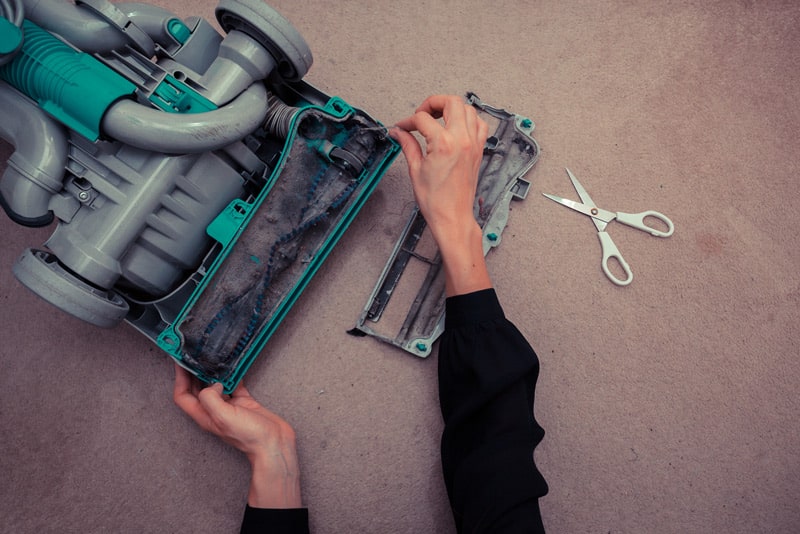
#5 – Inspect the Brush Roll
If it was a no-go on the canister front, it’s time to check the brush roll. In my experience brush rolls can be temperamental!
Debris can easily twist up and tangle a vacuum’s brush roll. Hair is the most common culprit. If the brush roll is tangled up and can’t spin, you’ll have to get in there. I’d recommend using some scissors or seam rippers to cut through the mess.
#6 – Motor Issues
If you’ve noticed, the fix gets slightly more complicated with each step. The motor of a vacuum is a trickier fix.
Your vacuum’s motor may be malfunctioning, but how would you know? Take a quick whiff. Is there a strong odor in the vacuum’s head, similar to a burnt smell? That’s a telltale sign of a bad motor.
Your motor may simply need to be cleaned, or it may need to be replaced. If you aren’t particularly knowledgeable in this area, I’d be wary of trying anything. However, if you are handy and have the instruction manual, you could attempt to clean or replace the motor itself.
#7 – Replace It
At this point in the troubleshooting, I ask you to consider when you purchased this vacuum. Is it a new addition to your home, or has it been there so long it’s earned a stocking on the mantle at Christmas?
According to Consumer Reports, the average vacuum lasts 8 years. Many factors affect this number, including frequency of use and proper maintenance.
Even the best taken-care of machine needs replaced sometime though. Your vacuum may be on its last legs if it’s not turning on and nothing resolves the issues.
Before your start browsing for a new vacuum, though, consult the warranty that came with your product, if any. If you’re in the warranty window, you could get parts or the entire vacuum replaced.
Conclusion
If your vacuum is not turning on, it’s likely there’s an easy fix. With any luck, one of the tricks above got your vacuum back in working order!
While we have you here, you should check out one of our other guides. For instance, have you considered a wall-mounted vacuum for your garage and car?


Designing Modern Living Rooms from Iconic Movies

7 Tips for Heating a Room with High Ceilings (On A Budget)