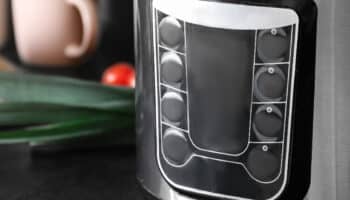
Is your vacuum sealer not sealing properly?
That sucks! Not being able to preserve your food because your vacuum sealer is having sealing issues can be super frustrating.
But don’t worry; I’m here to help.
If your vacuum sealer is not sealing properly, the bag is probably wet, overfilled, or broken. A damaged gasket or a malfunctioning heating bar could also explain the problem.
Read on to get your vacuum sealer working again!
Vacuum Sealer Won’t Seal? Try These 6 Fixes
In this section, I’ll guide you through the different conditions that can contribute to poor vacuum sealing and provide various solutions to get your vacuum sealer working in no time.
#1 Dry Your Bag
Vacuum sealing works best when certain conditions are met, such as dryness.
So, whenever I see a FoodSaver not sealing (or any other brand), I always check the bag.
To properly vacuum seal your bags and the food inside them, your vacuum sealer must come into contact with a dry surface.
I know how it can seem counterintuitive, especially when the heating bar’s temperature should be able to shrug off any excess moisture easily, but even all that heat can’t make up for the humidity in the bag.
So, if your vacuum sealer is not sealing properly, chances are you accidentally got the sealing end of the bag wet with the food you’re trying to preserve.
To solve the issue, you’ll need to carefully wipe the sealing end of your bag after putting your food inside it. Doing so will allow your appliance to seal properly.
Try using a disposable kitchen towel or a napkin when cleaning off juice from raw chicken or other meats, as using a cloth or anything else you’ll reuse later, could put you at risk of catching salmonella.
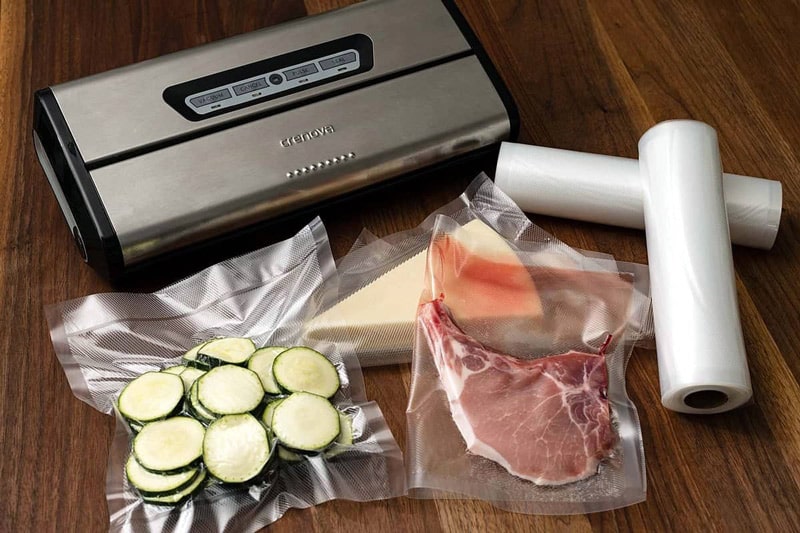
#2 Don’t Overfill Your Bag
If your vacuum sealer is still not sealing properly, ensure the bag is not overfilled.
You see, most vacuum sealer bags are designed to hold a specific amount of food. Overfilling the bag can compromise your unit’s ability to create a proper seal.
Please read the manufacturer’s manual, as you’ll probably find in there the maximum recommended filling capacity of every bag you own.

However, if you constantly need to store and preserve larger batches, I recommend getting a bigger vacuum sealer or larger bags.
You can easily find them in all shapes and sizes at online marketplaces.
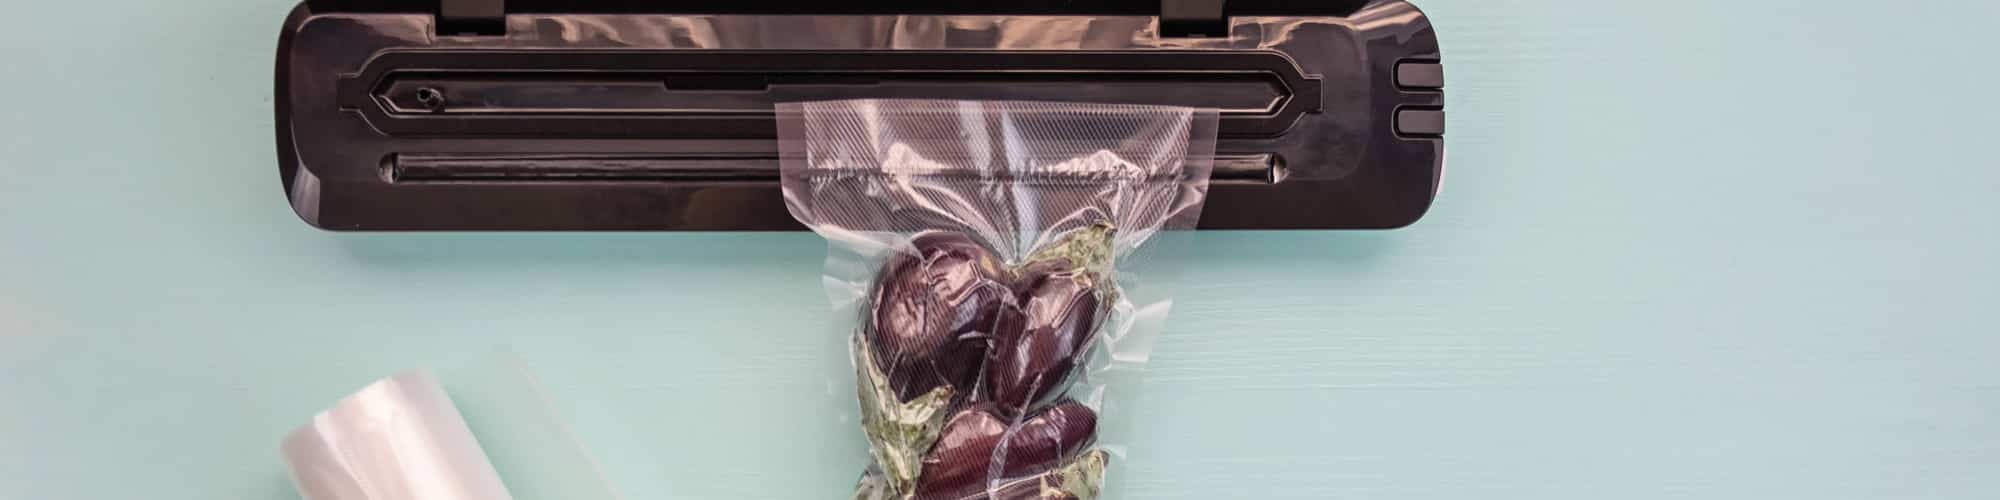
#3 Check Your Bag
If you tried the fixes above, but your vacuum sealer still has sealing issues, the bag you’re trying to use is probably broken.
While vacuum sealer bags are not as fragile as those you can find at supermarkets, they are certainly not indestructible. If they’ve been around the block several times, or if you use them quite frequently, some eventual wear and tear should be expected.
Even the smallest tear on your unit’s bag will make it impossible to create a vacuum seal. So, if your bags are broken, please replace them.
If you don’t want to spend money on new bags for your vacuum sealer right now, you can always try to patch up the tears with duct tape or any other flexible adhesive, but honestly, I’d advise against it.
Firstly, the material your bags are made of is designed to contract in a very specific way, which any adhesive you use will not be able to do. Secondly, the adhesives will not guarantee a perfect vacuum seal, so using them is definitely not a long-term solution.
I know that spending money on repairs or replacements is annoying, but you’ll end up having to do it anyway.
#4 Replace Your Gasket
Without a properly functioning gasket, vacuum sealing is impossible. It’s that simple.
The gasket is the rubber part that surrounds the lower section of your vacuum sealer’s lid, which guarantees a perfect seal and allows for the process to be carried out normally.
If your vacuum sealer is not sealing properly, there’s a good chance the gasket is either dirty or broken.
In such cases, you’ll need to remove the gasket. All you need to do is locate it and carefully pull it out. Then, inspect and clean it under running water, let it dry completely to prevent mold growth, and put it back where it belongs.
If the gasket is damaged or torn, you must replace it. But don’t worry; getting a new one from your manufacturer or nearest hardware store should be easy.
#5 Let Your Vacuum Sealer Cool Down
When I see a vacuum sealer not sealing, I always let it cool down, as excessive temperatures can result in different issues.
While vacuum sealers are designed to operate for extended periods, going over a certain limit can be detrimental.
As you know, your vacuum sealer uses heat to melt the sealing ends of your bag together. Carrying out the sealing process for several minutes or hours could cause the unit to overheat.
While overworking your vacuum sealer is not the only possible explanation for overheating, I tend to find it’s the most common.
Stop using your vacuum sealer, let it rest for 20-30 minutes, and then resume normal operation.
#6 Replace the Heating Bar
If your vacuum sealer is still not sealing properly, you’ll need to check the heating bar.
Without the heating bar, your vacuum sealer would be incapable of melting the sealing ends of your bags together.
How does the heating bar work, you ask? It’s fairly simple.
Every vacuum sealer has a small component called a heating element responsible for turning the electrical energy drawn from the wall outlet into usable heat.
When it fails, things can go one of two ways. You can either be stuck with a vacuum sealer that does not generate heat or one that generates too much. So, if your vacuum sealer is not sealing properly, there is a good chance you’re suffering from the former condition.
To check the heating bar, you’ll need to:
- Carefully unplug your appliance, and let it cool down.
- Locate the screws at the bottom of your unit, and undo them with a screwdriver.
- Remove the upper plastic casing to expose your machine’s guts.
- Gain comfortable access to the heating bar and test it with a multimeter.
- If you get null readings (0), replace the heating bar. On some models, you can test the heating bar with a multimeter without opening the vacuum sealer.
Wrapping Up: Ensuring Your Vacuum Sealer Works Perfectly
Hopefully, now you know how to fix your sealing issues.
Remember that if your vacuum sealer won’t seal, the bag is likely wet, broken, or overfilled. So please check it and replace it if necessary. Don’t forget to let the unit cool down and inspect the heating bar.
Thank you so much for reading. If you found this article helpful, why not check out our other related resources below?
Happy projects!


Designing Modern Living Rooms from Iconic Movies

7 Tips for Heating a Room with High Ceilings (On A Budget)