Domestic vacuum sealers are game-changers. Ever since vacuum sealers made their way into our homes, they’ve revolutionized how we preserve our foods and store important items. You’ll be hard-pressed to find someone who owns a vacuum sealer and regrets buying it.
That said, even with all their wonderful virtues, vacuum sealers are not failproof, which means that your vacuum sealer could occasionally cause you some trouble.
If you’re here, your vacuum sealer is likely failing. But why?
There are several explanations for the issue – from a full drip tray or a wet bag to something more serious, like overheating.
Luckily, you’ve come to the right place for answers. Below, you’ll find the 6 most common causes behind a failing vacuum sealer and the simplest steps you can take to address each one.
Are you ready? Let’s go!
Fixing a Malfunctioning Vacuum Sealer
Before prying your vacuum sealer open and looking for something broken inside it, we must consider external factors that could be contributing to the appearance of the issue.
You’ll often be able to fix your vacuum sealer problems by looking at your bags or cleaning the appliance well.

#1 Dry Your Bag
The first possible reason why your vacuum sealer is not vacuuming is that the bags you’re using aren’t dry.
Regardless of what kind of food you’re trying to vacuum seal, I find that failing to properly dry your bag before using your appliance can compromise its ability to work as usual.
During the vacuum sealing process, your vacuum sealer melts the sealing ends of your bag together, which can be very difficult if they’re not completely dry.
Solution: Dry off any excessive moisture that could be present in the ends of your bags to guarantee the best sealing conditions.
If you’re storing raw meat, please wash your hands after handling it and use a disposable kitchen towel or napkins.
Using a cloth, or anything else you’ll reuse later for cooking, could put you at risk of contracting salmonella and ingesting harmful bacteria.
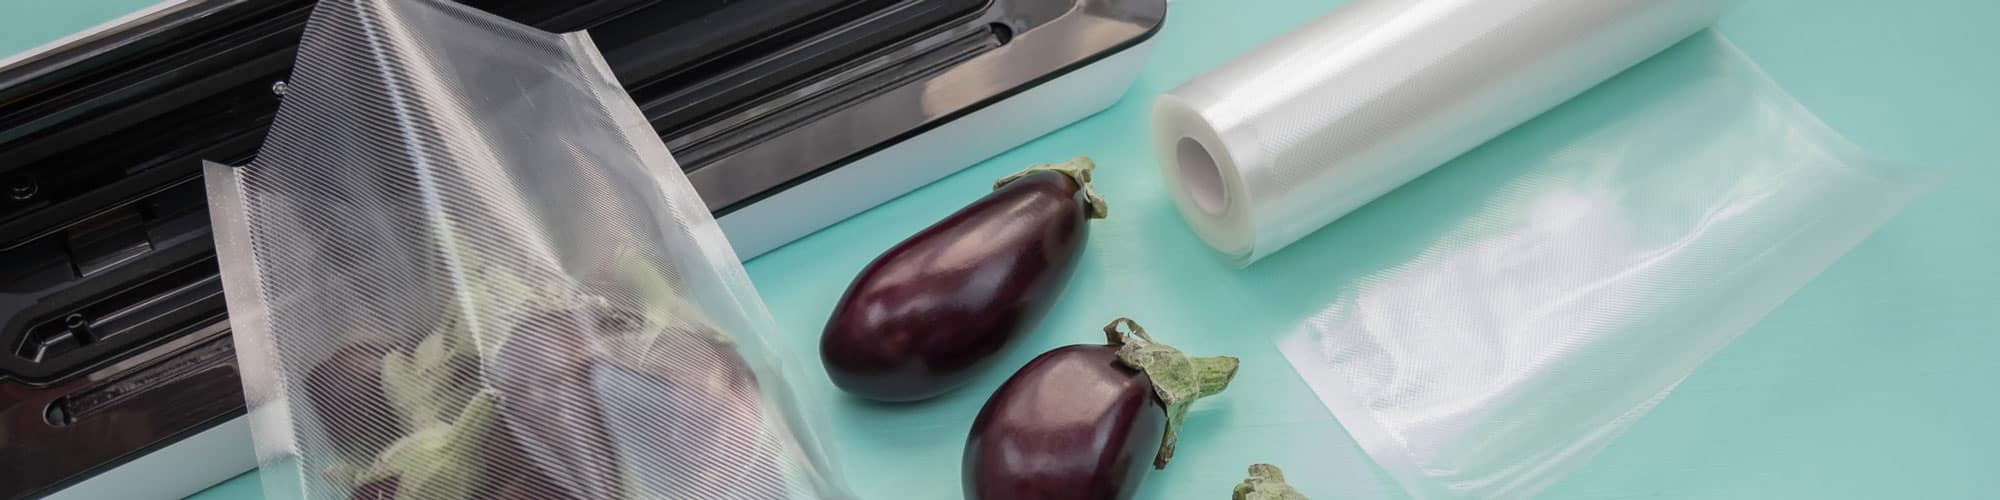
#2 Check Your Bag
If your bags are dry, but your vacuum sealer is not vacuuming, the bags might be damaged.
While your vacuum sealer’s bags are not as frail as those in the supermarket, they’re certainly not indestructible.
If your bags have been around the block a couple of times, or if you use your vacuum sealer very often, wear and tear is expected.
Even pinhole-sized tearing will make it impossible for your unit to vacuum seal properly.
Solution: If you don’t want to spend money on getting new bags right now, you can always try to use some adhesive, like duct tape, to patch up the tears. But honestly, I’d advise against using adhesive for 2 main reasons.
- Adhesives are not designed to contract like your bags, so the resulting seal won’t be perfect.
- Using adhesive is not a long-term solution; you’ll end up having to buy new bags anyway.
#3 Replace Your Gasket
If your vacuum sealer is still not vacuuming properly, my usual advice is to check your gasket next. The gasket is the lifeblood of your vacuum sealer, so if there’s any damage to it, the vacuuming process is impossible.
Gaskets are everywhere – you can find them on blenders, food processors, water coolers, pressure cookers, and more!
If your vacuum sealer’s gasket is broken, a replacement is necessary.
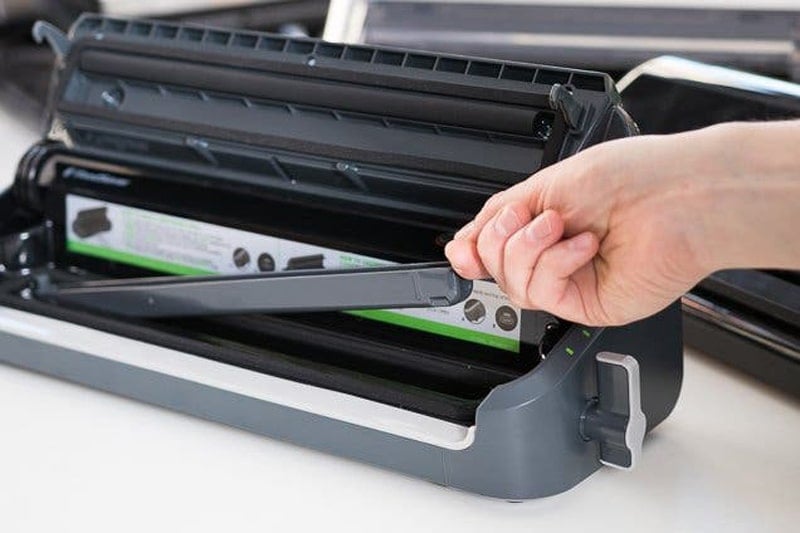
Solution: The replacement process might vary from model to model and from manufacturer to manufacturer, but the broad strokes should be similar for all:
- Open your vacuum sealer’s lid and locate the rubber part inside it.
- Carefully unplug your vacuum sealer, and let it cool down. Once the appliance reaches an acceptable temperature, delicately pry the gasket from the lid.
- If you see no damage but there’s food build-up on the gasket, you can clean it under running water.
- Provided there’s damage, such as tearing, a new gasket is required.
You can buy a new gasket either from your manufacturer or a nearby hardware store. In my opinion, the simplest way to get the right replacement is to bring the old gasket with you to show for reference.
#4 The Lid Is Damaged
If your vacuum sealer is not vacuuming properly and the gasket is not the issue, the lid might be.
Vacuum sealing is a complicated process that needs several conditions to be achieved successfully. Any structural damage to your vacuum sealer or its outer plastic casing will play an important part in its malfunction.
Solution: Check your vacuum sealer from all angles.
Provided that you spot any tearing or missing parts on your vacuum sealer, you’ll have to call your manufacturer and see if they have a replacement.
#5 Empty Your Drip Tray
The drip tray is essential to keeping your vacuum sealer operational and dry. Since the drip tray is not always visible, it’s common to forget to emptying it frequently. However, emptying the tray is key to proper vacuum sealing.
Many modern vacuum sealers will stop working when their drip tray is full as a safety measure against overflowing and the formation of bacteria.
Solution: Some vacuum sealers have an alarm to inform you that the drip tray is full. My advice is to do your best to pay attention to the alarm and empty the tray often.
#6 Overheating
Lastly, if none of the solutions above have worked, it’s time to consider overheating as the reason why your vacuum sealer is not vacuuming.
Excessively high temperatures can cause a wide range of problems and shorten your vacuum sealer’s lifespan considerably. Overheating can happen for several reasons, but none are as common as overworking your vacuum sealer.
Solution: Most manufacturers will recommend waiting at least 20 seconds between bags.
That said, if the issue is still present after implementing regular breaks, you’ll want to wait a little longer or call a professional to have them look at your vacuum sealer’s internal components.

Getting Your Vacuum Sealer Back to Normal
To have your vacuum sealer not vacuum properly can be very frustrating. After all, you bought the machine to make your life easier, not more complicated.
Luckily, as you’ve learned in this piece, addressing most of the issues behind the occurrence is fairly simple and quick. Often, all you need to do to get back to normal is modify your user habits slightly and double-check the state of your bags before sealing.
Thank you so much for reading. If you found this article helpful, why not become an expert in the subject by checking out our other wonderful resources below and subscribing to our newsletter?
Bon Appétit!
-Craig.


Designing Modern Living Rooms from Iconic Movies

7 Tips for Heating a Room with High Ceilings (On A Budget)