We've independently reviewed this article to make sure it's as accurate as we can make it.
To find out more about our article creation and review process, check out our editorial guidelines.
Wondering how to tell if your dryer moisture sensor is bad?
The sensor is an essential component that detects the moisture level and adjusts the drying cycle accordingly. If it’s not working, your clothes will not get dry.
But don’t worry. In this article, you’ll learn how to test the sensor to prevent drying issues.
To test the moisture sensor in your dryer, you’ll need to clean it first. Then, check the settings, load your dryer, and see how it behaves during the test.
Ready to learn more? Let’s dive in!
Is Your Dryer Moisture Sensor Not Working? Test it in 5 Steps
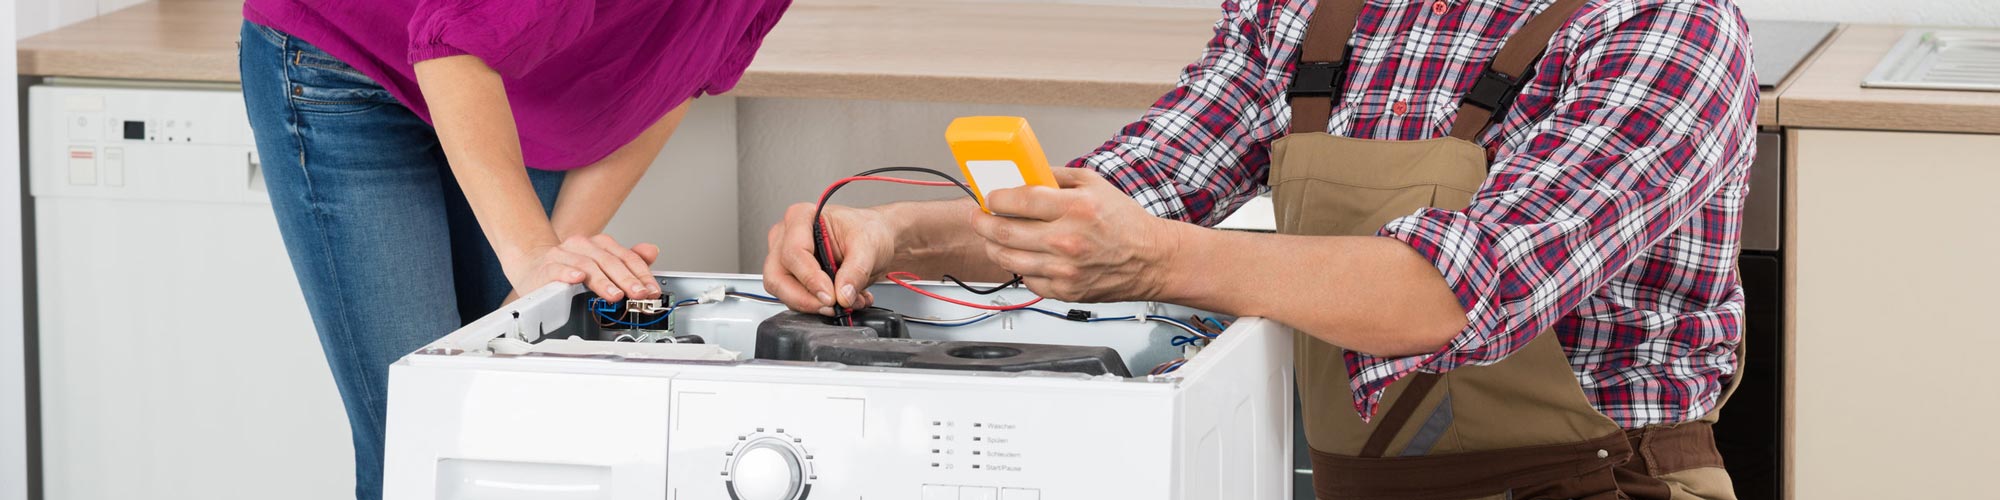
If your clothes are not getting dry or your dryer is running longer than necessary, you’ll need to perform a test on the moisture sensor to see if you need to replace it.
In this section, I’ll guide you through the five steps to test the sensor.
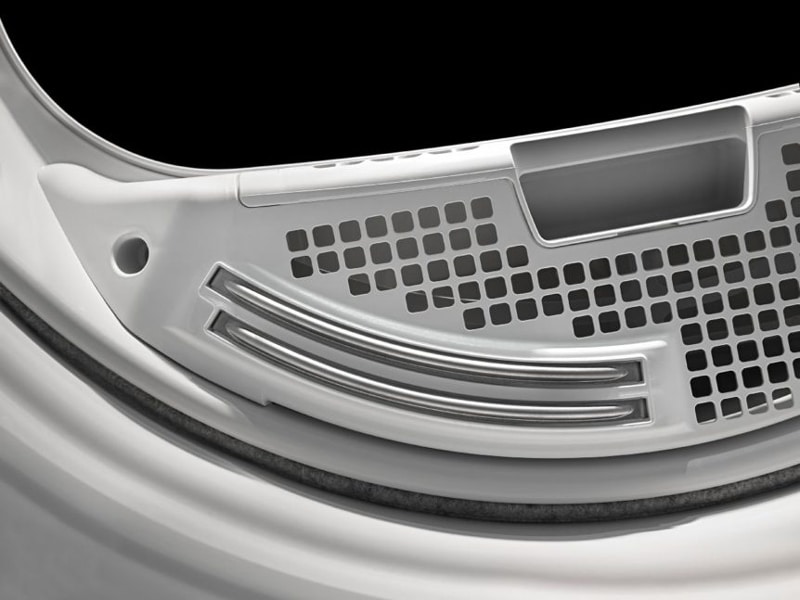
#1 Find the Dryer Moisture Sensor
To perform a test on the dryer moisture sensor, you first need to locate it.
The exact location of the sensor can vary. I’ve seen that in newer dryers, it’s located near the lint trap. On the other hand, older dryers have the sensor closer to the rear wall.
Please check the manufacturer’s manual to determine where your moisture sensor is located.

Once you’ve located the sensor, please access it. Keep in mind that you probably need to disassemble some components to do so.
#2 Clean the Moisture Sensor
Next, in the dryer moisture sensor test, you’ll need to clean it.
I recommend using a soft, clean cloth to remove any visible debris, as dirt can affect the sensor’s accuracy.
Keep in mind that you don’t need to wipe down the sensor that hard. Otherwise, you could end up causing it to malfunction.
If a lot of dirt buildup doesn’t come off with some light wiping, consider sanding the sensor down.
Grab some fine-grain sandpaper and use it to remove any lint, dirt, or residue that is caked on the moisture sensor. Bear in mind that it will take a few minutes for you to remove all the present debris.
It is possible that the sandpaper loosens the debris that was caked onto the sensor. So, please use a dry cloth again to clean it thoroughly.
Note: Some dryers have multiple moisture sensors, so please clean them all.
#3 Check the Settings
Proceeding with the dryer moisture sensor test, the next step is checking the settings.
You’ll need to ensure your dryer is set to the automatic cycle so the sensor can activate and let your dryer know when it should turn off.
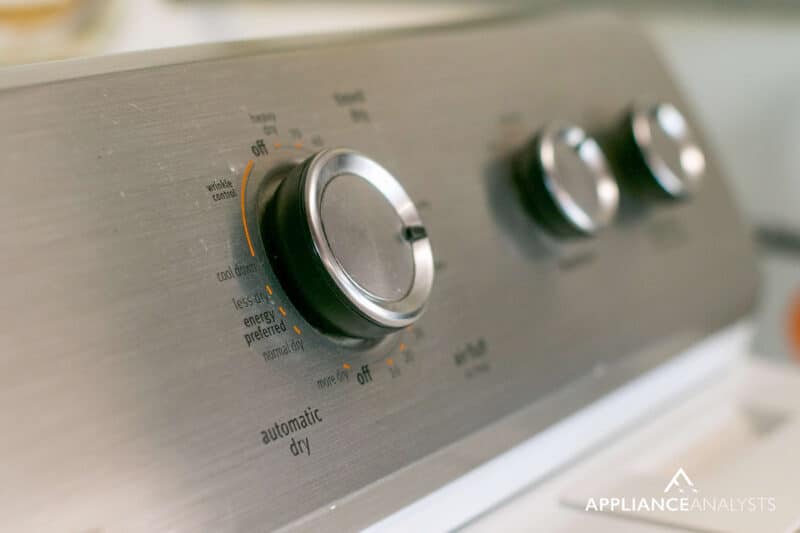
If your dryer is not on the automatic cycle, it is probably on the timed dry setting. In such cases, the dryer will not use the moisture sensor to control the cycle. It will shut off at the end of the time instead.
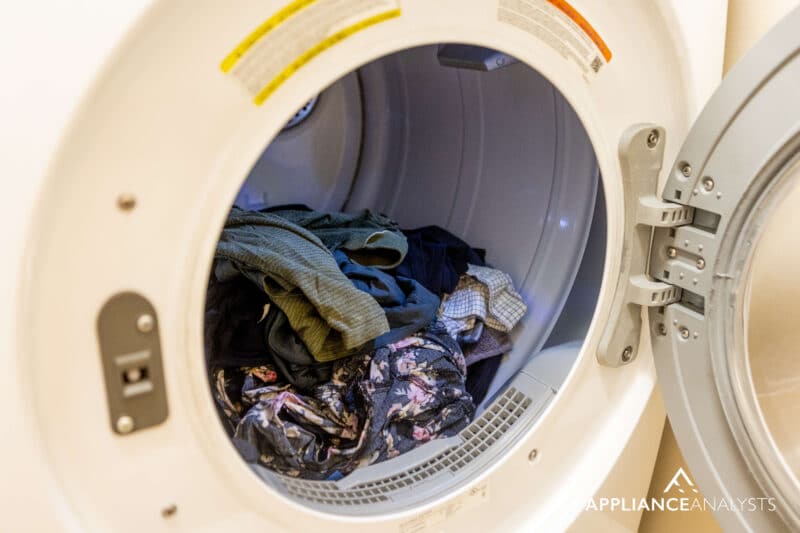
#4 Load Your Dryer for the Test
Step four of the moisture sensor test is to place clothes in your dryer.
Please avoid overloading your dryer, as I’ve seen that it can prolong the test unnecessarily and cause temperature issues.
Instead, add only a few clothing items to the dryer’s drum and turn it on.
#5 Watch the Dryer During the Test
The next step on the moisture sensor test is to watch the dryer to see what happens.
If the dryer turns off when it is supposed to, it indicates that the moisture sensor is working. But, if it turns off even when the clothes are still wet or continues to dry even when your clothes are already dry, the sensor is probably not working.
When I see a dryer sensor not working, I always search for replacement parts online.
However, keep in mind that moisture sensors often don’t specifically have power running to them and aren’t easy to diagnose. The instructions typically vary a lot between different brands and models. So, my usual advice is to call a professional.

If you want to get any replacement part – or see how much one would cost – click to enter your model number in the search bar below. Our partners at AppliancePartsPros stock almost every part with free guides on how to install them.

Wrapping Up: Testing Your Dryer’s Moisture Sensor
Hopefully, now you know how to perform a test on your dryer’s moisture sensor.
Remember to clean the sensor before testing it. Sometimes cleaning it is enough to get things back to normal.
And don’t forget that you can easily test your moisture sensor by checking the settings, placing clothes, and seeing how the dryer behaves.
If you found this article helpful, please check out our related posts below.
Have a great day!


Designing Modern Living Rooms from Iconic Movies

7 Tips for Heating a Room with High Ceilings (On A Budget)