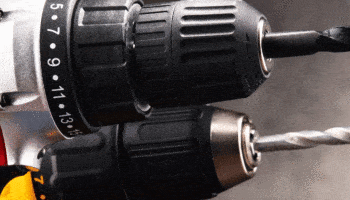
Cordless tools are wonderful. Kind of like wireless internet, keyboards, and yes, even the wireless mouse are all wonderful.
No, cordless tools have nothing to do with personal computers. But they have everything to do with work convenience. Besides making it easier to do jobs further and further away from a power outlet, they eliminate the need for as well for extension cords.
With the advent of battery technology, a lot of the power corded tools provide have been matched. So, what’s not to love?
Well, the technology behind the batteries for cordless tools has improved from early incarnations. That being said, it doesn’t mean modern batteries don’t have some flaws.
Flaws that can be corrected, true, but that doesn’t make them any less frustrating.
One of those flaws is without doubt batteries that keep cutting out. Why would they work and then suddenly cut out?
Good question. Let’s take a look at some of the potential causes.
1. Defective Tool
First things first, let’s make sure the issue you’re having isn’t a battery or charger issue. How? Take several batteries and try them in the tool that you were using that’s cutting out and try them in a different Ryobi tool.
More than likely, you’ve already done this and if the batteries cut out in a different tool, you can be pretty sure it’s not a defective tool issue.
If you have only a Ryobi drill, though, and the batteries have been cutting out, see if you can borrow someone else’s Ryobi tools (one should be enough) and test your batteries with it. If they work fine, you’re probably dealing with a defective drill.
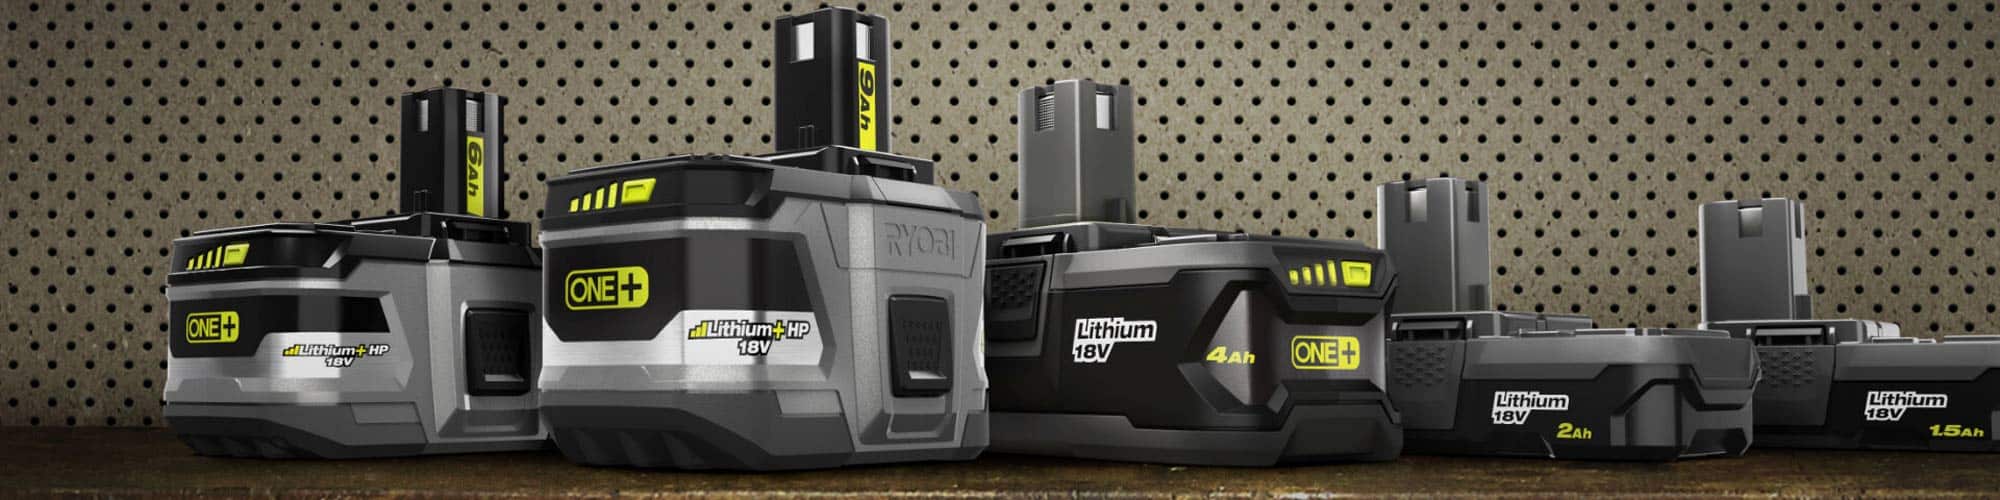
2. Batteries are Defective or Nearing End of Service Life
If you have a battery that’s defective, you should get an LED indicator on your charger that includes a flashing RED and flashing GREEN light.
If you’re not getting a flashing RED and GREEN light then you’re probably seeing a normal flashing or solid GREEN light. These should be positive indications of a battery charging and finished charging.
That doesn’t always hold true, though, especially if you’re getting these GREEN indicators, placing your battery on a tool, and quickly finding your tool cutting out after minimal use.
At this point, it could be the battery is charging or fully charged, but it’s reached whatever capacity the battery now charges to. Think of other electronics this happens with. Cell phones, laptops, etc. Over time, batteries die quicker and don’t hold nearly the amount of charge they did when they were new.
This slow death is not uncommon as the cells within the batteries age or become damaged through time and use.
If you bought several batteries at the same time a couple of years ago, have used them all the time, and they’re cutting out without much use now, you’re probably dealing with batteries nearing their expiration dates as far a service lives go.
3. Batteries are Deeply Discharged
If you place a battery on the charger and the charger starts flashing RED without any GREEN led lights, you’ve encountered one of three possible issues. The battery is too cold. The battery is too hot. Or the battery is deeply discharged.
Let’s assume it’s not too cold or too hot. If either of those are the case, simply leave the battery on the charger. Once the temperature of the battery normalizes, the charger will commence charging as normal.
If the battery is deeply discharged, however, you may be playing a frustrating game with yourself. What’s meant by that is it’s easy to put a deeply discharged battery on the charger, see no flashing GREEN light but a flashing RED one instead, pull off the battery, check to make sure it’s okay visually, put the battery back on, see the RED flashing light again, pull the battery back off…
To make a long story short, the RED flashing light may give you the impression there’s something wrong with the connection or a contact or whatever. But by constantly removing and then placing the battery back on the charger, you’re kind of doing these little mini-charges or shocks that will boost the voltage of the battery each time you do it.
That doesn’t mean you’re charging the battery completely. More like you’re bringing it back to life.
What you are doing is getting the battery back to a state where it’s no longer so deeply discharged that it can’t charge normally. What it can’t do is power anything for very long without cutting back out.
So, if you have a blinking RED light, you can do the mini-charge procedure where you remove the battery every two seconds until it starts blinking GREEN instead or RED. Or you can just let it sit on the charger and get their on its own eventually.
Either way, the battery needs to charge normally before you can put it to use for any amount of time.
4. Batteries Need Cleaning or are Damaged
Maybe your battery isn’t defective or old. Maybe it’s not deeply discharged. Yet maybe it’s dirty or rusty around the contacts.
Take a look at your batteries and clean the contacts on any that require it. If there’s dirt and grime, you can use a wire brush and rubbing alcohol. If there’s rust, try some sandpaper.
Dirt and debris are always obstacles when it comes to the effectiveness of batteries, both in terms of charging but also how long that charge is maintained and how good the quality of the output is.
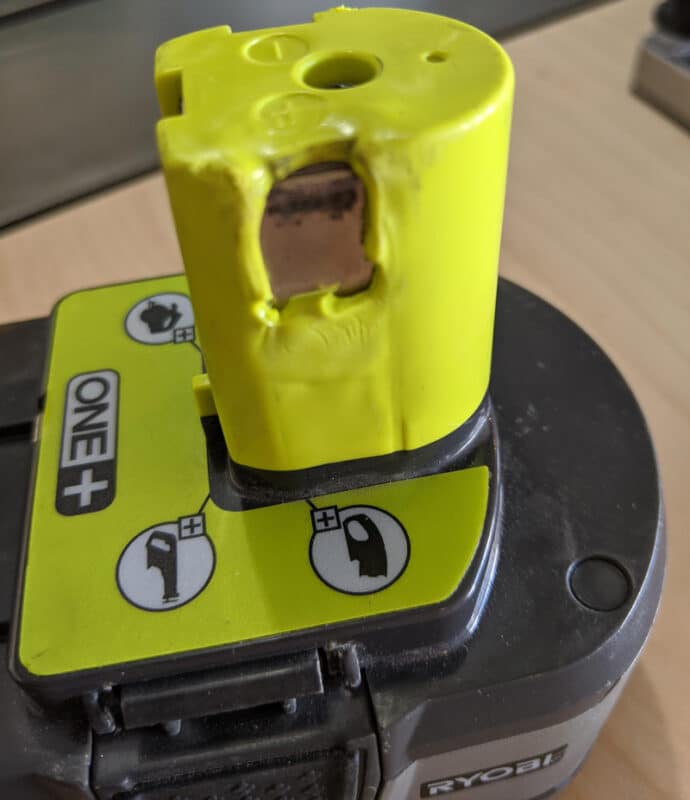
If your batteries are clean or you end up cleaning them and you still have an issue with a couple of them, you probably need to consider potential internal damage to the battery. A way to test this is to see if the battery acts differently on tools that vibrate more than others.
If a battery cuts out when using higher vibrating tools, this could indicate a loose or damaged connection within, possibly from something like dropping it. At this point, it’s probably easier to replace the damaged batteries.
5. Charger Needs Cleaning
Like a battery’s contacts, the contacts on a charger should be inspected, too. And like a battery, if there’s dirt and grime, once again utilize a wire brush and rubbing alcohol. If there’s rust, grab the sandpaper.
The reason it’s good to check the charger, other than it being reasonable and routine maintenance, is if you’ve been having an issue with multiple batteries cutting out and they’re all different ages, then it’s hard not to look at the charger as being a culprit.
The good thing is if it is just a matter of cleaning both the charger and the batteries, your issues are hopefully resolved.
That isn’t always the case. Like batteries, chargers can also take a beating. Damage isn’t uncommon to them. Also, if they experience any kind of electrical surge, the internals can get fried like any other electronics can.
6. Charger is Defective
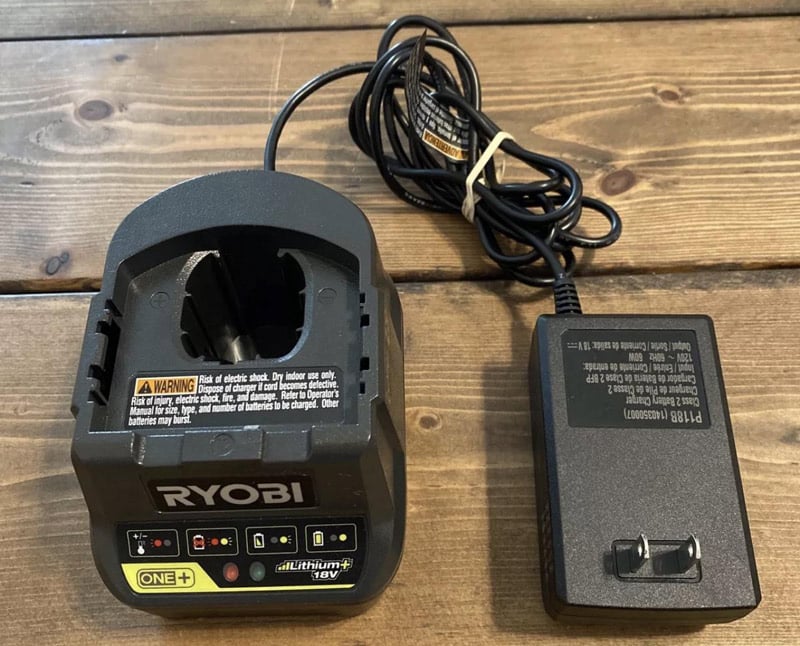
If your charger is the issue, you should get the same indicator as you would with a defective battery. Yes, you should have the dreaded flashing RED and GREEN LEDs.
Again, if you’ve got multiple batteries that are various ages and one charger you utilize for all of them, and if you’re getting these flashing lights, you more than likely have come face to face with your main issue.
If you have more than one charger, test charging the battery on the other chargers. If they charge normally, you’ve isolated the issue to one bad charger.
Let’s say that is the only charger you have. Before you go out and buy a new one (which doesn’t hurt to have more than one) and you want to ensure your one charger is the bad player here, see if you can borrow a charger from a neighbor, friend, or family. Do the same test. If the batteries charge fine, dispose of your old charger.
Now you might be saying, “Hey, I’ve got one of those chargers that can charge six batteries at once, what do I do?”
Well, are you having issues with all six batteries? Or just a couple? Is it one charging port you’re having issues with or all six?
Basically, if you have a multi-port charger, you may have some more troubleshooting ahead of you involving more process of elimination. The more you have to troubleshoot per item, the more complex the troubleshooting becomes. At some point, you may prefer to replace it or take something like a six-battery charger in for service.
Remember, chargers aren’t expensive compared to batteries and labor. Ask yourself not only what’s worth it but how much is each option worth to you?
Conclusion
Ryobi batteries that keep cutting out are pains that can inevitably come with dealing with cordless tools, batteries, and chargers. The process for determining what the potential causes may be always come back to those three things.
Remember, though, it is a process. You can’t eliminate all the potential causes at once. Instead, eliminate them one at a time to hopefully narrow the problem down to a single cause, whether it’s the tool, the battery, or the charger.


Designing Modern Living Rooms from Iconic Movies

7 Tips for Heating a Room with High Ceilings (On A Budget)