
We've independently reviewed this article to make sure it's as accurate as we can make it.
To find out more about our article creation and review process, check out our editorial guidelines.
Is your ice maker arm stuck?
You’re not alone! Being unable to use your ice maker because it’s experiencing issues can be super annoying, especially when you’re entertaining.
Luckily, you’ve come to the right place.
If your ice maker arm is stuck, you’ll need to ensure nothing is blocking the arm, perform a reset, defrost the unit, and align the arm. You can also try replacing the loose spring to solve the issue.
Are you ready to get your ice maker up and running? Let’s dive into our guide.
Why trust us? This article was written by Craig Anderson and Andy Fulenchek.
Craig has helped thousands of other homeowners repair their appliances since 2016.
Andy is one of our resident appliance repair experts with over a decade of experience. He currently runs his appliance repair company with a team of trusted technicians.

Is Your Ice Maker Arm Stuck? Fix It In 5 Simple Steps
Having an ice maker arm stuck in either the up or down position can be frustrating. Luckily, in this section, I’ll guide you through the different steps you can try to fix the issue.
Always unplug your refrigerator before you start any repairs to prevent any electrical hazards.
Refrigerators are also very heavy. Never try to balance on the unit or stand on any of the shelves. Make sure to have a friend with you while you do the following repairs.
#1 Clear an Ice Maker Arm Jam
When fixing a stuck ice maker arm, I always check for any obstructions.
If your freezer is overfilled, there’s probably something blocking your ice maker arm from moving freely, such as ice or any other objects.
Ensure that nothing is accidentally blocking the ice maker arm and test it.
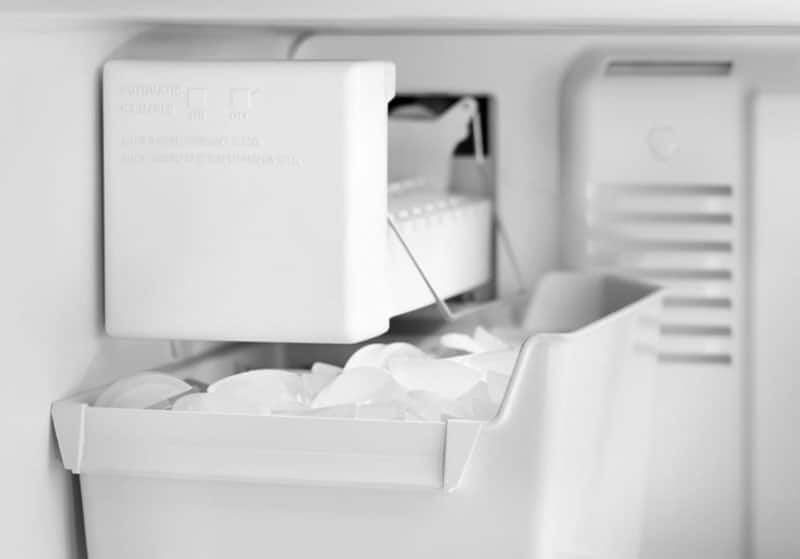
When the arm is up, it indicates the ice bin is full, so the ice-making process is paused. When it’s down, it signals to the ice maker that there’s space in the ice bin for more ice. So, if you want to produce ice, make sure the arm is in the down position.
#2 Try a Reset
I often find that performing a manual reset can help fix an ice maker arm stuck in the up position.
To manually reset the ice maker arm, press it down. Please don’t press too hard, or you could risk breaking the arm. It only needs a little pressure to lower it back down.
It’s worth noting that some modern ice makers have a Reset button. If yours has it, please press it for ten seconds.
You can also perform a hard reset. Here’s how it works:
- Unplug your freezer
- Wait for 30 seconds
- Plug your freezer back in
Leaving your freezer unplugged for 30 seconds should reset the internal computer. It will also force the computer to recalibrate a stuck ice maker arm position.
Tip: Resetting your ice maker or freezer can also help solve other performance issues!
#3 Defrost Your Ice Maker
If your ice maker arm won’t stay up or down, I recommend defrosting it, especially if you have a problem with icicles forming inside your freezer.
To defrost your ice maker, turn your freezer’s defrost setting on and let it run on a cycle. You can also remove the ice maker from your appliance and let it thaw and dry.
Once you’ve defrosted the unit, please move the ice maker arm up or down and check if the issue was solved. If it’s still stuck, try the next fix.
#4 Aligning the Ice Maker Arm
When fixing an ice maker arm stuck in the up or down position, I usually advise ensuring it’s aligned.
You see, the ice maker arm is connected to the ice maker assembly at two distinct points. One point attaches to the main body of the ice maker, while the other point serves as a pivot on the opposite side to allow the ice maker’s arm to move freely up and down.
The ice maker arm can easily get moved from its position, especially if it’s accidentally knocked while loading your freezer with food. The good news is that fixing it is quite straightforward:
- Start by inspecting your ice maker arm to see if it has become dislodged on either side.
- If the ice maker arm is loose on one side, raise it to its highest position.
- Carefully reposition the ice maker arm to its proper place.
- Slowly guide the loose end of the ice maker arm back into its designated housing.
- Move the ice maker arm up or down to ensure it’s correctly installed.
- Your ice maker arm should now be up and running.
#5 Replace a Loose Spring
If your ice maker shut-off arm won’t stay up, there’s probably a loose spring.
You see, there’s a small spring inside your ice maker head that keeps the arm up. The spring is prone to coming loose, particularly when the ice maker has been jostled or over years of use.
Here’s how you can fix your ice maker’s spring:
- Start by moving the ice maker arm up and down slowly. You can simply force the spring back into alignment by manually moving your ice maker arm.
- If the step above doesn’t solve the issue, you’ll need to disassemble a specific part of your ice maker. The steps will vary depending on the manufacturer of your ice maker, so please check your manual.
- Remove the ice maker arm by gently pressing it out of the ice maker head and then pressing the other side out of the housing.
- Unscrew the cover plate on the ice maker housing.
- You should see the assembly for the ice maker arm. Realign the spring or replace it if you notice it’s damaged or broken.
Once you’ve followed the instructions above, move the ice maker lever up or down to see if the issue was solved.
This video guide will show you how to remove and disassemble one of the more common types of ice makers.
If you’ve tried the fixes above, but your ice maker arm is still stuck, it’s best to opt for a full icemaker replacement rather than diving into repairs. In my experience, replacing the unit often proves more cost-effective in the long run, preventing any future issues.
If you want to get any replacement part – or see how much one would cost – click to enter your model number in the search bar below. Our partners at AppliancePartsPros stock almost every part with free guides on how to install them.

FAQs About an Ice Maker Arm
Now that you know how to fix your ice maker arm issues, it’s time to address some of the most common questions.
What Does Your Ice Maker Arm Do?
The ice maker arm, also known as the ice maker feeler, senses the current ice level in your ice maker.
The ice maker arm shuts off ice production if the level gets too high to keep the ice maker from overflowing and producing too much ice. It acts as an ON/OFF switch.
The ice maker is connected to a series of sensors inside the ice maker head that detect the angle of the ice maker arm. If the ice maker arm cannot reset to its neutral position, the sensors in the ice maker will shut off ice production.
What Happens When the Ice Maker Gets Stuck?
Your ice maker arm can be stuck in the Off or On position.
The ice maker arm can stop ice production when stuck in the “Off” position. However, if it’s stuck in the “On” position, it can lead to the ice tray overfilling.
You must address the issue promptly and replace any necessary components. However, if you’re uncomfortable troubleshooting the ice maker arm, I recommend contacting a professional.

Wrapping Up: Steps to a Functional Ice Maker Arm
Hopefully, now you know how to fix your ice maker arm issues.
Remember that if your ice maker arm won’t go down or up, you must perform a manual reset, ensure nothing is blocking the arm, defrost the unit, or replace the loose spring.
Thank you so much for reading! Please check out our other articles if you found this post helpful.
Good luck.
-Craig


Designing Modern Living Rooms from Iconic Movies

7 Tips for Heating a Room with High Ceilings (On A Budget)