We've independently reviewed this article to make sure it's as accurate as we can make it.
To find out more about our article creation and review process, check out our editorial guidelines.
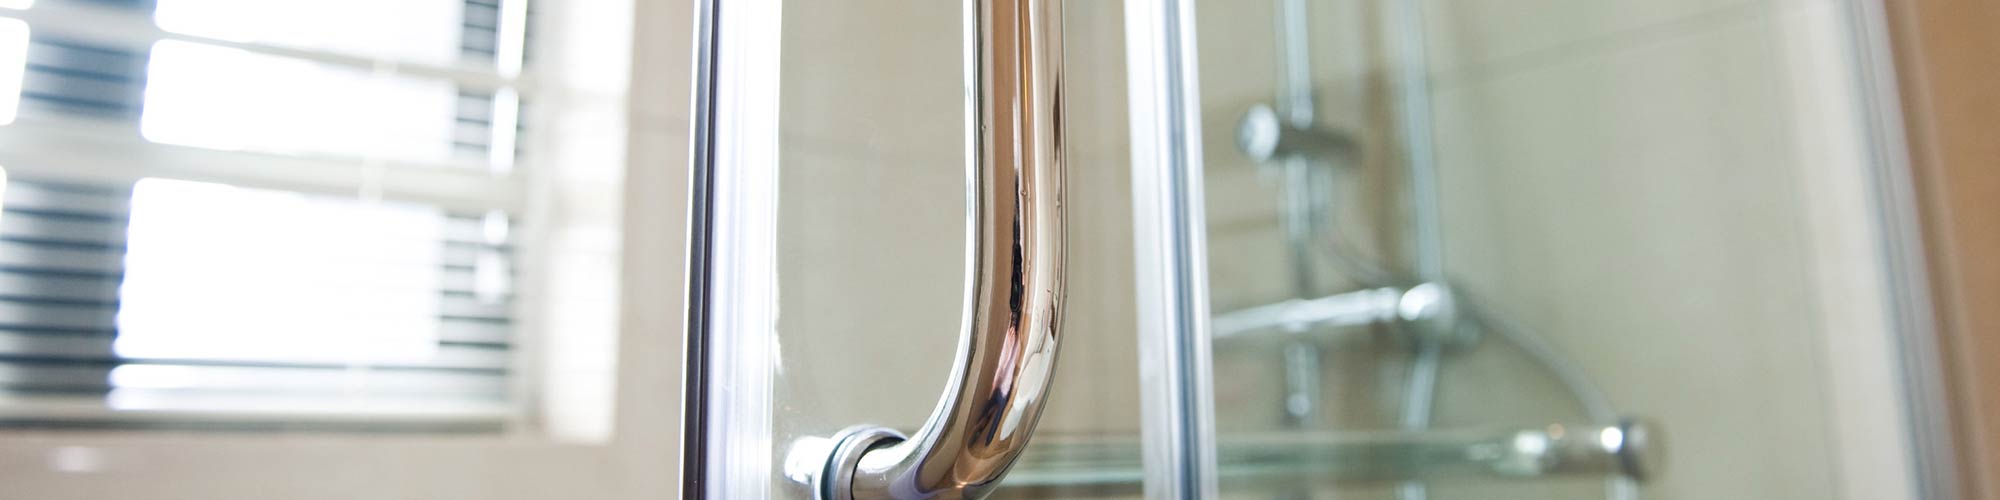
Is your shower door magnetic strip not working?
You’re not alone! I know how frustrating it can be to have a shower that won’t close properly.
But don’t worry; I’m here to help.
To fix a magnetic shower door that lost its seal, clean the magnetic strip with a basic cleaning solution. You can also try tightening bolts and screws, checking the alignment, or replacing the magnetic door strip.
Read on to get your shower door magnet working again!
Fixing a Shower Door Magnetic Strip: 4 Simple Steps
Different reasons can explain why the magnet in your shower door isn’t working. Luckily, solving the issue is quite simple.
In this section, I’ll guide you through the four steps to fix the magnetic strip.
#1 Check the Alignment
If your shower door magnet is not working, the door is likely out of alignment due to proper installation.
I’ve seen that use over time can also cause the door to be slightly askew, which means the magnetic strip won’t make proper contact with the frame on the shower to close properly.
Take a step back and look at the door for alignment problems. Use a level, like the one used for hanging pictures, to see if the angle on the side of the door matches the door frame it latches to. Ideally, both should be level.
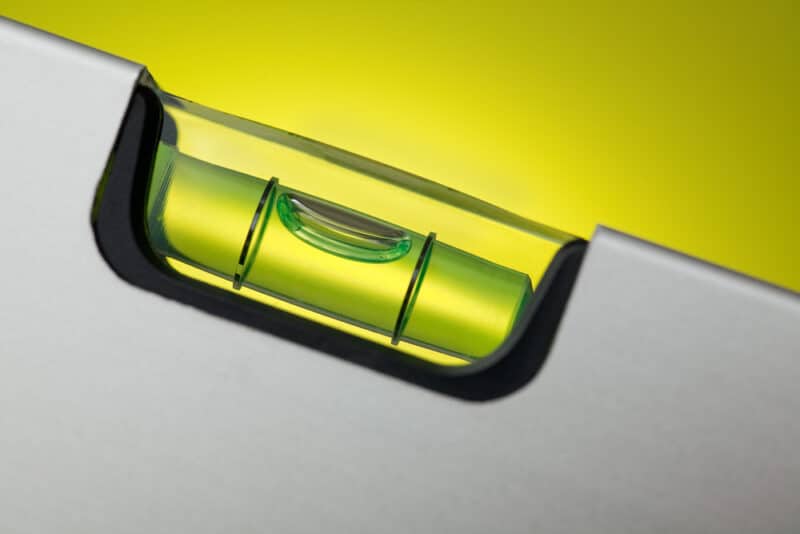
Tip: The longer the level, the better for accurate measurements.
#2 Tighten Loose Bolts and Screws
When I see a magnetic shower door strip that lost its seal, I always check the bolts and screws.
You see, if the bolts or screws become loose, the door can sag, affecting the alignment and magnetic seal.
Try using shims at the bottom of the door to set it back into alignment before tightening screws or bolts.
Then, use a screwdriver to tighten any loose bolts or screws if necessary. I also recommend replacing them if you notice they’re damaged.
If you have a glass shower door, please be especially careful in realigning it. If you need to tap anything into place, use a rubber-covered mallet rather than a standard hammer with a metal head. If you are working on screws that fasten directly onto the glass portion of the door, be very careful not to over-tighten.
Important note: If your glass shower door was installed prior to around 1980, it’s probably standard glass instead of tempered glass, which is now required for safety reasons.
Standard glass can break into sharp shards, while tempered glass is stronger, and breaks into smaller, pebble-like shapes without sharp edges. Either way, always be cautious when repairing a glass shower door. If your shower door is older, consider upgrading to a safer product.
#3 Clean the Shower Door Magnetic Strip
My usual advice when fixing a shower door that won’t close is to clean the magnetic strip.
You see, soap, dirt, and other debris can accumulate on the shower magnet and interfere with the seal.
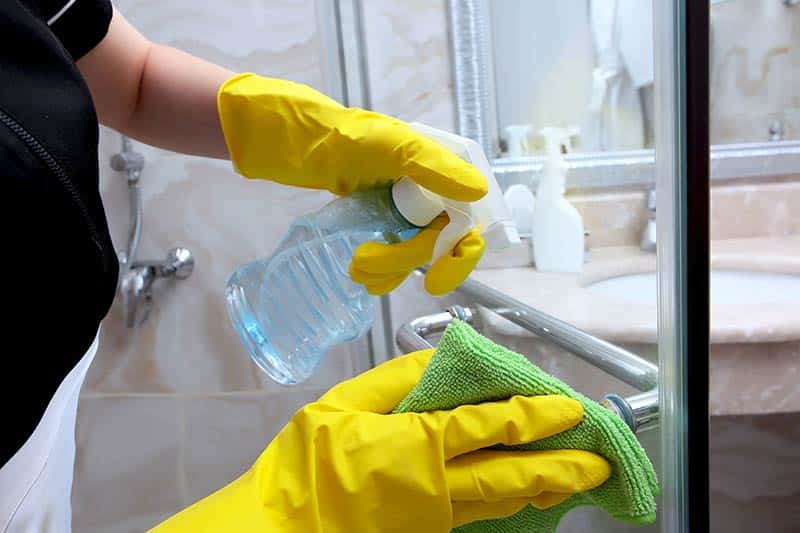
Follow these simple instructions to clean your magnetic shower door strip:
- Mix 1/4 cup vinegar with two pints of water in a spray bottle. If you live in a hard water area, I find it best to get a cleaning solution that works on lime or rust build-up, like CLR.
- Apply the cleaning solution and carefully wipe the magnetic strip. You can use a cotton swab for hard-to-reach areas.
- Rinse the magnet with water and dry it with a clean cloth.
If you use a stronger cleaning solution, don’t forget to wear gloves to protect your hands, and always follow the manufacturer’s instructions. Don’t mix cleaning solutions and make sure the room is well ventilated.
#4 Replace the Magnetic Strip
If you’ve tried the fixes above, but the magnet in your shower door is still not working, I recommend replacing it.
Don’t worry, though. Replacing a magnetic strip for shower doors is very simple. Here’s how to do it:
- Remove the older magnet: You’ll need to remove a screw or two to access the old magnetic strip. A utility knife or straight-edge razor blade can help you. But, if you’re having issues, use an acetone-based paint remover to dissolve the adhesive so you don’t risk scratching the shower with the metal tool.
- Clean away any residue: The smoother the surface is, the better the adhesion of the shower door magnet replacement. To help it stick better, wipe down the area with a little isopropyl alcohol before applying the new magnetic strip.
- Measure twice, cut once: Use the strip you removed as a template to cut the shower door magnetic strip replacement. (Magnetic strips or tape are available at hardware stores, craft stores, or online retailers.) If you use a magnetic strip with an adhesive backing, double-check that you have a spotless and dry surface.
- Apply glue (if required): Most magnetic strips come with strong adhesive backing, so hopefully, the decision to apply glue will be made by the product you purchase. If you want the added assurance of gluing, no one will stop you. Just know that cleaning the surface is still very important.
Here are some adhesives that will work with magnetic strips:
- Super Glue or Crazy Glue — They will do the job but can take a little time to set up. If there is the slightest bit of dirt or debris on your surfaces, you’ll have a problem with everything staying in place over the long term.
- Gorilla Glue — It’s great for a shower as it’s usually water-activated. Several formulas are available depending on the materials you are gluing and the different colors of the finished product, so make sure you read the labeling to get the right one for your project.
- Two-part epoxy glue — If you haven’t used a two-part epoxy product, I recommend using it before applying it to your shower door project. As the name says, two-part epoxy glue has two substances that, when mixed, combine to form an incredibly strong bonding agent. Carefully read the label to understand the timing. If you have to mix the epoxy manually, consider using a paper plate and a plastic utensil or popsicle stick for mixing. Epoxy can also give off a strong odor when those chemicals are combined, so good ventilation is important.
- Liquid Nails — It’s a powerful adhesive that can sometimes substitute for, or improve upon, standard construction joining methods (like nails or screws). I find that it works best with an applicator gun, as the container is usually pretty large. A great characteristic of Liquid Nails is that it takes much longer to set, meaning you’ve got more time to set things in place.
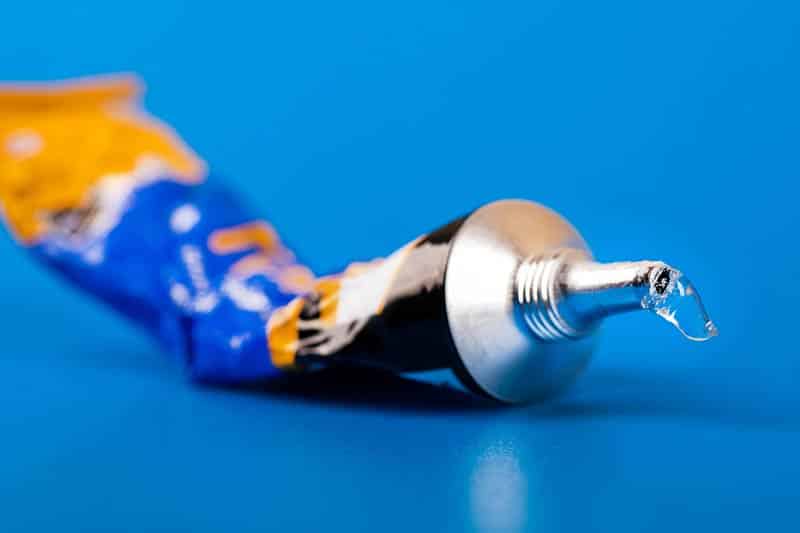
Whatever product you choose for gluing, ensure you have some damp paper towels to wipe off excess glue as you install the new magnetic strip. I also suggest wearing disposable gloves to keep you from gluing your fingers together. (If you get glue on your skin, try removing it with an oily substance, like olive oil, coconut oil, or even peanut butter. If that doesn’t work, try paint thinner or nail polish remover — though these materials can be harsher on your skin.)
- Attach the new magnetic strip: Once your new magnet strip is secured (and the glue has dried), you’re ready to reinstall the handle and any screws that were removed to access the strip. After checking the alignment again, you should hear a satisfying “click” as your shower door closes.
Wrapping Up: Fixing a Magnetic Shower Door That Lost Its Seal
Hopefully, now you know how to fix your shower door magnetic strip.
Remember to check the alignment, tighten any loose bolts and screws, and clean the surface. But if your shower door still doesn’t close, try replacing the magnetic strip.
Thank you so much for reading! If you found this article helpful, please check out our other free guides below.
Good luck!


Designing Modern Living Rooms from Iconic Movies

7 Tips for Heating a Room with High Ceilings (On A Budget)