We've independently reviewed this article to make sure it's as accurate as we can make it.
To find out more about our article creation and review process, check out our editorial guidelines.
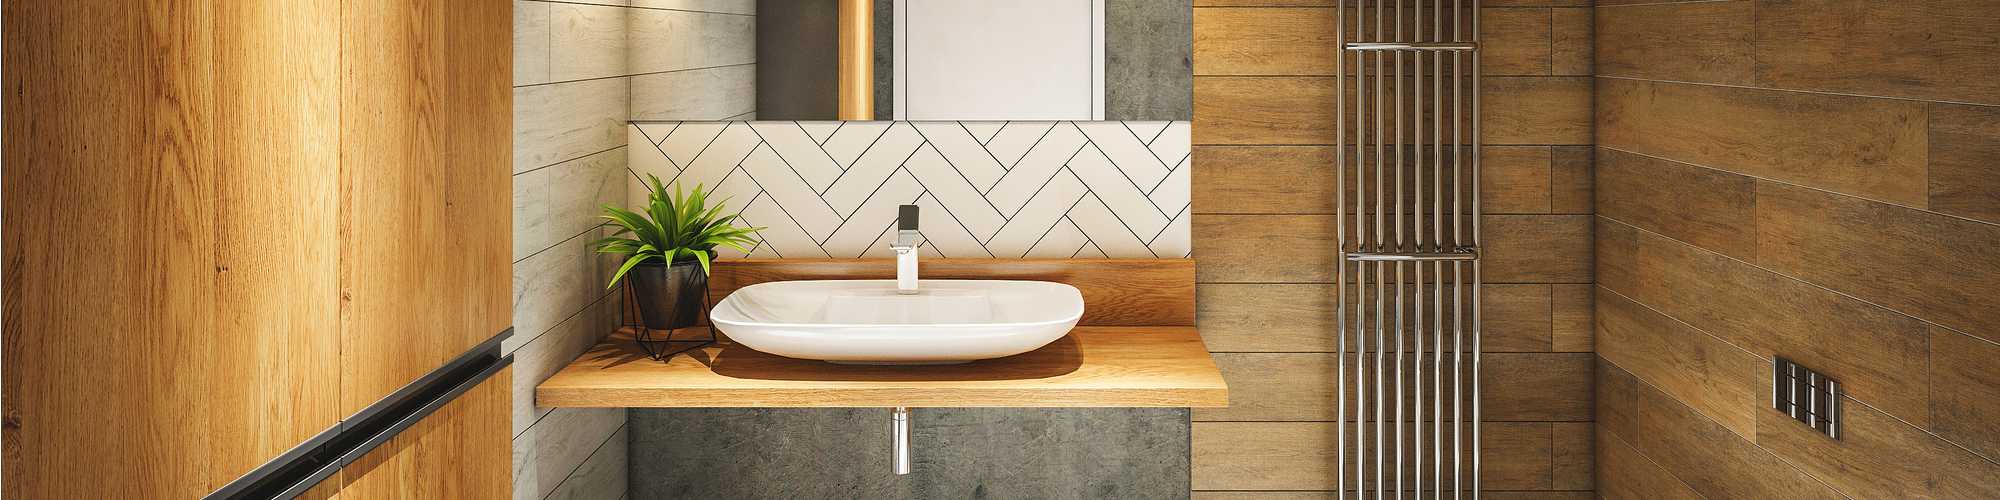
Wondering how to make wood waterproof for bathrooms?
You’re not alone! Choosing the right waterproofing method is essential to keep your bathroom looking beautiful.
Luckily, this article covers all the available methods along with their pros and cons.
To waterproof wood for your bathroom, you’ll need to choose between a wood sealant, resin, acetone, or oil. Then, sand down the surface to prepare it and apply the first coat. Let the wood dry, and apply any other necessary coats.
Read on to learn more about the waterproofing process!
How to Waterproof Wood For Your Bathroom?
Having a wood bathroom is undeniably beautiful. However, knowing and applying the right waterproofing method is essential to maintain its functionality.
In this section, I’ll guide you through the four steps to waterproof bathroom wood.
#1 Choose Your Waterproofing
There are three primary waterproofing methods for a wood bathroom. The choice of the right method depends on several factors, such as price, type of finish, and durability.
Choose one of the following waterproofing methods:
- Wood Sealants: They have quick drying times and are reasonably priced. There are three main types of sealant:
- Varnish: Provides a thick protective coat that helps the wood shine. In my experience, a marine varnish is the way to go for wood bathrooms. It can be applied with a brush or a spray and dry within 24 hours (usually much less). You can also pair a varnish with various wood stains if you want a particular color or finish.
- Polyurethane: It is usually a mix of resins and solvents that can give wood different finishes depending on the product, including satin, matte, semi-gloss, and high-gloss sheens. You can also use an oil-based version for better durability, but most painters use the latex version. Keep in mind that oil-based poly takes forever to dry, which also increases the risk of a mess if there are pets or kids around!
- Lacquer: It is highly flexible and comes in several finishes. It provides an excellent protective coat and is probably the most durable of the three forms of sealant. I find that it can turn yellow over time, so try using it only in dark woods. Keep in mind that lacquer can be quite toxic, so ensure you have excellent ventilation and wear a ventilator.
- Resin and Acetone: The second waterproofing method is to use polyester resin and acetone, which can give an extremely durable finish. You will need a laminating resin and a finishing one to do the job properly. But if you only want to use one, I recommend a finishing resin because it will harden more. The acetone is applied to the resin to make it thinner and easier to work with. Only apply as much as you need to get a mixture that is a bit thicker than water.
- Oil: Just like sealants, oils come in several options. The most common oils are:
- Tung oil: Provides an excellent barrier and can be used on any wood. But it has a long curing time of seven days or more, requiring several coats to be fully effective. The major drawback to tung oil is its price, which is easily the most expensive.
- Linseed oil is cheaper than tung oil and comes in different colors and finishes. But it’s worth mentioning that it has an even longer curing time than tung oil, so you must wait a while before your bathroom wood can come into contact with water.
- Teak oil gives one of the best finishes and can look amazing in a bathroom.
Note: If you use an oil, try mixing it into a more durable and stronger sealant by using turpentine and apple cider vinegar. Use two parts oil, one part turpentine, and one part cider vinegar.
Keep in mind that some wood sealants can be toxic, so please avoid getting them on your skin or eyes. Always follow the instructions on the container and wear safety gear, such as glasses, gloves, and long sleeves/pants.
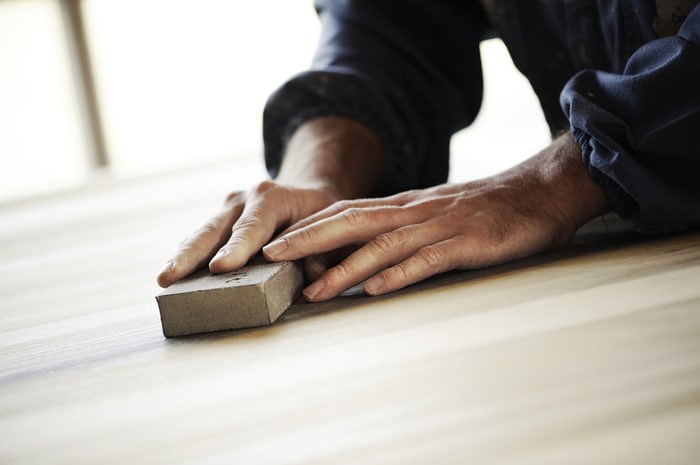
#2 Preparation
Once you’ve selected the waterproofing method for your wood bathroom, it’s time to prepare the surface to ensure the best-looking and long-lasting result.
Here’s how to prepare the wood surface:
- Remove any previous finishes and paint and sand down the entire surface of the wood you’ll treat. Depending on the roughness of the wood, my usual advice is to use 150-250 grit sandpaper. Ensure you get all the little nooks and awkward places.
- Clean everything thoroughly using a general cleaner, and allow it to dry. The waterproof seal depends on an entirely clean, oil-free, dry surface.
When unsure of how your chosen waterproofing method will look, I find it best to test a small area first. Choose somewhere out of sight and apply a small amount of your agent. Make sure you let the agent cure fully before deciding because the look will change as it dries.
When waterproofing wood in bathrooms, it’s important to note that some agents can give off toxic fumes while curing and can be harmful to the skin. Make sure you are working in a well-ventilated area, and if you are working on movable furniture, consider taking it outside.
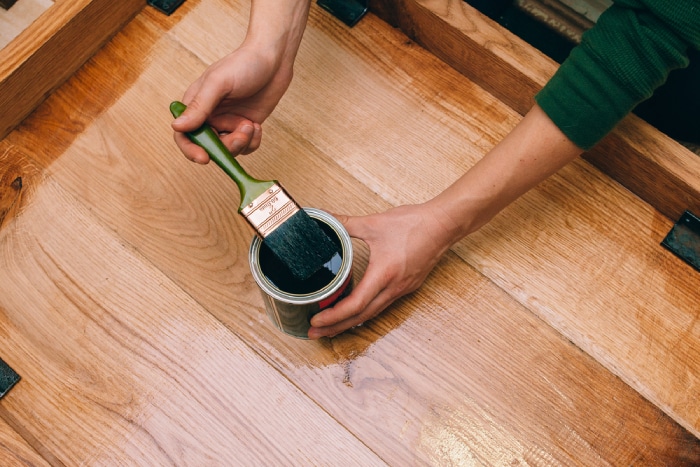
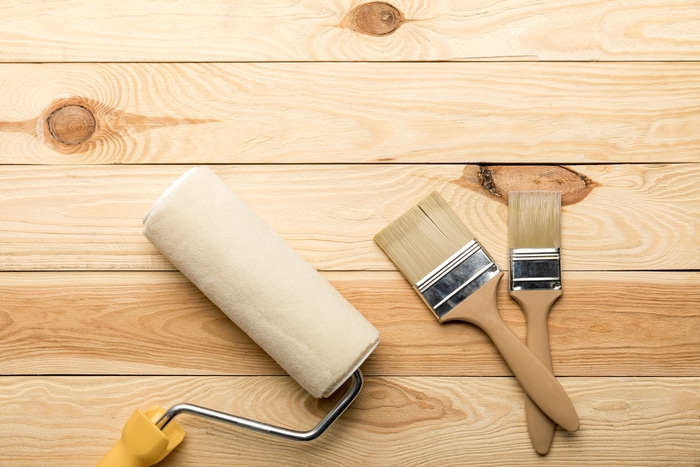
#3 Apply the First Coat
The next step in the waterproofing process for your wood bathroom is to apply the first coat.
If you choose oil, apply it with a cloth. Otherwise, it will be harder to get an even surface. Wipe the cloth across the wood, ensuring a smooth, even layer. From what I’ve seen, too much oil will puddle, and too little will not form a barrier. Leave the oil for around 30 minutes, and then wipe off the excess with another clean cloth. Leave the first coat to cure for 24 hours.
If you’re using a sealer, please get a brush or a roller. Be careful when mixing the sealer; you don’t want to leave air bubbles; they can stay as the sealant dries. Again, try to get a nice even coat and apply in the direction of the wood grain if you can. Remember, the fumes from the sealants can be dangerous, so use a respirator and make sure the windows are open.
If you’ve chosen a resin and acetone mixture, apply it with a brush or roller. Follow the instructions on the container, but I recommend letting the first layer dry for an hour so you’re less likely to damage the first layer when applying the next. Don’t forget to avoid getting it on your skin.
#4 Apply Further Coats for Optimal Waterproofing
To waterproof wood for your bathroom, sealing agents require several coats.
The exact number of coats depends on the type of finish, the durability you require, and the type of sealant.
My advice when using oil is to apply at least three coats. Let the first coat cure for 24 hours before applying the second, and make sure the second is dry before applying the third (around six hours).
For best results, ensure the surface is clean before applying each layer. It’s also a good idea to give each layer a gentle sanding. Once you’ve finished, let the surface cure for at least 24 hours before you use it.
I find that sealants dry quickly, so you can usually apply multiple coats in a day. Some varnishes can dry in as little as 15-30 minutes. But others require up to 24 hours, so always check the label. If you don’t let them dry between coats, you’re waterproofing will not be as durable.
Most sealants require two to three coats, but some only need one. I recommend a curing time of 24 hours when you’re finished, just to ensure everything dry.
When using resin, try applying five coats for the best finish and longest-lasting result. But with resin, you only need to let each coat dry for 30 minutes to an hour. So, it is still possible to finish in a day or two.
Keep in mind that each layer will need to be mixed separately. Mix just enough, so you don’t run out for the later layers. Once finished, let the whole thing cure for 12 hours.
Wrapping Up: Your Guide to Waterproofing Bathroom Wood
Hopefully, now you know how to waterproof wood for your bathroom.
Remember that you need to choose your waterproofing method based on your needs. You can choose a wood sealant, resin, acetone, and oil. Then, sand down the entire surface, clean it, and let it dry to ensure the best results.
Once you’ve prepared the surface, don’t forget to apply the first coat, let it dry, and apply any other necessary coats.
Thank you so much for reading! If this article has been helpful, please check out our other helpful posts below.
Good luck!


Designing Modern Living Rooms from Iconic Movies

7 Tips for Heating a Room with High Ceilings (On A Budget)