
We've independently reviewed this article to make sure it's as accurate as we can make it.
To find out more about our article creation and review process, check out our editorial guidelines.
Is your shower drain leaking, and you don’t know why?
You’re not alone! Even with the best installation process and quality, sometimes a leaking shower drain is unavoidable, and thousands of people worldwide can attest to it.
I know how annoying it can be to have your shower drain fail to do its only job, especially when you don’t notice the issue early on and now have a ceiling full of moisture.
But don’t worry; you’ve come to the right place for answers. Below, you’ll find a step-by-step guide on how to fix a leaking shower drain in no time. I’ve also included a list of areas where you commonly find shower leaks and easy ways to solve the problem.
In summary, here’s how to fix a leaking shower drain without taking out the shower base:
- Remove the drain cover.
- Discard the compression gasket.
- Remove the shower drain body.
- Clean the rim of the drain.
- Install the new gasket.
- Screw in the new shower drain body and seal it with putty.
- Remove any excess putty from around the drain.
Consequences of a Leaky Shower Drain
So you’ve spotted a yellow stain or mold running across the ceiling. And where is it? Directly under the shower unit upstairs. There’s only one thing it could be – a leaking shower drain.
Shower drain leaks can:
- Dampen the ceiling and insulation (if above the first floor).
- Rot the ceiling beams.
- Discolor the ceiling.
- Become a breeding ground for mold and cause respiratory problems and allergies.
Now that you understand the consequences of leaving the problem unattended for too long, it’s time to tackle the repair.
Now I know what you’re thinking. Anytime you hear the word “leak” mentioned at home, you automatically get a bad feeling in your stomach. How much is the repair going to cost this time?
But there’s good news. In my experience, fixing a leaking shower drain doesn’t have to be an expensive job. It’s even possible to fix your shower without removing the base. So there’s no need for ripping up the tiles and incurring redecorating costs.
Ready? Let’s dive right in!
Fixing a Leaking Shower Drain
The steps below will set you on the right path to fixing your leaking shower drain. To get you started, here’s a list of all the tools you’ll need for the job:
- A #2 Phillips screwdriver
- A flathead screwdriver
- Groove pliers
- A hacksaw
- A rag
- A cleaning brush
- A new gasket (common at most hardware stores – make sure to get the right size)
- Plumber’s putty
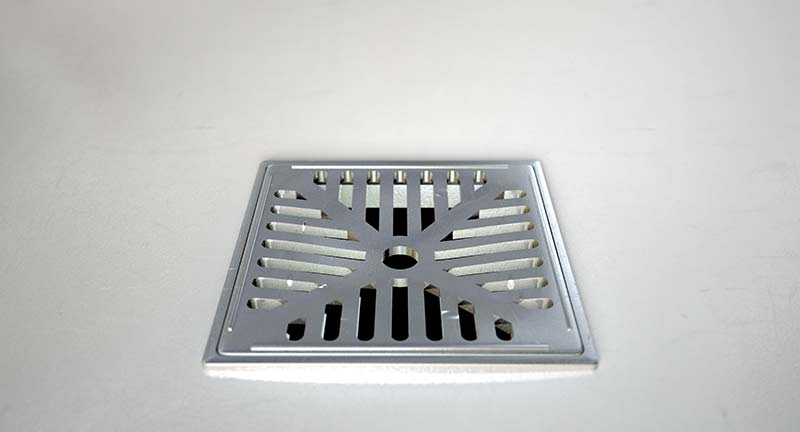
Step 1: Remove the Drain Cover
To begin, remove the metal drain cover from the drain. From what I’ve seen in some drains, you might be able to flip the cover off with a flathead screwdriver. On others, you’ll have to remove the screws. If so, put the screws in a safe place until later when you need to put the cover back on.
Step 2: Discard the Compression Gasket
Use the pliers to remove and discard the compression gasket. Clip the pliers, one on each side of the gasket. Turn the gasket counterclockwise until it comes loose. Then pinch the gasket on one side with the pliers and pull it out of the drain.
Unthread and remove the large compression nut from the drain with the pliers.
Step 3: Remove the Shower Drain Body
Here comes the fun part. To remove the shower drain body, use the hacksaw to make 2 vertical cuts approximately 1 inch apart through the body of the drain. Then use the hacksaw to cut through the drain flange.
When cutting the drain flange, be careful not to cut into the shower pad! You should also ensure the blade doesn’t go through the pipe riser!
Tease the one-inch piece out of the drain using the flathead screwdriver. You’ll then be able to squeeze and tease the rest of the shower drain body out of the drain.
Remove any plumber’s putty from the outside of the shower drain body. You can use the flathead screwdriver or just your hands to remove the putty.
And just like that, you’re one step closer to fixing your leaky shower drain. Let’s keep going.
Step 4: Clean the Rim of the Drain
Once you’ve removed the shower drain body, you will have exposed the rim of the pan. Don’t worry; even in the most spotless of showers, the rim will be filthy. Clean the rim thoroughly before continuing. You can use a rag to clean the rim.
Clean the opening of the drain with a cleaning brush. Cleaning will remove any debris that could block the installation of the new gasket.
Step 5: Install the New Gasket
Leap for joy as you’re halfway there! It’s time to install the new gasket to stop your shower drain from leaking.
Slide the new gasket into the opening. The gasket should sit on the center of the drain body’s rim. Use your fingers to spread the outside of the stainer body with plumber’s putty. Ensure plenty of putty is under the rim of the strainer.
Step 6: Screw in the New Shower Drain Body and Seal It With Putty
Screw the new shower drain body into the opening. Turn the new shower drain body clockwise until it has tightened into place. My usual advice is to tighten the shower drain body enough to keep it in place but not enough to break something or cause damage.
Step 7: Remove Any Excess Putty From Around the Drain
Use a putty knife to wipe away any excess putty from the drain. You can tidy up the putty with a rag. Leave the shower unit to dry overnight before using it.
The next day, return the drain cover to the drain.
Reward yourself with a night in on the sofa. You’ve successfully fixed your leaky shower drain!
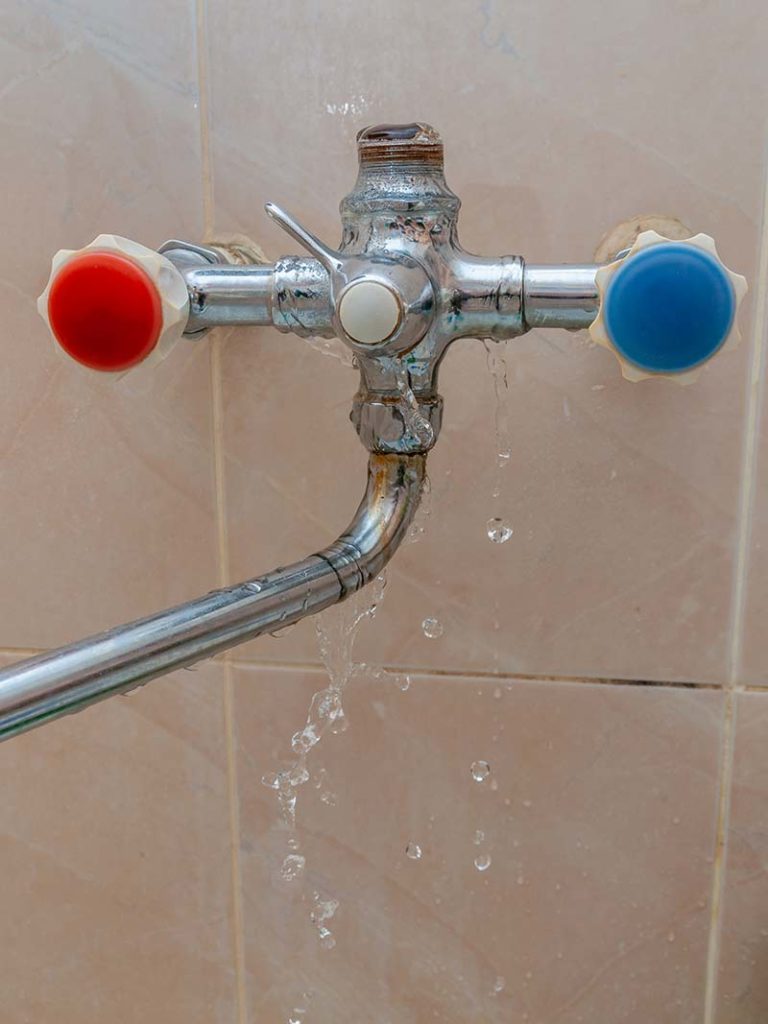
Common Shower Leak Locations
Aside from the shower drain, leaks can also start in other parts of the shower. Here are some other areas that are prone to leakage:
- The solder connections of shower valves.
- The spigots.
- The gaskets and springs around the inlet holes.
- The cartridge or ball valves.
To address additional shower leak issues, refer to the table below:
| Location of the Problem | How to Fix the Problem |
| Solder Connects of Shower Valves | – Tighten the connections – Replace connections that are old and rusty, as they may have developed pinhole leaks |
| Faucets | – Replace the rubber gaskets in the faucet – Replace the washers in the faucet |
| Gaskets and Springs Around the Inlet Holes | – Replace the gaskets and springs – Replace the washers in the valve |
| Cartridge or Ball Valves | – Inspect your cartridge or ball valve. If either is cracked, replace it. |
Conclusion
Finding a leak in the shower drain is a bit of a nightmare. The only thing worse than the initial discovery is thinking about how much a professional repair will cost.
I hope this article has helped you better understand what’s behind your shower drain leaking and how simple it can be to solve the issue.
If this post was useful, why not check out some of our other articles and free guides below? You could even sign up for our email list!
Have a great day!
-Craig.


Designing Modern Living Rooms from Iconic Movies

7 Tips for Heating a Room with High Ceilings (On A Budget)