Is your crockpot not turning on or not working? The power source might be to blame.
Crockpots are life savers. I’ve lost count of how many times my trusty crockpot has helped me prepare delicious meals for my friends and family.
That said, as wonderful as crockpots are, they can sometimes fail and even make strange sounds. Whether the failure is due to poor maintenance, or a faulty internal component, the end result is still the same – you’re stuck with a crockpot that no longer serves its purpose.
While several issues could be causing your crockpot not to turn on or work, many solutions are available, so don’t throw your appliance away just yet.
Below, I’ve prepared a list of the 6 most common culprits and the steps you can take to get your crockpot back to normal in no time.
Ready to return to your delicious meals? Let’s go!
Fixing a Faulty CrockPot
Crockpots seem simple from the outside – and while they’re no space shuttle, there can be many reasons to explain when one fails.
Your crockpot might not be turning on or working due to:
- A bad outlet.
- A damaged power cord.
- A faulty knob.
- A blown fuse.
- A defective heating element.
- A fried circuit board.
#1 A Bad Outlet
A faulty wall outlet could explain why your crockpot won’t turn on or has stopped working all of a sudden.
Faulty wall outlets are dangerous and a potential symptom of a greater, much more serious malfunction in your home’s electrical layout.
Before you try anything else, I strongly recommend you rule out any issues with your wall outlet.
Solution: Test a different outlet.
- Carefully unplug your crockpot, and let it cool down.
- Take the crockpot to a different section of the house. Then, plug the appliance back into a new outlet and see if the issue is resolved.
If you’re feeling adventurous and want a DIY challenge, you can test your outlet for continuity with a multimeter.
#2 A Damaged Power Cord
Provided your wall outlet is not the culprit, the next possible reason your crockpot is not turning on is a damaged power cord.
Although appliance power cords are built to last, they’re not indestructible.
Using your crockpot regularly will not break the cord. But bad practices, such as storing the cord improperly, keeping it tangled, or pressing against a wall at a sharp angle, are more than enough to do it in.
In my experience, depending on the damage to the cord, your crockpot will either not turn on at all or work intermittently.
Solution: If you have a spare cable for testing, feel free to use it on your crockpot. Just ensure that the replacement cord meets the same voltage and amperage requirements as the broken one.
Provided you’re not swimming in spare power cords, you’ll need to buy the replacement. Don’t worry; you can do a quick Google search and find a new cord that matches your crockpot at any online marketplace for less than $20.
#3 A Faulty Knob
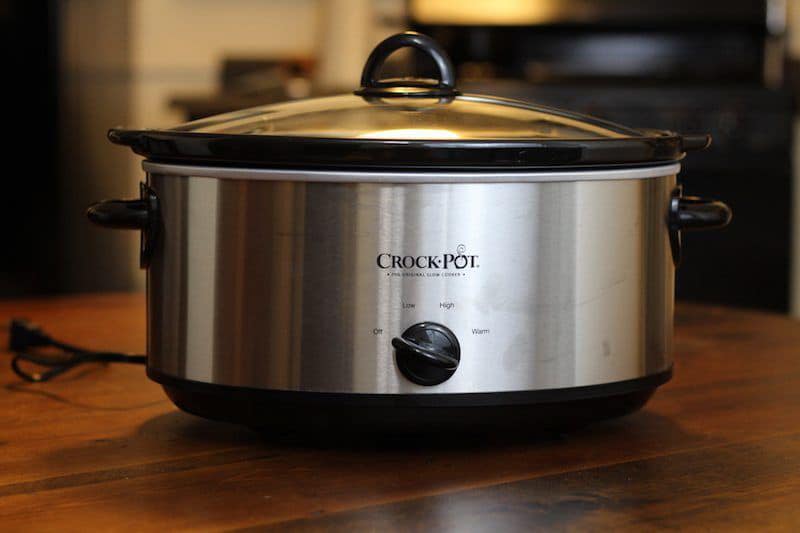
In case your crockpot still won’t turn on, the knob that turns it on and off could be faulty.
The good news is that if the knob is to blame, everything else within your appliance is likely in working condition.
From what I’ve seen over the years, some crockpot knobs will have a little light above them that lets you know when the appliance is active/inactive. Sometimes, when the knob fails, so will the light above it, so please keep that in mind.
Solution: To repair the knob, please follow the steps below:
- Carefully unplug your crockpot and let it cool down.
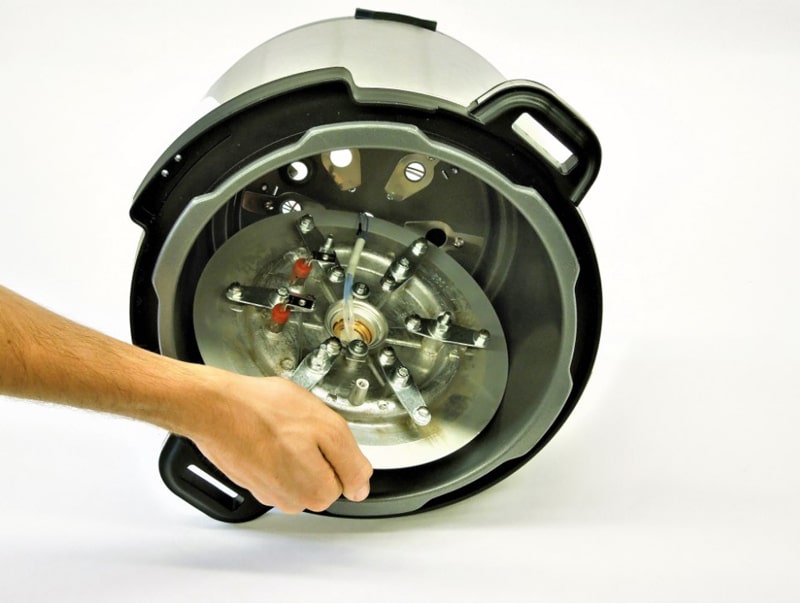
- Turn the appliance upside down to expose the screws holding the outer panel together.
- Undo the screws with a screwdriver and remove the panel.
- You’ll see your crockpot’s wiring and internal components.
- Look for the internal switch behind the external dial knob, and gain comfortable access to it.
- Use your multimeter to test the switch and replace it if necessary.
#4 A Blown Fuse
Blown fuses are also common culprits when a crockpot is not turning on. I find that blown fuses typically appear due to extreme temperatures or a large power spike.
When fuses detect overheating or large power surges caused by blackouts, they “blow” to interrupt all electrical continuity inside your appliance and protect it from further damage.
If your crockpot is not turning on or working after any sudden power interruption, a blown fuse is likely the reason.
Having a blown fuse is not entirely a bad thing. On the one hand, you’ll have to replace your fuse, but on the other, your appliance was protected from potentially destructive forces that would’ve caused major damage.
Solution: Please follow the steps from the previous point to expose your crockpot’s internal components and locate the fuse – it should be next to the heating element.
A trip to the hardware store will be required if you’re using a multimeter and detect no continuity.
#5 Your Heating Element Is Dead
A faulty heating element is also likely to blame for your crockpot not turning on.
A crockpot’s heating element’s sole responsibility is to transform the electrical energy drawn from your wall outlet into usable heat to cook your food. And while the heating element is a 20th-century marvel, it can also create many problems.
When your heating element fails, the symptoms can manifest in one of two ways. You can either be stuck with a crockpot that is not generating any heat or one that is generating too much.
Too much heat is worse than no heat, and you should stop using your crockpot at the first sign of overheating.
Solution: Please follow the steps from point #3 to expose your crockpot’s guts and find your heating element. In most crockpots, the heating element looks like a big metal spiral.
Repeat the continuity testing procedure with a multimeter if you have one, and replace the heating element if necessary.
#6 Your Circuit Board Is Fried
Last but not least is the possibility of a fried circuit board being the cause when your crockpot won’t turn on.
Your crockpot has many components to prevent its circuit board from sustaining any damage, such as the fuse and the thermostat.
However, there have been instances of power surges so large that even when the fuses blow, the current reaches the circuit board and fries it. And the same goes for high temperatures.
If your crockpot is not turning on or working, and none of the solutions above seem to have worked, I’m sorry to say that a fried circuit board is likely the reason.
Solution: You can take one of two routes depending on your warranty status and coverage.
Provided that you’re still under coverage, you can call your manufacturer and send your crockpot in for repairs. If the damage occurred while using your crockpot normally, your manufacturer should be able to fix the appliance for you at no charge.
However, if your warranty has expired, you’ll have to weigh the cost of repairs vs the price of a new crockpot. It’s best to replace cheaper crockpots, as fixing them will not be worth the cost in most cases.
Getting a Faulty Crockpot Working Again
Having your crockpot not turn on or stop working can be very frustrating – especially if you had dinner plans or were organizing a get-together with friends.
While there’s no cookie-cutter solution, knowing all the possible culprits and how to address them puts you one step closer to repairing your crockpot correctly.
Before attempting to do any repairs, please check your warranty status. If, at any point during the repair process, you feel doubtful or unsafe, please do not hesitate to call a professional.
Better safe than sorry.
Thanks for reading. If you found this article useful, why not check out our other incredible resources and free guides below and consider subscribing to our newsletter?
Happy cooking!
-Craig.


Designing Modern Living Rooms from Iconic Movies

7 Tips for Heating a Room with High Ceilings (On A Budget)