We've independently reviewed this article to make sure it's as accurate as we can make it.
To find out more about our article creation and review process, check out our editorial guidelines.
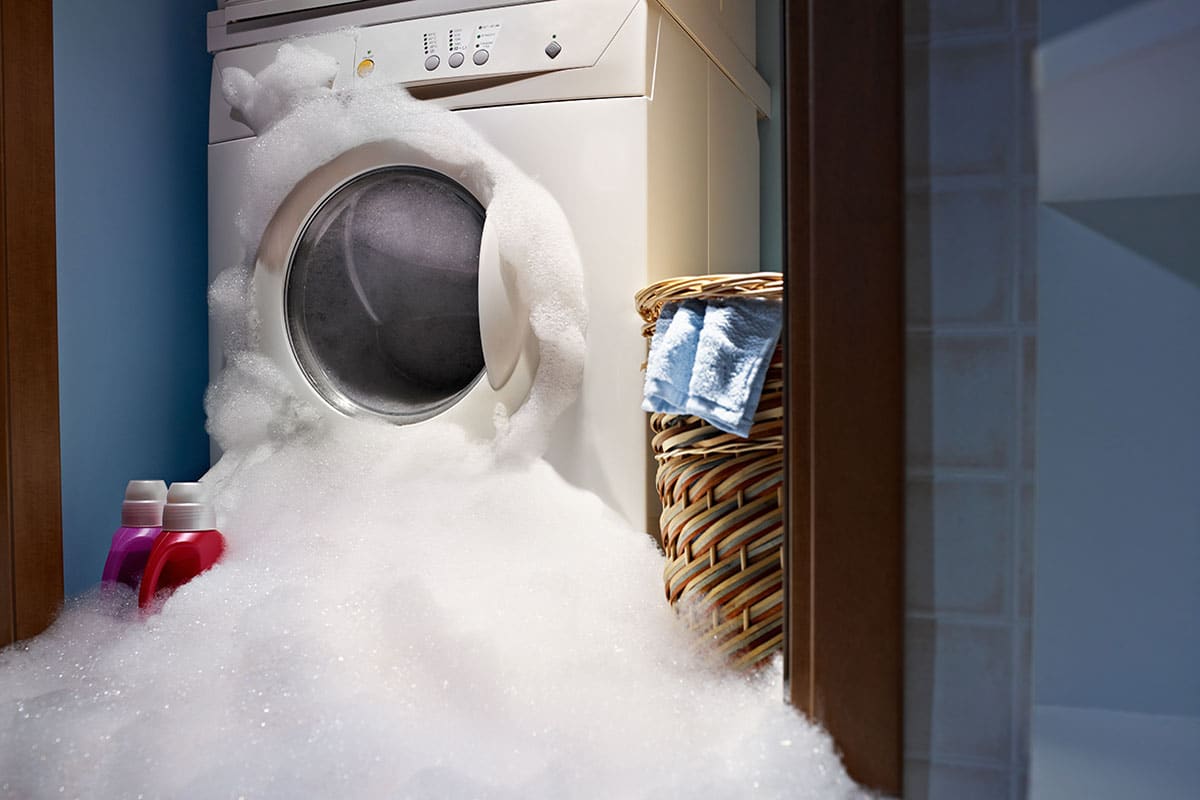
Is your washer water backing into your sink, creating a messy, soapy situation?
You’re not alone! In fact, the issue can be a real headache for thousands of homeowners all over the world. I know how having your washer water back into your sink can be very annoying, especially when you don’t know the root causes.
Luckily, you’ve come to the right place for answers. In this article, I’ll walk you through 9 simple steps to fixing a washer backing up into a sink, ensuring that both can coexist peacefully.
We’ll cover essential fixes like checking the drain hose for clogs, ensuring your sink’s plumbing is in good shape and even some preventive measures to prevent the issue from happening again.
Tools You May Need:
- A bucket
- A pair of gloves
- A drain snake or plumber’s auger
- A pipe wrench
- A plunger
- A flashlight
Ready? Let’s go!
Why Your Washer Water Backs up Into Your Sink
When your washer water is backing up into your sink, I tend to find that, in most cases, bad plumbing or a clog is to blame.
I’ll elaborate.
While not true for all homes, there are many instances where the plumbing in a house has the sink and the washer connected to the same drain line. If the washer is not draining properly due to a clog or something else, water will back up into the sink and then slowly drain, removing the water from the sink.
Fortunately, there are many ways to address poor washer drainage.
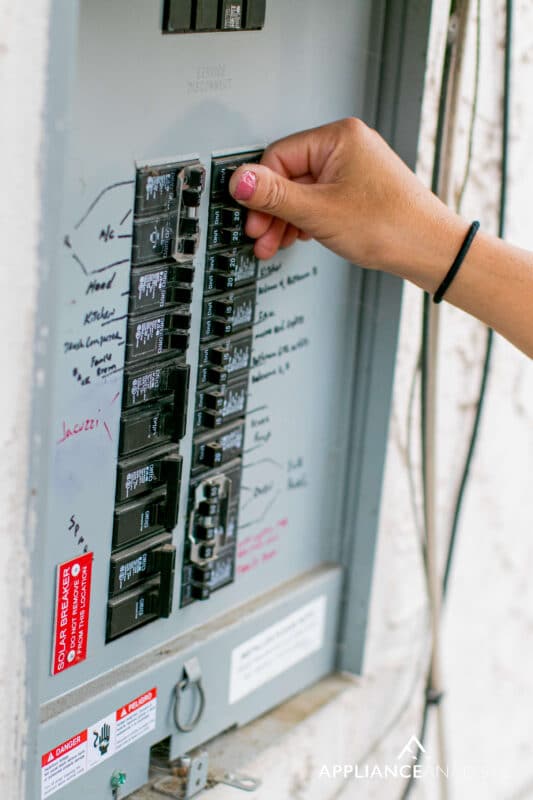
#1 Turn off the Washer
First, turn off your washing machine and unplug it from the electrical outlet. Stopping the power supply to the washer will ensure your safety while working on the issue.
Note: You can also turn your washer off at the circuit breaker.
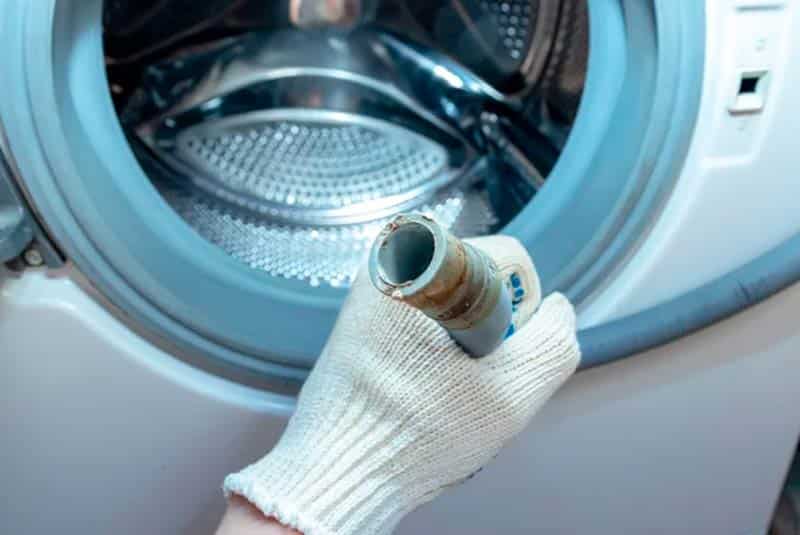
#2 Inspect the Drain Hose
Next, you want to inspect your washer’s drain hose. The drain hose is a flexible, usually ribbed, tube that carries the water from your washing machine to the drain. The hose is typically located at the washer’s rear and connected to a small port on the back.
To access the drain hose, pull the washing machine away from the wall so you have space to work:
- Locate the drain hose at the back of the washer; it usually has a curve and connects to a port on the machine.
- Check the hose for any visible blockages, kinks, or damage.
- If necessary, disconnect the hose by loosening the clamp or connector that holds it in place. If you lean the washer on two feet, lean it against the wall front, so the front of the washer is leaning against the wall, and the connection for the drain pump is at the back.
- Once disconnected, run water through the hose to see if it flows freely. If the drain hose is clogged, it won’t have enough force to push enough water fast enough to make the sink fill up with water.
- Clear any blockages or straighten out kinks before reconnecting the hose to the washer.
Note: If you haven’t cleaned your drain hose in a while, there’s a good chance that the gunk you remove smells quite bad. Keep a candle or something with a nice scent nearby for your comfort.
#3 Check the Standpipe
Checking the standpipe can help a lot when your washer water is backing up into your sink. The standpipe is the vertical pipe where the washing machine’s drain hose connects to your home’s plumbing. The standpipe is usually located near the washing machine and looks like a tall, vertical pipe with an opening at the top for the drain hose.
To check the standpipe for clogs:
- Locate the standpipe; it should be close to your washing machine and may be in a laundry room, utility room, or garage.
- Remove the drain hose from the standpipe (if it’s connected) and set it aside.
- Use a flashlight to look down the pipe for any visible obstructions.
- If you find any blockages, use a drain snake or plumber’s auger to clear them out.
However, if there is something reducing water drainage from the washer, it will fill up the sink.
#4 Inspect the Sink Drain
The sink drain is the opening at the bottom of your sink that allows water to flow into the drain pipe. From what I’ve seen over the years, the sink drain is typically covered by a metal or plastic strainer to catch debris.
To inspect the sink drain for clogs:
- Clear any dishes or objects from the sink to access the drain.
- Remove the sink’s drain cover or strainer by gently lifting it out.
- Use a flashlight to inspect the drain pipe for any visible blockages.
- If you find any obstructions, use a drain snake or plumber’s auger to clear them.
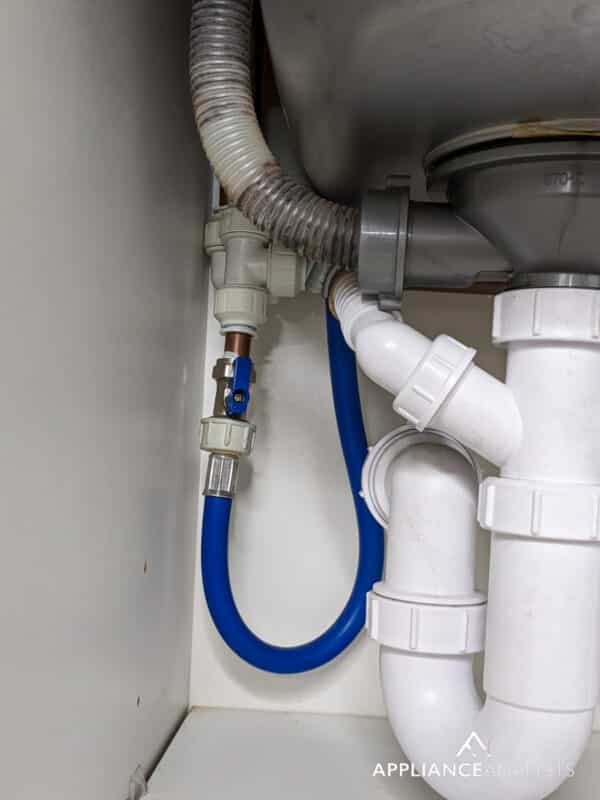
#5 Examine the P-trap
The P-trap is a curved pipe under your sink that prevents sewer gases from entering your home. It’s shaped like a “U” or “P” and connects the sink drain to the main drainpipe. To inspect the P-trap for clogs:
- Place a bucket or container under the P-trap to catch any water that may spill out.
- Loosen the two slip nuts on either side of the P-trap using a wrench or a pair of pliers.
- Carefully remove the P-trap and pour any water inside into the bucket.
- Check the P-trap for debris or clogs, and clean it if necessary.
- Reassemble the P-trap and tighten the slip nuts securely.
#6 Clean the Air Gap (if applicable)
Cleaning your washer’s air gap is another efficient way to stop the water from backing into your sink. The air gap is a small device installed between the drain hose and the standpipe, which prevents dirty water from flowing back into the washer.
To clean the air gap:
- Locate the air gap; it’s usually a small, cylindrical device near the sink or washing machine.
- Remove the air gap cover, which is typically secured with a screw or snapped in place.
- Clean any debris from the air gap and its openings.
- Reattach the cover, ensuring it’s secure.
#7 Verify Proper Venting
Proper venting is crucial for your plumbing system to function efficiently. A blocked vent can cause water to back up into your sink.
To check your venting system:
- Locate the vent pipe on the roof or near the washer’s standpipe.
- Inspect the vent pipe opening for visible obstructions, such as leaves or debris.
- If necessary, use a plumber’s snake or a garden hose to clear any blockages in the vent pipe.
#8 Test the Washer
Testing your washer can go a long way in stopping its water from backing into your sink. To test your washer, run a small load of laundry to see if the problem persists.
If so:
- Turn off the washer and consult a professional plumber or appliance technician.

#9 Prevent Future Issues
To avoid washer water backing up in the sink in the future:
- Regularly clean your sink drain, P-trap, and air gap (if applicable).
- Check the drain hose for kinks or damage.
- Ensure the drain hose is at the correct height.
Conclusion
Dealing with a washer backing up into the sink can be frustrating, but with these 9 easy steps, you can tackle the issue head-on and restore your laundry routine to normal.
By understanding the various components of your washer and sink plumbing system, such as the drain hose, P-trap, air gap, and venting, you’ll be better equipped to diagnose and address the problem.
Remember that regular maintenance and inspections can go a long way in preventing future issues.
If you need clarification on any steps or additional guidance, I recommend seeking professional assistance from a plumber or appliance technician. With patience and persistence, you’ll be able to conquer your washer water backing up in the sink problem and enjoy hassle-free laundry days once again.
Thank you very much for reading. If this article was interesting and useful, please consider checking out our other incredible resources below and subscribing to our newsletter.
Have a great day!
-Craig.


Designing Modern Living Rooms from Iconic Movies

7 Tips for Heating a Room with High Ceilings (On A Budget)