Is your blender leaking?
That sucks! Having a leaky blender can be super frustrating, especially when you’re about to prepare a delicious smoothie.
But don’t worry; I’m here to help.
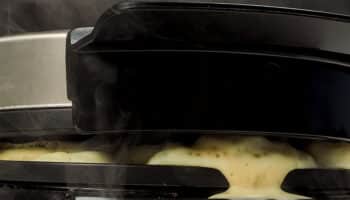
If your blender is leaking, you might have accidentally overfilled it, causing the liquids to seep out. A broken gasket and a cracked lid or jar can also lead to leaks during blending.
Are you ready to get that blender back to normal? Let’s dive in!
Why Is Your Blender Leaking? 5 Possible Reasons
In this section, I’ll guide you through the different reasons that can explain why your blender leaks and provide various solutions to help you forget all about the issue today!
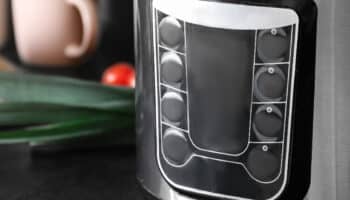
#1 User Error
If your blender is leaking, the leak is likely coming from a lid that was not properly pushed down.
Don’t worry, though! Forgetting to fit the lid properly is very common. After all, life can get pretty hectic.
Unfortunately, if the lid is not securely in place, it can lead to leaks during blending. To ensure you don’t forget to fit the lid properly, try putting a Post-it in your blender – it works great for me!
#2 An Overfilled Jar
I tend to find that when a blender leaks, it’s typically due to an overfilled jar.
With blenders, it’s all about centrifugal force. When the blades are activated, they push the food upwards before shredding it.
So, exceeding your blender’s maximum capacity can cause the lid to be pushed slightly upwards, just enough to let some of its contents seep out.
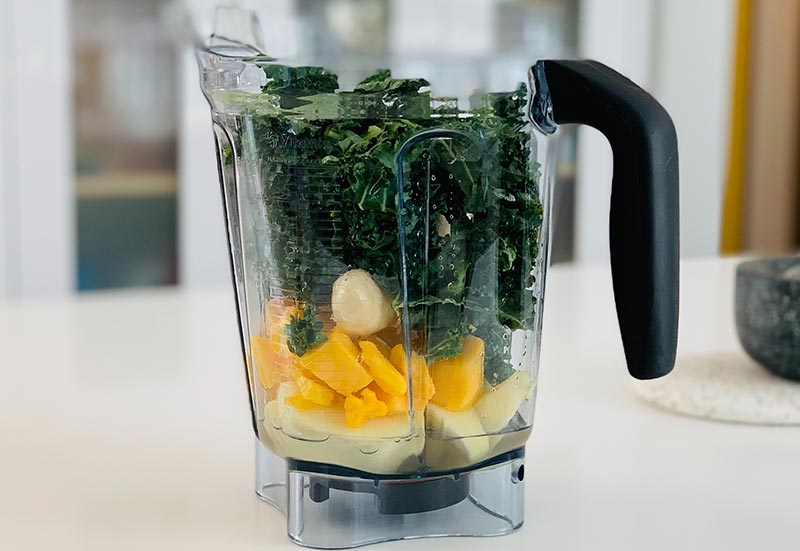
If you have many ingredients to blend, consider doing it in smaller batches, and don’t forget to leave some space at the top of the jar.
If your blender is small, but you love preparing several margaritas at a time to please your guests, getting a larger one is a good idea!
#3 Your Gasket Is Broken
When I see a blender leaking from the bottom, I always inspect the gasket.
A blender gasket is a small rubber ring that goes between the bottom of the jar, and the body of the blender’s motor, right where the blades are positioned.
The gasket is responsible for creating a leak-proof seal between both parts. When it breaks or wears out too much, it can cause leaks during blending.
Who would have thought a small piece of rubber could be so important?
If you find your gasket broken or worn out, you’ll have to replace it with a new one.
Finding a good gasket replacement is extremely simple. Any hardware store near you should have them, and if you’re not feeling like leaving the house, you can also order them online. All you have to do is measure your gasket’s diameter to ensure the new one will fit tightly.
#4 A Cracked Lid
Another possible reason why your blender leaks is because the lid is broken.
Sometimes, the crack or tear is not even visible unless you really try to spot it. Unfortunately, you don’t need to be able to see it for it to wreak havoc.

And while I’ve seen that a cracked lid is much more common in old appliances, even new ones could have it. All it takes is an accidental drop, careless washing, or even poor transportation conditions in your manufacturer’s supply chain.
Please check your blender’s lid for tearing by turning it upside down and putting some water on it. If you see any droplets coming out the other end, you’ve solved the mystery, and you’ll need to replace it.
#5 There’s a Crack in Your Jar
If you’re still struggling with a leaking blender, the jar probably has a crack.
Hairline fractures on your blender’s jar can sound unimportant, but trust me; they are not.
Blender jars are designed to be extremely resistant to temperature, moisture, and many other elements but are not indestructible. If you’ve ever accidentally dropped or hit yours, it’s probably cracked. In fact, sometimes it’s not even something you did, but quick temperature changes.
I’ve heard of some people having a cracked jar because they keep their blenders in a very cool spot and suddenly pour boiling water into them, resulting in a spontaneous reaction in the tempered glass.
Unfortunately, blender jars cannot be fixed with food-grade epoxy. I mean, they can, but given the amount of force they have to withstand while operating, patching the cracks is neither a sustainable nor durable solution.
So, if your blender jar is broken, you’ll need to get a new one
I know you were probably hoping for a more helpful answer, but trust me, replacing the jar is the best choice you can make. Trying to fix and patch it will not work in the long run and will probably keep causing you trouble and leaking all over your kitchen countertop.
Getting a replacement is tricky, as not all jars will work on all blenders. You’ll have to contact your manufacturer or look online for the part corresponding to your blender’s model.
Leaking Blender: Should You Call a Professional?
If your blender leaks, you’ve probably considered calling an appliance repair expert. But is it necessary?
It all depends on the status of your warranty and the cost of the repairs. If you’re still under coverage, the best thing to do is call your manufacturer when your blender is leaking to have them fix it. Under normal circumstances, they should be able to help you out for free.
However, it’s worth noting that most blender manufacturers will not make your warranty valid if the damage comes from an accidental drop or extraordinary operating conditions.
Also, if the damaged part is your gasket, waiting for days or weeks to get it replaced is not worth it; you can definitely fix it yourself.
On the other hand, if you’re no longer under warranty coverage and have a broken jar, it’s usually best to get a new blender altogether, as a spare will cost you nearly as much, and finding the right model can be a Herculean task.
Wrapping Up: Fixing a Leaking Blender
Hopefully, now you know how to stop your blender leaks.
Remember to fit the lid properly, do not overfill the jar, check the gasket, and inspect the lid and jar. Replace any components if necessary.
Thank you for reading. Please check out our other related posts below if you found this article helpful.
Happy troubleshooting!


Designing Modern Living Rooms from Iconic Movies

7 Tips for Heating a Room with High Ceilings (On A Budget)