
Is your kettle not turning on, and you need to perform a reset?
You’re not alone! In this article, you’ll learn how to reset your kettle to get it working again.
To reset any electric kettle, you’ll need to unplug it from the main and wait for five seconds. Then, plug the kettle back in, fill it with water, and turn it on to see if the issue is solved.
Are you ready? Let’s dive in!
3 Steps to Reset Your Kettle
When I see a kettle that is not working as well as it should be or has been left to dry-boil, I always perform a reset.
Here’s how to do it:
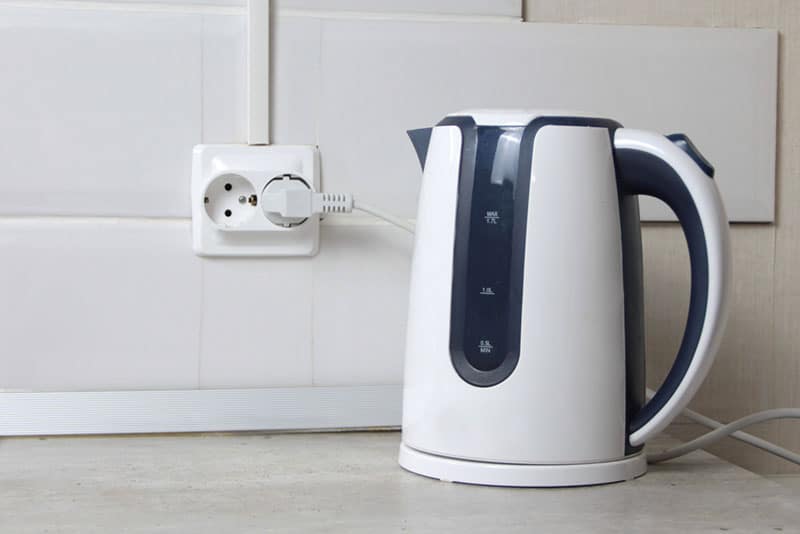
#1 Unplug the Kettle
To perform a hard reset, unplug your kettle from the power outlet and wait for five seconds.
If you recently used your kettle, I recommend allowing it to cool down completely before proceeding to prevent any potential burns.
#2 Plug the Kettle In
The next step in the kettle reset process is to plug the unit back into the mains. Your kettle will now be ready to use.
I know the reset process can sound simple, but believe me, this basic form of hard reset can be quite effective in resolving different issues.
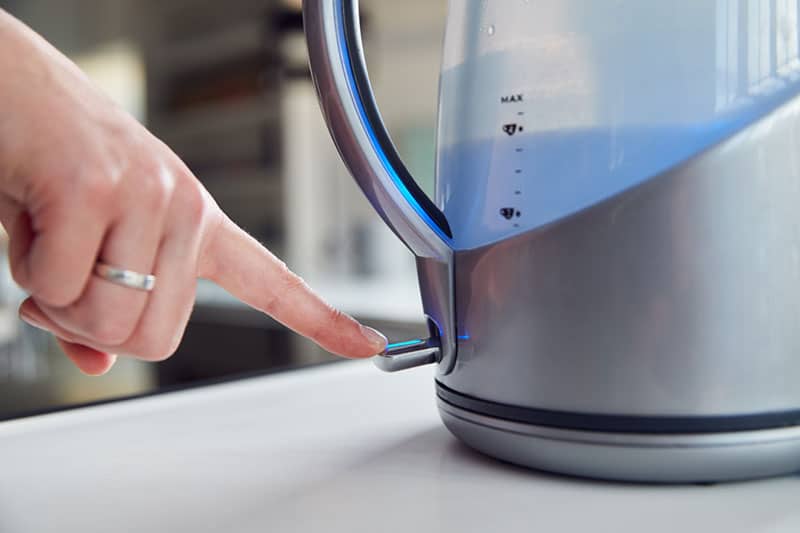
#3 Turn the Kettle On
To see if the reset has worked, please fill your kettle with cold water and turn it on at the power button.
Ensure you do not overfill it by respecting the “maximum” watermark on the inside or outside of the kettle.
Then, enjoy your drink to celebrate a job well done!
How to Reset a Smart Kettle
If you need to perform a reset on your smart kettle but are not sure how to do it, don’t worry! I find that most smart kettles have a very similar setup and are easy to reset.
Here are the instructions you will need to reset a smart kettle:
- Press and hold the 100° button or the power button. Hold the button for up to 5 seconds or until you hear the smart kettle beep.
- NOTE: on some smart kettles, such as the RediKettle, you will need to press and hold the power button while pressing and holding the 60° or 70° button.
- After 5 seconds, release the 100° button or the power button.
- Unplug the power cord from the mains. Wait five seconds.
- Plug the power cord back in.
- Fill the kettle with water.
- Turn the kettle on. It has now reset itself.
If you’re tackling a Chefman electric kettle reset, trying to figure out how to use the Breville kettle reset button, or dealing with a completely different brand, read the manufacturer’s manual for detailed instructions, as specific models can have unique reset procedures.

The Best Practices to Look After Your Kettle
Now that you know how to reset any electric kettle, I’m sure you’ll want to learn how to take care of your kettle to ensure it reaches its full life expectancy.
Here is a list of things to keep your kettle in tip-top condition.
- Clean the Outside of the Kettle
In my opinion, regular cleaning is one of the best ways to take care of your kettle and prevent different issues, such as unpleasant smells. Wipe your kettle with a damp cloth weekly to keep it free from dust and dirt. Never immerse your kettle in water or put it in the dishwasher.
If you are finding it hard to clean the kettle or to remove stubborn water marks from it, do the following:
- Soak a large cleaning cloth in white vinegar. Never use an abrasive scourer on your kettle.
- Wring the vinegar from the cloth and wrap it around the kettle. Leave the cloth on the kettle overnight.
- In the morning, remove the cloth from around the kettle. Use a damp sponge to rub over the stains and stubborn water marks; they should now disappear easily.
- Descale the Kettle
Now here’s the job everyone hates, but that must be done for your kettle to stay in top form. The frequency with which you should descale your kettle depends on how often you use it and the nature of the water where you live. Take a look at the guide below for help.
- If you use your kettle on average five times a day and live in a hard water area, I recommend descaling it once a month.
- Descale your kettle every three months if you use it on average five times daily and live in a soft water area.
- If you use your kettle more than five times a day, you’ll need to descale it more often, depending on the water quality in your area.
Ok, but how should you go about descaling the kettle? Take a look at the following instructions.
- Half fill the kettle with a part water, part white vinegar solution.
- Turn on the kettle and heat the solution until it boils.
- Allow the vinegar and water inside the kettle to cool.
- Once cooled, discard the vinegar and water mix.
- Use a cleaning sponge or cloth to remove any stubborn limescale from the inside of the kettle. Do not use any abrasive cleaner.
- Rinse the kettle a few times to remove the vinegar smell.
Don’t like descaling your kettle because of the vinegar smell? Then try cleaning it with one of the following natural ingredients. You could also use a commercial kettle descaler.
- Citric acid
- Lemon juice and water solution
- Bicarbonate of soda
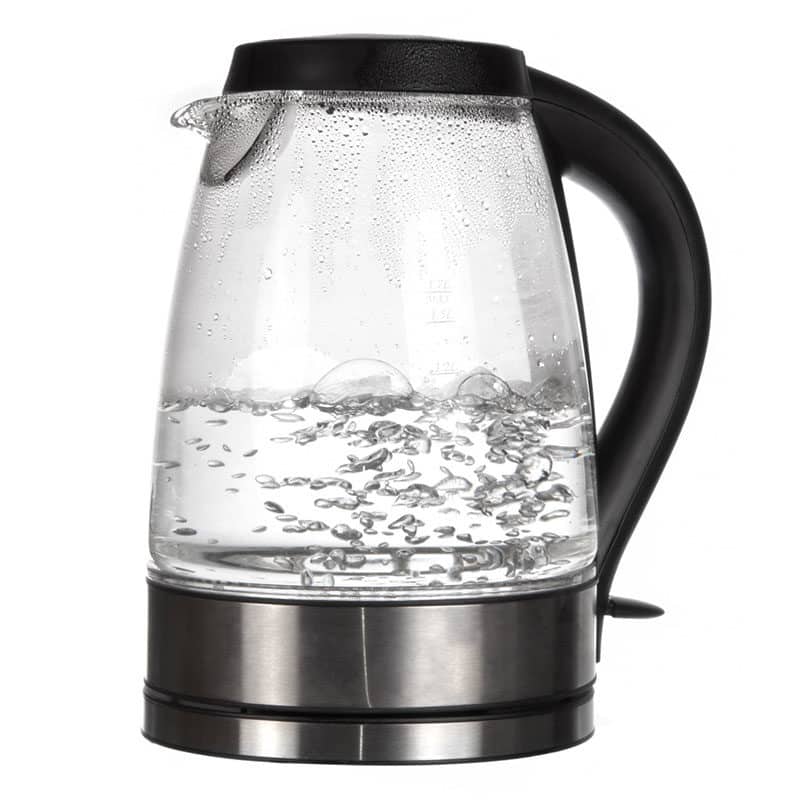
- Don’t Dry-Boil the Kettle
Another way to look after your kettle is to avoid dry-boiling it.
Dry-boiling means turning the kettle on with very little or no water inside of it. Dry-boiling also occurs when a kettle is left to boil until all of its water evaporates.
Constantly dry-boiling the kettle will damage its internal heating elements, which could cause it to malfunction. So, please ensure that there is always enough water inside the kettle when you use it.
If you have accidentally dry-boiled your kettle, switch it off. Then refill it with cold water and put it back on to boil.
- Avoid Mineral Build-Up
In my experience, leaving leftover water in the kettle after it has finished boiling is one of the quickest ways for minerals to build up inside the unit, especially if you live in a hard water area. To avoid mineral build-up, empty the kettle of unused water after each boil.
Wrapping Up: A Guide to Resetting Your Kettle
Hopefully, now you know how to reset any electric kettle.
Remember, to perform a hard reset on your kettle, you’ll need to unplug it from the power outlet, wait for five seconds, and plug it back in. If you have a smart kettle, don’t forget to press and hold the 100° button or the power button for five seconds, release the button, and unplug the kettle. Then, plug it back in, fill it with water, and turn it on.
Has this article been helpful to you? Then why don’t you check out some of our other free guides? You could even sign up to our email list.
Thanks for reading!
-Craig


Designing Modern Living Rooms from Iconic Movies

7 Tips for Heating a Room with High Ceilings (On A Budget)