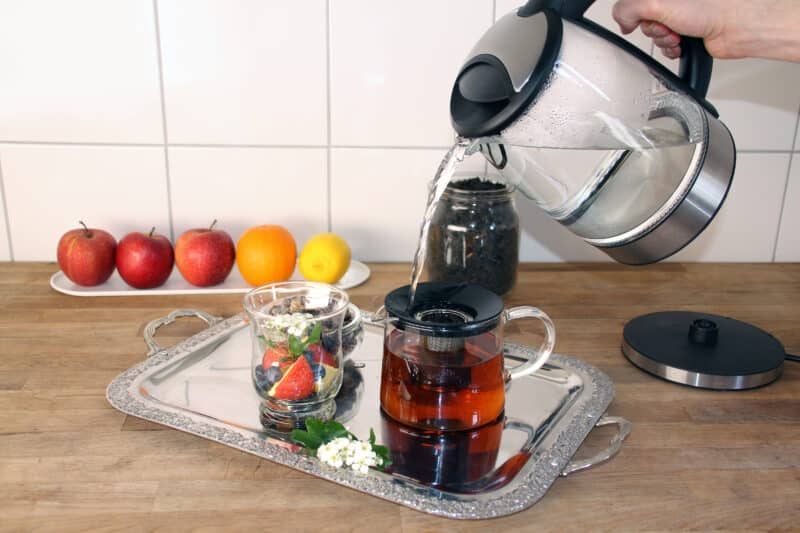
Is your kettle leaking, and you’re not sure why?
You’re not alone! Leaking kettles are a problem that affects thousands of people worldwide, leaving them annoyed and without a nice, hot beverage.
I know having constant leaks while brewing can make you wish you’d never bought your kettle in the first place, but don’t worry; you’ve come to the right place for answers.
Below, you’ll find a list with 4 simple steps you can follow to get everything back to normal.
When your kettle is leaking, you should look around the lid, the spout, the base, and the viewing window for cracks, holes, and other types of damage.
Identifying and Fixing a Leaking Kettle
Identifying and fixing a leaking kettle is not always a breeze, but knowing what to look for and where is a great starting point. Below, I’ll guide you through the process I usually recommend following for fixing a leaking kettle quickly.
#1 Leaks Around the Base
If your electric kettle leaks from the bottom, you must address the issue immediately, as water could trickle down to the power cord and cause short-circuiting. If your electric kettle leaks from the bottom, my usual advice is to stop using the appliance until you repair the leak.
Here are a couple of ways you can go about fixing a kettle that leaks at the base:
| Problem | Fix |
|---|---|
| The kettle gets wet while you are filling it. Water runs down the side of the kettle onto the base. Or the base gets wet as you are holding it over a sink. | Try to keep the kettle dry as you pour water into it. Dry the kettle with a cloth if water spills down the side of it as you fill it. Keep it propped up as you hold it over the sink |
| There is a pinhole leak or a hairline crack somewhere on the kettle’s body. | Watch the kettle as it boils to identify where the leak is coming from. Once you have found it, cover the leak with a silicone sealant. For more instructions on using a silicone sealant, see the instructions below. |
| The kettle has a large leak. There was a problem with the manufacturing. | Check and see if your kettle is still under warranty. If so, you may be able to get a free repair or a replacement. |
To repair hairline or pinhole cracks using silicone sealant:
- Identify the location of the crack. Mark the crack with chalk.
- Empty the water from the kettle and dry it thoroughly.
- Apply the sealant to the outside of the kettle.
- Allow the sealant to cure for the time recommended on the packet.
- Rinse the kettle out twice before using it again.
#2 Leaks Around the Viewing Window
Sometimes, a leaking kettle will have water escaping from around the viewing window. Leaking from the viewing window is especially common in plastic kettles, as not all manufacturers use high-quality materials.
If a leak takes place in the viewing window of your kettle, here is what you can do to fix it:
| Problem | Fix |
|---|---|
| There is a pinhole leak or a hairline crack in the viewing window. The viewing window has pulled away slightly from the kettle’s body. | Watch the kettle as it boils to identify where the leak is coming from. Once you have found it, cover the leak with a silicone sealant. |
| The kettle has a large leak in the viewing window. There was a problem with the manufacturing. | Check and see if your kettle is still under warranty. If so, you may be able to get a free repair or a replacement. |
#3 Leaks Around the Spout
Provided your leaking kettle is not originating from the lid, I recommend checking the spout next. If it’s damaged or has excess limescale buildup, the spout can make a mess when you pour the water from the kettle.
To descale the spout, please check the tale below:
| Problem | Fix |
|---|---|
| Limescale is covering the spout and blocking the proper flow of the water. | Descale the kettle’s spout using a descaler or white vinegar. For more information on cleaning the spout, see the instructions below. |
| Limescale is clogging the scale filter, making it difficult for the water to pour. The water leaks around the spout. | Remove the scale filter and clean it with a cleaning cloth. Then reinsert the filter. |
Are you ready to clear the limescale from your kettle’s spout? Then take a look at the following steps.
- If you are using a commercial descaler, follow the instructions included in the packet. If you are using vinegar, soak a cloth in vinegar.
- Wring the cloth, then push it into the kettle’s spout. Leave the cloth in place overnight.
- Remove the cloth the next day. Wipe the spout with a sponge.
- Rinse the kettle with mild detergent a couple of times to remove the vinegar smell before you use it.
Tip: Descaling your leaking kettle can make it stop leaking and save you some money in electricity. Sometimes, limescale prevents the kettle from boiling as quickly, which means more time boiling and more electricity used.
Please refer to our free calculator to know how much your kettle costs to run.
#4 Leaks Around the Lid
You may also want to look for leaks around the kettle’s lid. When a leaking kettle spills water around the lid, it’s not always a sign that something’s broken. Often, there’s also the chance that you simply overfilled the kettle, and the movement of boiling bubbles spits water out.
Whatever the case, a leaking kettle is a nuisance. So, let’s dive straight into what are, in my opinion, the simplest ways to fix the issue:
| Problem | Fix |
|---|---|
| The kettle was overfilled. Water expands as it boils. So, if you overfill the kettle, it will begin to leak when the water heats up. | Ensure you fill the kettle only as far as the “maximum” mark. You can find the marking on the inside or outside of the kettle. |
| Limescale is covering the lid, keeping it from closing properly. If the lid cannot close properly, it will leak when you go to pour water. | Descale the lid using a kettle descaler or white vinegar. For more information on descaling, see the instructions below. |
| Ensure you fill the kettle only as far as the “maximum” mark. You can find the marking on the inside or outside of the kettle. | It might be tricky and expensive for you to find a replacement lid. If a replacement is not available, you will have to get a new kettle. If your kettle is still under warranty, you might be able to get a replacement free of charge. |
Descaling your kettle can help stop the leaking and remove any limescale building around it, which can not only contaminate your beverages but also make the kettle smell bad.
Luckily, descaling your kettle is very easy; all you need is a mixture of equal parts water and vinegar:
- If you’re using a commercial descaler, follow the manufacturer’s instructions to remove the limescale from the kettle. If using white vinegar and water, fill half the kettle with vinegar and half with water.
- Boil the kettle.
- Leave the solution in the kettle until it cools completely.
- Once the contents have cooled, empty the kettle.
- Use a soft sponge to clean away any stubborn limescale inside the kettle.
Note: Please ensure that the silicone sealant you use is food-grade, as the material will be in constant contact with the beverages you’ll be drinking.
In Summary
Now that you know all the possible locations, causes, and solutions of a leaking kettle, you’re well prepared to take on the issue and get things back to normal.
Here’s a quick recap of what was reviewed in this article:
| The Location of the Leak | To Fix the Leak |
|---|---|
| Around the lid | Do not overfill Descale the lid Replace a broken lid |
| Around the spout | Descale the spout |
| Around the base | Keep the kettle dry when filling Use a silicone sealant Replace under warranty |
| Around the viewing window | Use a silicone sealant Replace under warranty |
Conclusion
That about covers it!
When your kettle is leaking from the bottom or anywhere else, it’s understandable that you feel annoyed and worried about the cost of repairs.
Hopefully, we’ve been able to help prevent you from throwing away your perfectly good kettle and getting the appliance to work normally again.
Thanks for reading. If this article was useful and interesting, please check out our other incredible resources below and consider subscribing to our newsletter.
Have a great day!
-Craig.


Designing Modern Living Rooms from Iconic Movies

7 Tips for Heating a Room with High Ceilings (On A Budget)