Stuck trying to figure out how to fix a kettle that won’t boil?
You’re not alone! I know how annoying it can be when your kettle keeps switching off before boiling the water.
Luckily, solving boiling issues is very simple.
If your kettle switches off and won’t boil, I recommend descaling it, changing the thermostat, and cleaning the contacts.
Read on to fix a kettle that won’t boil!
How to Fix a Kettle That Won’t Boil: 3 Simple Steps
Different reasons can explain why your kettle keeps switching off and having boiling issues. Luckily, there are three simple solutions you can try.
#1 Descale the Kettle
When I see a kettle not boiling, I always descale it.
You see, the limescale buildup inside the kettle has probably started to affect its internal mechanisms, which will stop them from functioning properly. A simple descale can fix a kettle that won’t boil and will help you prevent unpleasant smells.
Remember to descale your kettle even if it doesn’t appear to have significant scale buildup.
How often should you descale your kettle? It depends on how often you use your kettle and the type of water you have. Here is a general guide for you to follow.
- If you live in a soft water area, you should descale your kettle once every three months.
- Descale your kettle monthly if you live in a hard water area.
- If you use your kettle more than five times daily, you’ll need to descale your kettle more often.
Ok, now let’s move on to how you can descale your kettle.
You will need:
- White vinegar*
- Non-abrasive cleaning sponge
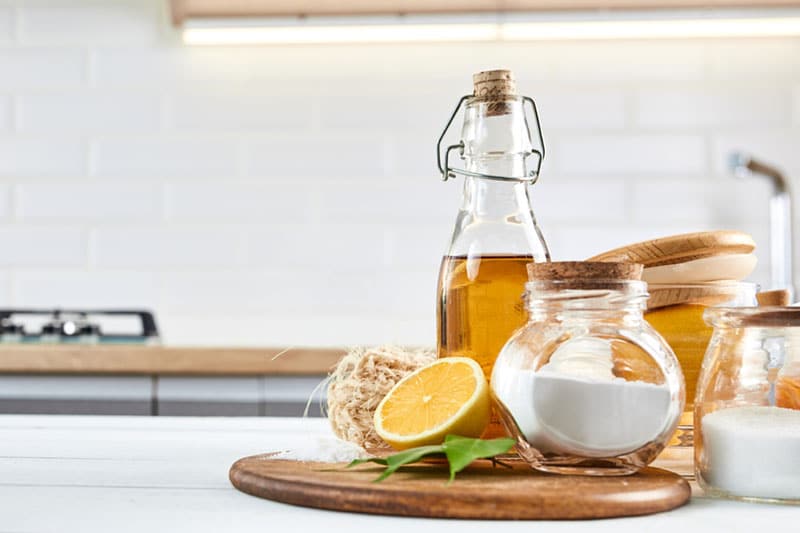
*NOTE: Instead of white vinegar, you can also use citric acid, lemon, or a commercial decalcifier. When using a commercial decalcifier, follow the manufacturer’s use instructions to ensure you get the best results.
Once you’ve gathered your tools, here’s what you should do.
- Half-fill the kettle with an even mix of tap water and white vinegar.
- Put the kettle to boil (as best as it can).
- When the kettle clicks off, leave the water and vinegar solution inside it overnight.
- In the morning, boil the kettle once more.
- Once the kettle has finished boiling, pour out the solution.
- Use a non-abrasive cleaning sponge to remove any stubborn limescale inside the kettle.
- Fill the kettle with water, boil it, then discard it three times to eliminate the vinegar taste from the kettle.
Fancy watching these steps instead? Then take a look at this quick tutorial video.
#2 Change the Thermostat
If your kettle keeps switching off and won’t boil, you’ll need to check the thermostat.
The thermostat in your kettle switches it off automatically once the water has reached boiling point. But if your thermostat is not working properly, it could turn off before your kettle has had a chance to heat the water.
If you suspect that the thermostat in your kettle is to blame, you will need to replace it. But here are a few things I recommend considering before pulling your kettle to pieces.
- The age of the kettle. If your kettle is over four years old, there is a chance that once the thermostat is fixed, something else will go wrong with it. In my opinion, it’s best for you to replace the kettle.
- The kettle’s warranty. Are you having problems with a relatively new kettle? Then you should contact your supplier as the kettle is still likely under warranty. If it is, do not attempt to change the thermostat, as doing so will no doubt invalidate the warranty. If your kettle is still covered, you can get a replacement or a repair free of charge.
- Looking for and purchasing kettle parts. Because kettles are so often replaced, finding spare parts is not all that simple. Finding a thermostat that matches your kettle could be tricky. The cost of the thermostat with your labor when changing it makes replacing the whole kettle the cheaper overall solution.
Have you decided that it is still best for you to replace the thermostat? Then here’s everything you will need to do:
- Start by removing the screws from the base of the kettle. You can use a screwdriver.
- Once the screws on the base of the kettle are removed, you should be able to access more screws that keep the heating elements locked onto the base of the kettle; please remove them too.
- Remove the heating element and the thermostat from the kettle
- Remove the melted thermostat pin. Use a screwdriver to undo the thermostat housing. You can use the pliers to get under the pin and pull it out.
- Push a replacement thermostat pin into place.
- Slot the thermostat housing back together, then fix them in place with their screws.
- Return the thermostat housing to the heating element and screw that back into the kettle’s base.
- Fix the kettle’s base using its original screws and a screwdriver.
Some things are better seen than explained. So why not check out this tutorial video when replacing the thermostat?
#3 Clean the Contacts
In my experience, cleaning the contacts can also fix a kettle that keeps switching off and won’t boil.
You see, if the contacts are oxidized, your kettle won’t work properly. So, you should remove any oxidization or unwanted substance from the contacts.
Here are the tools you’ll need:
- Screwdriver
- Switch cleaner* (contact cleaner)
*NOTE: Avoid using a lubricant such as WD40 instead of a contact cleaner because it could make the problem worse due to the dust that tends to form around the contacts.
Gather your tools, then follow these instructions to clean your kettle’s contacts:
- Undo the screws on the base of the kettle. You can use a screwdriver.
- Locate the central pin next to the on/off switch. There will be two copper contacts on either side of the pin.
- Spray the contacts with the switch cleaner.
- Assemble the base of the kettle.
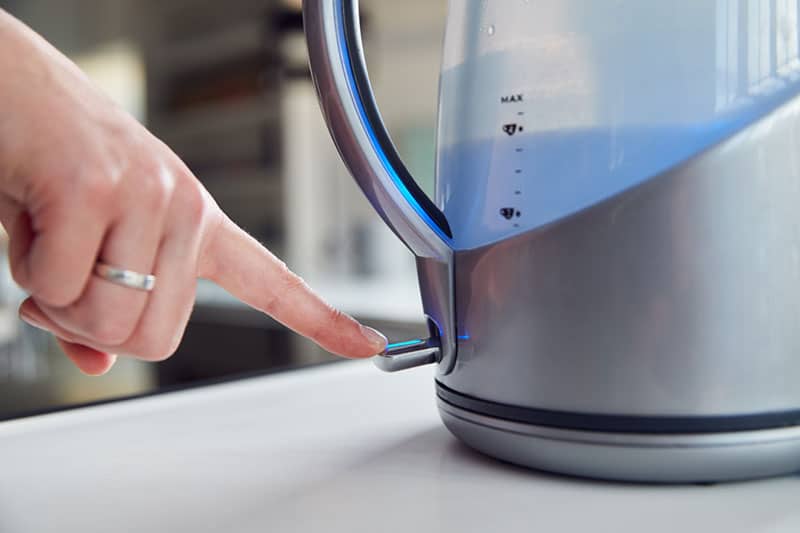
- Without plugging the base into the power outlet, flick the on/off switch on the kettle a couple of times to clear any oxidization or unwanted substances from the contacts.
Wrapping Up: Fixing a Kettle That Won’t Boil
Hopefully, now you know how to fix a kettle that won’t boil and keeps switching off.
Remember, descaling your kettle, changing the thermostat, and cleaning the contacts can help you solve the issue.
Has this article been helpful to you? Then why not check out some of our other articles and free guides? You could even sign up to our email list.
Thanks for reading, have a great day!
-Craig


