We've independently reviewed this article to make sure it's as accurate as we can make it.
To find out more about our article creation and review process, check out our editorial guidelines.
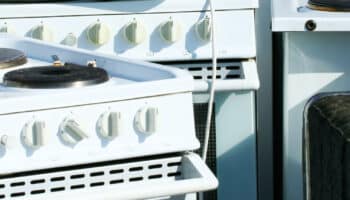
Is your oven clock & timer acting up, and you’re desperately trying to figure out why?
That sucks! Oven clocks and timers are essential for baking and managing your kitchen while you’re away doing other chores or simply relaxing.
I know how annoying it can be to have your oven clock & timer fail – especially if you’re in a rush trying to get a meal ready for a get-together with friends and family.
But don’t worry; you’ve come to the right place for answers. Below, you’ll find a list including 2 simple fixes you can try to get your oven back to normal.
When your oven clock & timer are not working, you can try power cycling your oven, and if that fails, I recommend you consider getting a replacement circuit board to address the issue.
Read on to set your oven’s clock & timer right.
Why trust us? This article was written by Craig Anderson and James Blackford.
Craig has helped thousands of other homeowners repair their appliances since 2016.
James is one of our resident appliance experts with over 16 years of experience. He currently works as a Master Technician for SquareTrade, and runs his own appliance repair business.
Why Your Oven’s Clock & Timer Are Failing
In my experience, there are several reasons why an oven’s clock and timer can fail and leave people in the situation you’re currently in. From something simple and quick to address, such as a bug or glitch in your oven, to a more time-consuming repair, such as a bad circuit board.
To help you get to the bottom of the issue faster, here are some of the things I typically try first.
#1 Power Cycle Your Oven
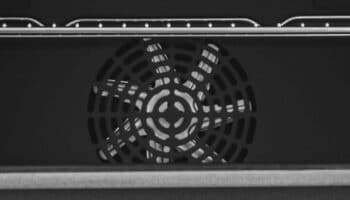
The first thing you must try when your oven’s clock & timer are failing is to power cycle your oven. While uncommon, sometimes your oven can encounter bugs and glitches during a baking cycle that can affect how the clock and timer work.
Such issues are exclusive to ovens with digital timers and clocks, as older ovens with mechanical timers can’t get software glitches. By power cycling your digital oven, you’ll reset many of its internal settings and hopefully address the problem from the root.
Solution: To power-cycle your oven, simply unplug it from the wall outlet it’s connected to and wait a couple of minutes before plugging it back in. If the oven is in a tight space and you can’t reach the plug behind, my usual advice is to try turning the oven off from the brakes in your home.
If you’ve never killed the power to one of the areas of your home from your circuit breaker, that’s okay – it’s really simple. Most circuit breakers are already labeled to indicate which part of your home they belong to, so look for the labels and flip the switch belonging to the kitchen to the “OFF” position.
Once you turn your oven back on, check the clock and timer and see if power-cycling the appliance worked. If not, no worries; there’s still a lot to cover!
#2 Replace Your Oven’s Circuit Board
If power-cycling your oven doesn’t work and the clock and timer are still on the fritz, the next thing I’d recommend you try is replacing the appliance’s circuit board. More often than not, when your oven fails to process certain inputs and settings you dial in, there’s something wrong with its processing unit.
Your oven’s circuit board is responsible for communicating with other parts of the appliance and delivering the results you’re used to. However, I’ve found that sometimes, due to power surges, factory defects, and other issues, the component can encounter unexpected trouble and start acting strange.
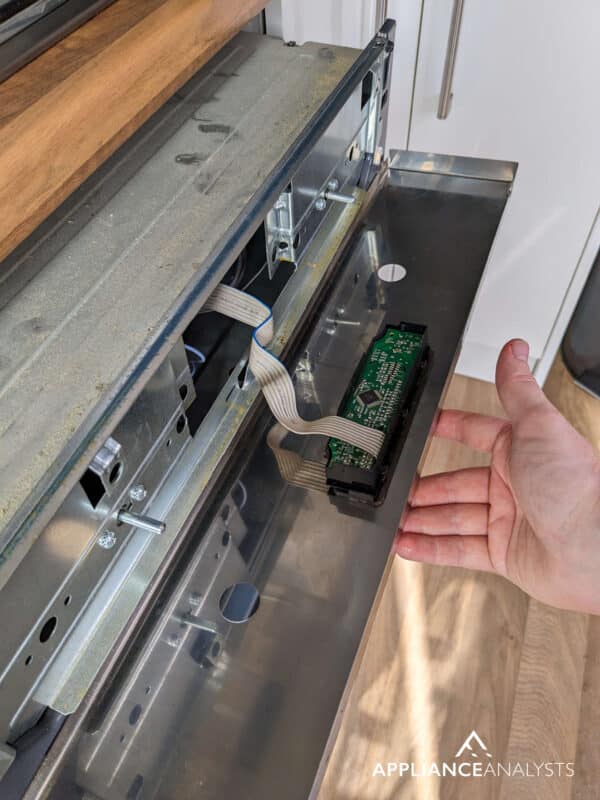
Solution: Replacing your oven’s circuit board is often simple and quick, but before you can do any repairs, you must have the right replacement circuit board for the job.
To know the part model number you need, read your User Manual, as all the information you’ll need will likely be there. Provided you no longer have the manual, please refer to our free resource below to find it.

Depending on your oven’s brand and model, the replacement process can be simpler or more complex. However, from what I’ve seen over the years, the broad strokes go as follows:
- Unplug your oven from the wall outlet or kill power to it from your circuit breakers.
- Shut off the gas valve supply.
- Remove the screws at the back of the oven and remove the back panel.
- Take a picture for reference before disconnecting any wires.
- Unscrew the circuit board’s mounting screws
- Place the new circuit board into the oven and reassemble.
If you’re unsure about the process or have never done a DIY repair on an appliance, I strongly recommend you contact a technician you trust for help. Granted, you’ll have to pay a bit extra for the service, but there’s nothing like a job well done.

Not to mention that typically, technicians can get lower prices on repair parts from manufacturers and vendors, so you might even save a little there.
Fixing Your Oven’s Clock & Timer
That about covers it!
When your oven’s clock and timer are acting up, it’s understandable that you feel frustrated and concerned about the potential cost of repairs you’re facing.
Luckily, as I hope this piece has helped you better understand, addressing the most common causes behind an oven’s clock and timer that aren’t working can be easy and quick. In most cases, something as simple as power-cycling your appliance will do the trick.
Thanks for reading. If this article was useful and answered your most burning questions, please check out our other resources and free guides below and consider subscribing to our newsletter.
Have a wonderful day!
-Craig.


Designing Modern Living Rooms from Iconic Movies

7 Tips for Heating a Room with High Ceilings (On A Budget)