Stuck trying to figure out why your ice maker ice tasted bad?
Sadly, I’ve been there too. There’s nothing more annoying than trying to relax and drink a cold soda, only to find that the ice maker ice tastes bad.
Unfortunately, thousands of people are in the same situation as you. But, the good news is that you’ve come to the right place to get this issue fixed.
If the ice maker ice tastes bad, chances are there’s an issue with your filter, or with your water supply. Moreover, spilled or spoiled food could also explain the problem.
Don’t worry, though. Follow the steps above to fix the issue!

Solving Bad Tasting Ice Maker Ice in 8 Simple Steps
One of the worst things is getting a cup full of ice cubes that smell old and taste terrible.
Luckily, there’s an easy way to get rid of the issue. But, before we dive in, you’ll need to get these items to fix the problem:
- Garbage can (bear with us)
- Hot water
- Vinegar
- Bucket
- Washcloth/rag/sponge
- Towel
- Spray bottle
- Ice maker filter
- Baking soda
- Warm soap water
- Toothbrush
- Ice pick (optional)
Once you have all the items on the list above, you’ll need to follow these simple steps:
#1 Throw Out the Ice
Your first step should be to throw out any ice in your ice bucket at this exact moment. You’ll need to assume that the ice that is currently in your ice bucket is all contaminated, regardless of the exact cause of the foul taste and smell.
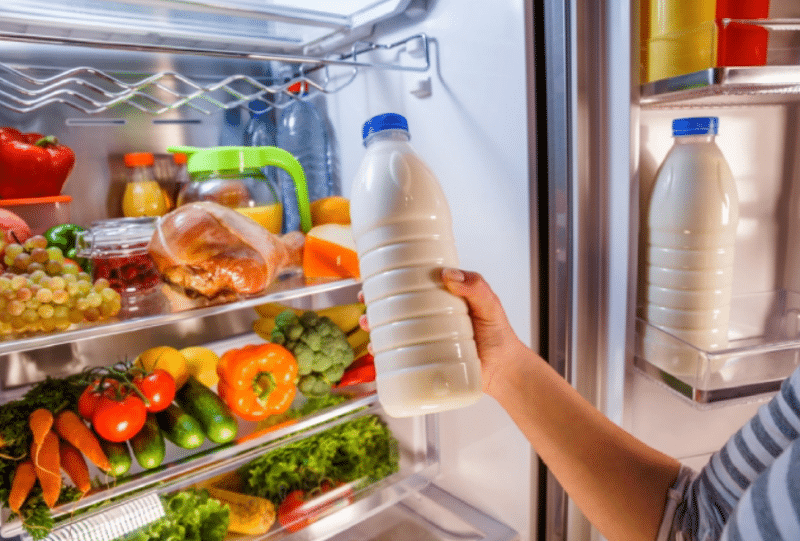
#2 Remove Open Food Containers
One reason your ice smells and tastes bad could be due to open food containers in the refrigerator. Even when stored in the fridge to keep cold, unsealed food emits a smell that will ultimately start causing everything else to smell in the surrounding area.
While you may not realize it, the ice in the freezer is exposed to the circulating air from the refrigerator. Therefore, odors from any unsealed food in the fridge can make their way to your ice, contaminating it.
Ultimately, the goal here is to avoid placing unsealed food in your refrigerator. Make sure to always use Tupperware, Zip-loc bags, or seal wrap when storing food in the fridge. Consider using a fridge and freezer deodorizer to help fight strong food odors.
#3 Check for Spilled and Spoiled Food
Spilled and spoiled food in the refrigerator can have a similar effect on the ice as open food containers. Odors from spilled liquids or food can not only circulate into the air system, but they can also cause mildew and mold to grow, releasing spores into the area. The same is true with spoiled food, even if sealed.
This could explain why your ice maker’s ice tastes bad.
Therefore, as soon as you notice a spill, clean it up immediately and throw out expired food. If you notice mold growing, throw it out and do not open the container.
Clean the refrigerator in its entirety. Use a 3:1 hot water and vinegar solution when cleaning your refrigerator. Then, add the solution to a spray bottle, and don’t be shy as you spray down your fridge.
Use a wet washcloth to wipe down the walls and shelves. For tough stains and grime, pour undiluted vinegar on the area and allow it to sit for several minutes before scrubbing. Use a towel to wipe the fridge dry.
#4 Check the Water Supply
If you do not have any open food containers, spilled food, or spoiled food in the refrigerator or freezer, then you may be dealing with an issue with your water supply.
If you expect your ice maker to make fresh clean ice, then the water that is supplied to the ice maker also needs to be fresh and clean.
There is a chance that something has recently occurred to your water supply. For instance, contamination of some sort like rust or algae could have gotten into the pipes or water main.
This is not uncommon, as city and well-provided water contains many minerals, impurities, sulfur, etc. As a result, the water that enters your home (and makes up your ice cubes!) can have an unpleasant odor and taste. This is far more likely if you notice your ice smells like chemicals or algae, as opposed to old food.
One way to check if your water supply is responsible for your ice maker’s ice tasting bad, try tasting the tap water out of your faucet. This will allow you to see if the foul-tasting water is a problem in the entire home, or if the problem is with the refrigerator.
If you determine the issue is the entire home, then you’ll want to consider investing in a whole-home water filtration system. This type of system will help filter out contaminants in the water before it enters your home’s plumbing system.
But, if there doesn’t seem to be a problem with your tap water, then move on to the next step.
#5 Check the Water Lines
So, you’ve determined that the tap water in your home is fine. However, this does not mean that the water that goes to your ice maker is. Algae can still grow inside of the copper pipes or plastic tubing that send water to your refrigerator.
If there is a leak, particles can make their way inside, contaminating the water supply. The smallest of things can make your ice maker’s ice taste bad.
You can try out the cold water from the refrigerator and see how it tastes and smells. However, the most effective way to check the water lines is to turn the water off from behind the fridge and remove the line that extends to the back of the refrigerator from the wall.
Slowly turn on the valve at the wall and allow the water to run into a bucket. This allows you to see if the water is contaminated or clean. If it is the former, you will need to flush out the water lines until the water is clear.
#6 Change the Filter
Before you reconnect the water line, you should check the condition of the filter (yes, your ice maker has a water filter!). If your ice maker’s ice tastes bad, there is a very good chance that the filter is dirty and needs to be replaced.
This is particularly true if you have had your refrigerator for at least six months and have not replaced the filter.
Depending on the make and model of your refrigerator, it is recommended to change the ice maker filter every six months. However, depending on the frequency of use, the filter may need to be changed more often.
This is because once a filter becomes clogged or expires, it has a difficult time properly filtering the water to provide fresh water for drinking and ice cubes.
Therefore, you should switch out the filter for a new one. Once this has been done, reconnect the water line.
If you want to get any replacement part – or see how much one would cost – click to enter your model number in the search bar below. Our partners at AppliancePartsPros stock almost every part with free guides on how to install them.

#7 Clean the Ice Maker
Once you have performed all the aforementioned steps, it is time to clean the ice maker and ice maker bin, so you can get ready to run the ice maker again in the hopes of it producing great-tasting ice again!
Depending on the way that your ice maker is designed, it may lift up or pull out. You should also remove anything else that can easily be removed, such as a drip trip.
Ideally, you should handwash all of these items (no dishwasher!). Warm soapy water and a washcloth or sponge will suffice here. Alternatively, you can mix a couple of tablespoons of baking soda in a gallon of warm water to use as your cleaning solution.
Make sure to rinse all of your pieces well and then set them aside to dry. Everything needs to dry completely before being put back into place.

Before reassembly, take the time to remove any built-up frozen ice on the ice maker itself. You can use a warm rag to melt the ice, helping to dislodge it. An ice pick could also help in breaking up the ice, but you must use caution to ensure that you do not cause damage to the ice maker or cause any personal injury.
As soon as all the frozen ice has been removed, use your warm soap-water mixture or a 50/50 vinegar and water solution to clean the exterior of the ice maker.
A toothbrush can be used to clean those hard-to-reach areas. A dry washcloth should be used to wipe everything down and remove residual moisture before reassembly.
#8 Run Several Cycles
Once your ice maker is reassembled, plug the fridge back in and ensure the ice maker is on. Let the ice maker run a few cycles, throwing away the cubes each time.
Moving forward, it may be a good idea to clean the ice maker every few months and dump out any unused ice cubes, allowing the removal of any built-up odors in the freezer.
Conclusion
There’s nothing more annoying than not being able to enjoy a cold soda because the ice maker’s ice tastes bad.
Hopefully, the aforementioned steps have helped you get your ice maker working properly again. Don’t forget to check your water supply and lines, remove open food containers, change the filter, and run several cycles.
Thank you for reading, and be sure to check out our other helpful articles below!


Designing Modern Living Rooms from Iconic Movies

7 Tips for Heating a Room with High Ceilings (On A Budget)