Is your ice cream maker not freezing? The temperature of your ingredients could be playing a significant role in the situation.
Having an ice cream maker at home is one of the most convenient and quick ways to get a delicious dessert. With so many recipes and ingredients out there, it just makes sense to own one.
That said, as wonderful as ice cream makers are, they can give you trouble from time to time. Be it the infamous blue liquid leak, a crack in the bowl, or an inability to freeze your ice cream properly.
You’ll be happy to hear that if you’re experiencing the latter, there are simple solutions to the problem.
Below, I’ve prepared a list of the 7 common causes behind an ice cream maker not freezing. By the end of this article, I’m sure you’ll be back to making delicious frozen ice cream.
Ready? Let’s begin!
Fixing an Ice Cream Maker That Won’t Freeze
Even if you’ve owned your ice cream maker for a while, food chemistry is not a simple thing to get the hang of. You’ll be surprised to learn that even the fat content in your milk plays an important role in how your ice cream freezes.
Your ice cream maker might not be freezing due to the following:
- Overfilling.
- Using low-fat milk.
- Using warm ingredients.
- Using too much water.
- Using your ice cream maker base at room temperature.
- Not using enough salt or ice.
- A bad thermostat.
#1 Overfilling
The first possible reason your ice cream maker is not freezing is that you’re overfilling it.
Just because your ice cream maker’s base can take a certain amount of ingredients doesn’t mean you have to fill it up completely.
Preparing your batches correctly can go a long way. Most manufacturers suggest not exceeding 3/4 of the maximum bowl or base capacity for the best results.
Your ice cream maker is designed to adequately freeze a certain amount of ingredients, which means that exceeding the specific limit will result in watery results.
Solution: Read your user manual again to find your ice cream maker’s maximum capacity.
If you’re trying a homemade method that uses ice, salt, and a metal bucket, my usual advice is to stay below the 75% mark.
#2 Using Low-Fat Milk
Using low-fat milk could also explain why your ice cream maker is not freezing.
The molecules in your food will highly impact the result you get when preparing your recipes. Low-fat or skim milk is great for dieting and other recipes but not so much for ice cream.
The higher the fat content in your milk of choice, the better the ice cream will turn out. Now, I’m not saying you can’t prepare a low-cal version of ice cream with skim milk – it’s totally doable. However, I find that you’ll need to experiment with ingredients and amounts thoroughly.
Solution: Do a little troubleshooting. If you’ve prepared the perfect ice cream recipes with only low-fat or skimmed milk, the issue may lie with a different ingredient.
If you’re new to the ice cream-making world and are lactose intolerant, you can still enjoy the delicious dessert at home. There are several online recipes for soy and almond milk-based ice creams that you can try.
#3 Using Warm Ingredients
Using warm ingredients could also explain why your ice cream maker is not freezing.
Some foods, like almonds or other dried fruits, can make the freezing process more challenging, especially if they’re at room temperature.
I’m not saying you cannot use said ingredients to prepare your ice cream; I’m just saying you have to add such ingredients carefully and under specific conditions for everything to work adequately.
Solution: Put your ingredients in the fridge overnight before preparing your ice cream to ensure they’re cold and ready for your ice cream maker.
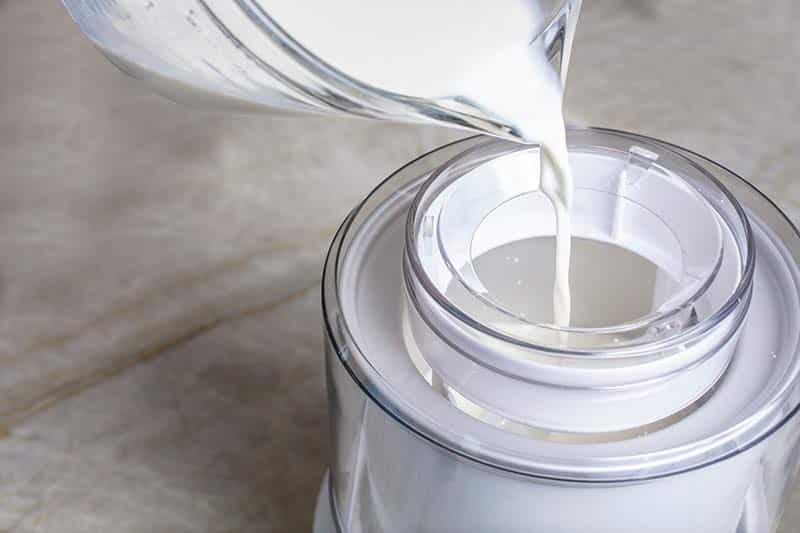
#4 Using Too Much Water

Water is an essential ingredient in the ice cream-making process. However, using too much can be detrimental and counterproductive.
Getting ice cream right can be very challenging. In my opinion, most people have to undergo a long trial-and-error process before reaching the results they’re looking for.
While you’ll have to do some experimenting, one thing’s for sure. Using too much water will yield an ice cream with a runny consistency that will not freeze properly.
Solution: When churning your ice cream, try adding water gradually instead of doing it all at once to help control the consistency you’re getting.
You should always ensure that the water you add is cold or at least room temperature for the best results.
#5 Using Your Ice Cream Maker Base at Room Temperature
The temperature of your ingredients won’t matter if the base you’re using to prepare the ice cream is at room temperature or even warm.
The ice cream maker’s base is the most influential factor in how your ice cream’s consistency will turn out.
Most ice cream maker bases are filled with blue coolant liquid, which keeps them at sub-zero temperatures when in use. While the substance is highly effective at maintaining chilling conditions, it will always need a little help from your freezer.
Solution: Put your ice cream maker’s base in the freezer for at least a couple of hours to guarantee the ideal churning temperatures.
Be careful, though. Not all ice cream maker bases are designed to be stored in the freezer forever. While some manufacturers will say it’s okay to keep your ice cream maker’s base in the freezer 24/7, others will strongly advise against it, as it could damage the base significantly.
#6 Not Using Enough Ice or Salt
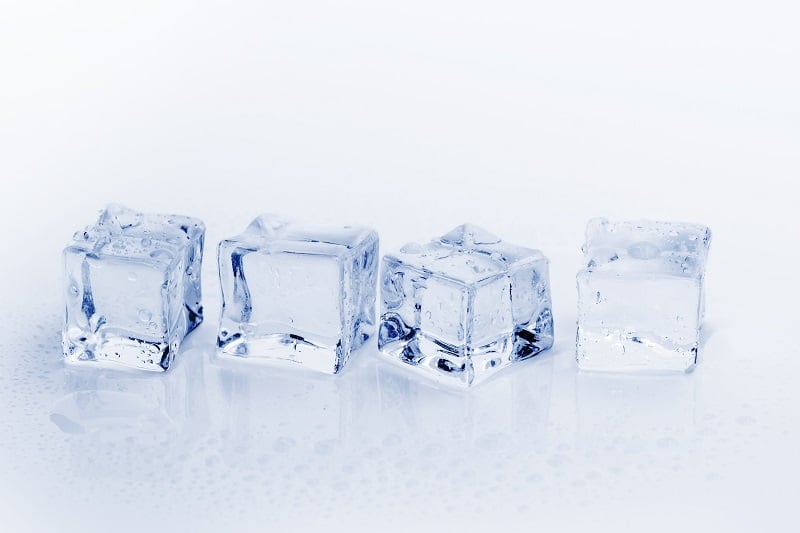
Using too much ice could also explain why your ice cream maker is not freezing or yielding unpleasant results.
If you’re one of those adventurous ice cream makers that like to use salt and ice to give their appliance an extra push, you could be adding too much or too little of them in your recipes.
The combination of salt and ice creates a chemical reaction that speeds up the freezing process. And while sometimes combining salt and ice can help, it could yield icy ice cream in other situations.
If you own an ice cream maker, you should not need to add salt and ice, but if you absolutely must, be careful.
Solution: Isolate your ingredients to find out which are contributing to making the process better and which are hindering it.
Provided you do own an ice cream maker, you don’t need salt or ice, as your appliance is designed to provide you with great results on its own.
#7 A Bad Thermostat
The last possible reason why your ice cream maker is not freezing is a bad thermostat.
Not all ice cream makers have a thermostat. In fact, thermostats are most commonly found in commercial models; however, if your ice cream maker is professional-grade, there’s a chance that it has one.
A thermostat is responsible for measuring the temperature inside your ice cream maker and determining how to regulate it depending on the situation.
If your ice cream maker is not freezing, the thermostat could be faulty.
If you suspect a bad thermostat to be the cause of the problem, you must address the situation immediately.
Solution: Disassembling an ice cream maker, especially if it’s a big one, can be a big challenge, even more so if you’re unfamiliar with its internal components. In such a case, the best thing you can do is call a professional.

Getting Your Ice Cream Maker to Freeze
To have your ice cream maker fail to do the one thing it’s supposed to can be very frustrating.
Every year, thousands of people spend a lot of money trying to find out what’s wrong with their appliance’s internal components, only to realize that the solution lies with how they use it.
If you’re 100% positive that your recipe is not the problem, do not hesitate to call a technician and have them look at your appliance. More often than not, the solution will be simple and should not burn a hole in your pocket.
Thank you for sticking with me all the way to the end. If you found this article useful, please check out our other resources below and consider subscribing to our newsletter.
Bon Appétit!
-Craig.


Designing Modern Living Rooms from Iconic Movies

7 Tips for Heating a Room with High Ceilings (On A Budget)