We've independently reviewed this article to make sure it's as accurate as we can make it.
To find out more about our article creation and review process, check out our editorial guidelines.
Wondering how to connect a propane tank to a stove or any other gas appliance?
You’re not alone! Installing a propane appliance is quick and easy. But when dealing with gas, it is crucial that you do it properly.
Luckily, you’ve come to the right place.
To run gas appliances from small propane tanks, you’ll need to secure the propane tank, hook up the gas hose firmly to the regulator, and connect the regulator to the valve. Then, open the valve, check the connection for leaks, and test your appliance.
Read on to learn more!
How to (Safely) Run Gas Appliances From Small Propane Tanks
Are you planning on using a small propane tank to run your gas appliance? Perhaps you want to learn how to connect a propane tank to a gas stove, heater, or grill.
In this section, I’ll guide you through the steps that will help you quickly hook up your tank.
Before we get started, please note that tank mounted propane heaters should NEVER be used inside a living space, and only in a garage or workshop with adequate ventilation. Propane needs oxygen to burn and emits carbon monoxide, which means the heater can both suffocate and poison you.
#1 Secure the Propane Tank
To safely run gas appliances from a small propane tank, you’ll need to secure the tank so that it does not topple over or get blown about during bad weather.
If you are in an RV, you can easily secure your tank to the bar on the back of the RV. Twist the lever to fix your tank into place.
If you are not in an RV, I recommend placing your tank on level ground. You can use other weatherproof materials to fix your propane tank into place.
#2 Connect the Gas Hose Firmly To the Regulator
The next step in the propane appliance installation process is to connect the gas hose to the regulator.
The regulator controls the pressure and gas flow from the tank to the connected appliances. Its main function is ensuring your tank and appliance operate efficiently and safely.
Here’s how to connect the gas hose to the regulator:
- Soften your gas hose. Is your gas hose brand new? If so, then it could be stiff and difficult to work with. I often advise making it more manageable by warming it up inside or using an electric heat cable. Once it’s warmer, it should be easier for you to connect it to your regulator.
- Slide the hose clip loosely onto the end of the hose.
- Push the hose onto the outlet nozzle of the regulator. Slide the hose as far as it will go.
- Firmly tighten the hose clip by turning the clip clockwise.
Be aware that most propane tanks and valves have left-hand threads. Make sure to twist in a clockwise (instead of the normal counterclockwise) direction. I’ve seen many users that don’t read the tank instructions and end up using too much force, causing damage.
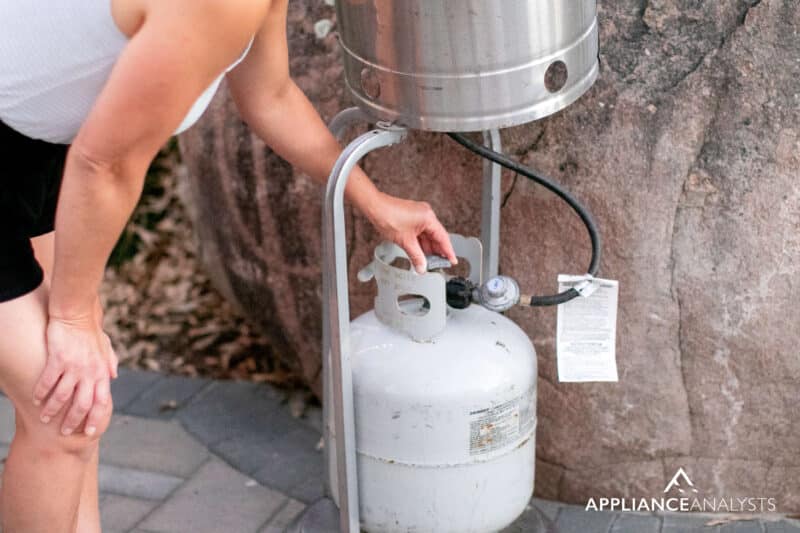
#3 Connect the Regulator Firmly To the Valve
When connecting a gas appliance to a propane tank is crucial to hook up the new regulator to the propane valve.
Here’s what you need to do:
- Push the regulator’s hose onto the nozzle of the propane tank. Slide it as far as it can go.
- Screw the nut around clockwise to tighten the propane tank to the valve. Make sure it is nice and secure.
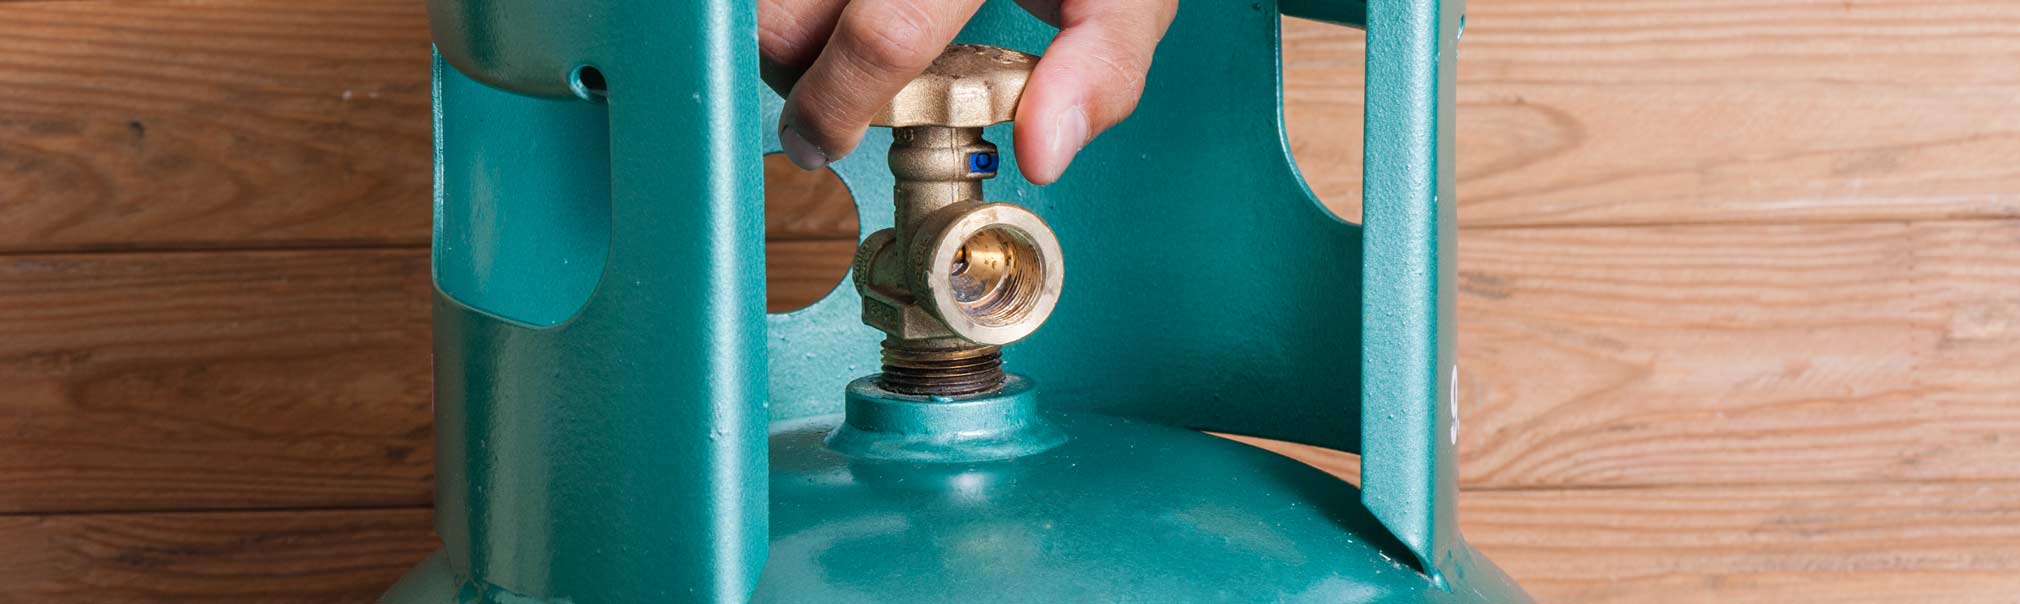
#4 Open the Propane Tank Valve
The next step in the installation process is to open the valve on the propane tank so the gas can flow.
Open the valve by turning it counterclockwise. In my experience, it’s best to start with a gentle turn to avoid sudden gas release.
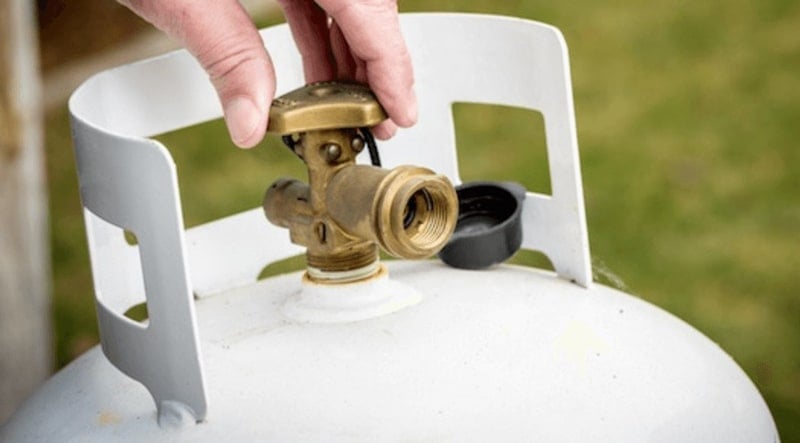
Continue turning the valve until it is fully open. You’ll probably hear a hissing sound as the gas begins to flow.
#5 Check the Connections for Leaks
My usual advice to safely run a gas appliance from a propane tank is to check the connections for leaks.
You see, checking for leaks when connecting a propane tank with a gas stove or any other appliance can help you prevent potential accidents.
Here’s how to check for leaks:
- Use the liquid that came with the regulator. When you buy a regulator, it should come with a packet of goo, a slimy substance – a lot like dish soap, that will help you spot any leaks. If your regulator didn’t come with a liquid, you could use ordinary dish soap for the leak test.
- NOTE. Use dish soap instead of washing up liquid. Washing up liquid doesn’t work as well as dish soap because it is low sudsing.
- Spread the liquid onto the regulator connection to the propane tank. If the connection begins to bubble, there is a leak.
- Spread the liquid over the connection from the gas hose to your appliance. If the connection begins to bubble, there is a leak.
NOTE. If you see bubbling around the connections, then something is wrong. You should immediately turn off the propane flow from the tank at the valve.
Once you have turned off the gas flow, it will be safe for you to test for a leak. Read the table below to check the areas where leaks are most commonly found and learn how to fix them:
| Safety Check Area | How to Fix a Leak |
| Connections | Check the connection of the valve to the regulator and the gas line to your gas appliance. Make sure that you tighten both connections properly before proceeding. You should also ensure that the connections are free from obstructions of dirt. |
| Rubber O Ring and Regulator | If your regulator has a rubber O ring, check it is in good working order. The regulator should be free from nicks, chips, and dirt to work properly. |
| Gas Hose | There should not be any cracks or splits in the hose. If it is damaged, you’ll need to replace it. |
| Valve Stem | Conduct a dish soap test on the valve stem. If it bubbles, the stem will need replacing. It is good practice to replace your valve stem every ten years. But in some cases, the stem can need replacing earlier. |
| Bleed Screw | Have you been using your propane tank for a while now? Every propane tank has a bleed screw in the valve that has to be opened to refill the tank. The screw can become loose over time. If yours does, please replace it. |
Safety should always be your top priority when dealing with a propane gas leak. If you find a leak, it’s best to close the valve, ventilate the area, and contact a professional.

#6 Test Your Appliance
It’s time to test your appliance to know if you’ve properly connected the propane tank. Here’s how to do it:
- Open the valve on the propane tank counterclockwise to make the gas flow out.
- Please turn on your gas appliance to check that it is working properly.
Consult your appliance manual or find it below to get the best results in using a propane tank.

Wrapping Up: Safely Running Gas Appliances From Small Propane Tanks
Hopefully, now you know how to safely run gas appliances from a small propane tank.
Remember that during the propane appliance installation process, you’ll need to secure the tank so it doesn’t topple over, hook up the gas hose to the regulator, and connect the regulator to the valve. Don’t forget to open the valve in the tank to allow gas to flow to your appliance and check for leaks.
If you found this article helpful, please check out our other free guides below. You could even sign up for our email list!
Have a great day!
-Craig


Designing Modern Living Rooms from Iconic Movies

7 Tips for Heating a Room with High Ceilings (On A Budget)