We've independently reviewed this article to make sure it's as accurate as we can make it.
To find out more about our article creation and review process, check out our editorial guidelines.
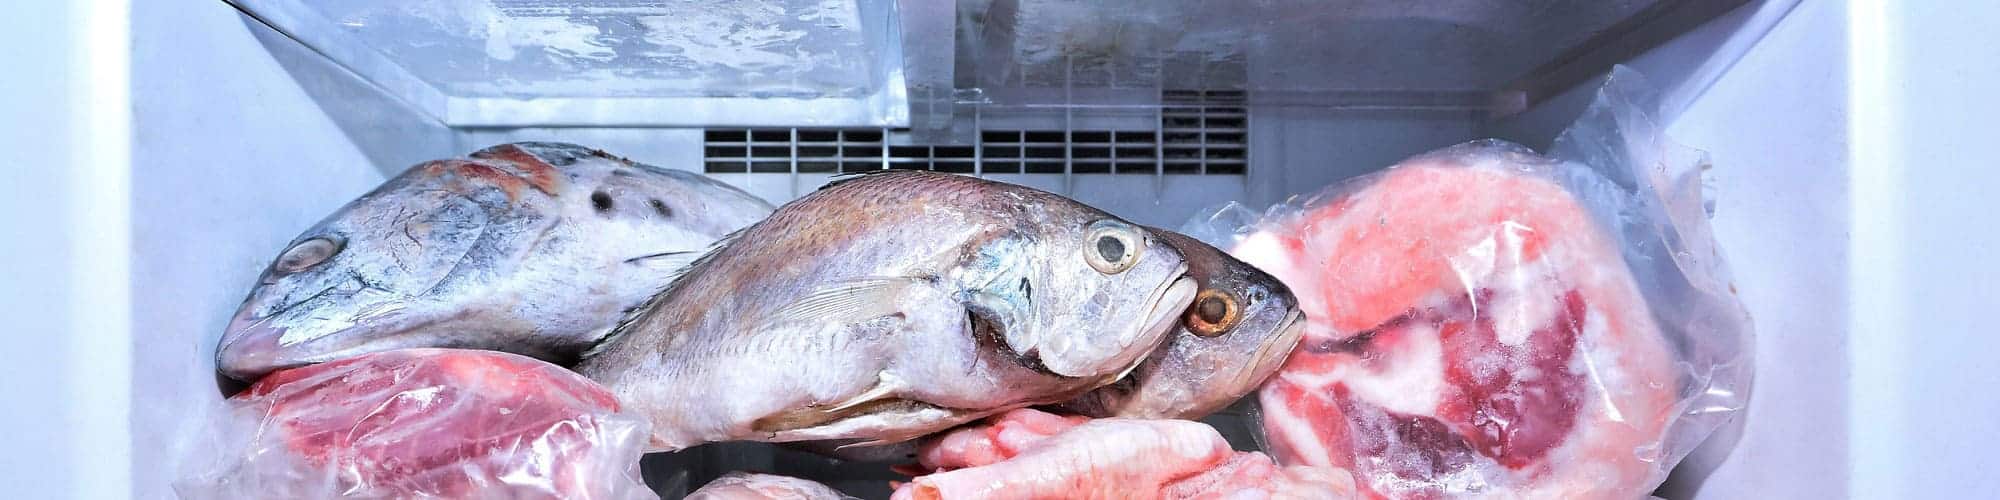
Stuck trying to figure out why your freezer smells like fish?
I’m so sorry to hear that! Nothing can ruin your appetite quite like the smell of fish emanating from your freezer.
Luckily, you’ve come to the right place to get this issue fixed.
If your freezer smells like fish, you’ll need to defrost it in order to clean it. Remove all the food (have a sniff to check for the fishy culprit), let it defrost, then scrub down each part of the freezer. You can also use odor absorbents to help clear up any remaining scents.
That’s the quick answer, but there’s more to it than that. Ready to have a great-smelling freezer again? Then let’s dive straight in.
Cleaning A Fish-Smelling Freezer: 6 Simple Steps
To get your freezer smelling like the day you bought it, you’ll need to take some simple steps in order to clean and absorb all those foul smells.
#1 Grab Your Gear
Before doing anything else, please make sure you have the following materials:
- Warm water and vinegar or a mild soap solution
- Baking soda
- Bucket
- Cat litter or activated charcoal
- Bowl
- Sponge
All of these items are affordable and can easily be found at your local supermarket.
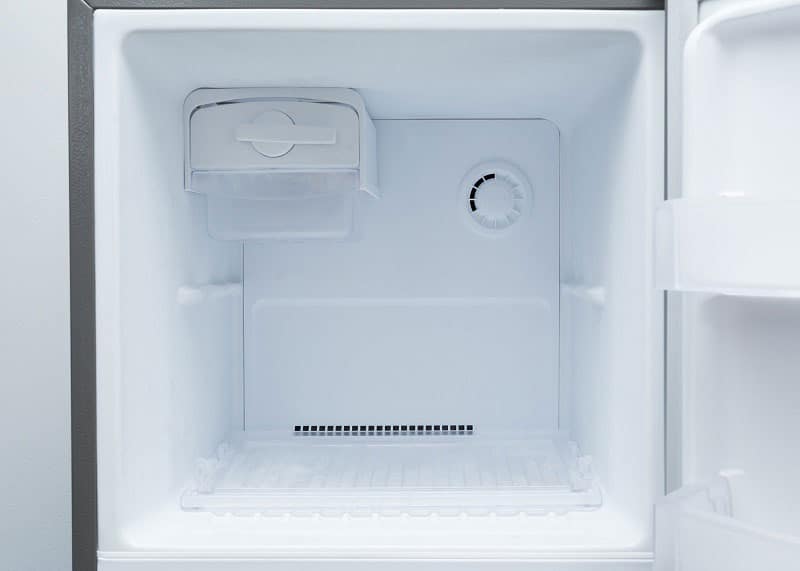
#2 Empty Your Freezer
The first step is to take all the food out of your freezer. You want to remove any food that could cause a bad smell in the first place.
You’ll want to buy some freezer bags or have a backup in place for putting your food away. You don’t want it to spoil or go up in temp, which could cause food spoilage.
Examine all your old food for open bags or spoiling food that you haven’t noticed. Toss away all the bad food so that it doesn’t continue to stink up your freezer. This entire process of cleaning and getting rid of the bad smell could take a couple of days.
You’ll want to make sure you have a plan in place for all the items that need to go back to the freezer. Don’t just leave them in the fridge because it won’t be cold enough for your food to stay good.
#3 Wash the Shelving
Once all the food is out, you can take off all the shelving pieces. They have probably absorbed some of the odor and need to be fully sanitized before putting them back into the freezer.
Please be careful when removing the shelving, as the glass may not be as secure as it appears and could potentially break. This is especially important to keep in mind, since replacing glass shelves can be expensive.
You’ll want to create a washing station where one side of your sink is full of hot, soapy water and the other side is clear.
Then, soak your shelves for about 15 minutes to loosen up any debris that may be sticking to your shelves. After soaking, go ahead and give each shelving unit a nice rinse with some clear water. This will get off all the suds.
Let your shelves air dry till there is no more water. You’ll put the shelving back in once you go through all of step 3.
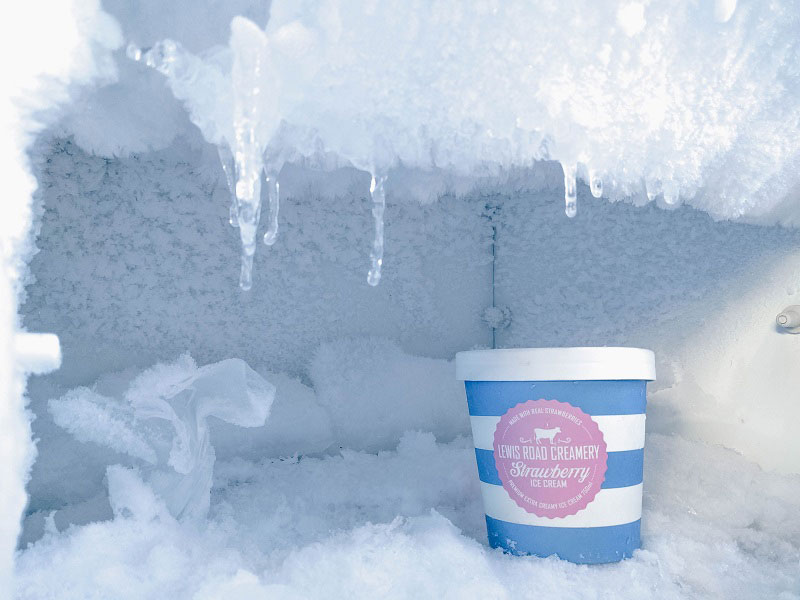
#4 Defrost the Freezer and Clean
Your third step is to defrost the entire freezer, so you can prep it for cleaning. This might take a few hours before you’re able to get it completely defrosted.
Once there is no more frost on the sides of your freezer, you can start the cleaning process.
Try leaving the door completely open during this process for at least a day or two. I also recommend leaving a fan running outside the freezer, as this can speed up the defrosting process.
I find that placing towels on the bottom of your freezer is really helpful, as it can catch any water that may leak.
Before you start cleaning your freezer, please unplug it from the power source to prevent any electrical hazards.
Grab yourself a bucket with equal parts of warm water and vinegar or use a mild soap solution. Then, get yourself a sponge and start applying the cleaning mixture to the sides, top, and bottom of the freezer.
Scrub out the entire inside while also getting the seams in the door of the freezer. This is where some food and debris can get caught and end up spoiling. When wiping your freezer down, be mindful not to get any water on the electronic parts. Too much water can damage them.
You should allow your freezer to dry out for a day or two to allow for all the liquid to evaporate.
After your freezer is completely done drying, you can go ahead and put all the shelving back into place.
#5 Absorb Odors
If your freezer no longer smells, then a good cleaning is all it needs. But more likely, there are still some smells emanating from the freezer.
One of the best ways to get fish smell out of the freezer is by using an absorbent.
Baking soda, cat litter, or activated charcoal are all great absorbents for smells.
With your shelving in place, put a bowl of absorbent in your freezer. Let it stand in there for a day or two while the freezer is on. Make sure there isn’t any food inside your freezer when the absorbent is in there.
After continual use for a couple of days, the smells should dissipate.
Your local grocery store should also have products that are specifically designed to absorb odors in a fridge or freezer.
There are a few other DIY methods you can try too. Coffee grounds are a great way to soak up faint smells. You could put the grounds on a cookie sheet and place it in your freezer. Run it for a couple of days without food and it should help tremendously.
The last method you could use is uncommon. Take your old newspapers and crumple them up and place a page on each shelving unit. Sprinkle some water on your newspaper or keep a cup of water nearby. After about a week, you’ll notice your strong odors go away.
#6 Turn On and Fill Up Your Freezer
Once you have followed all the steps, the fishy smell should be completely gone. It’s safe to put all your freezer food back onto the shelves again.
You might want to go ahead and keep an absorbent in the freezer so that it can pick up bad smells before they get worse.
If you go through all the steps above and still have a bad smell, there’s a good chance the smell moved on into the insulation.
Unfortunately, in some extreme cases, the smell may not be completely removable despite thorough cleaning.
FAQ
Why Does My Freezer Smell So Bad?
There are a couple of reasons why your freezer might have a bad odor. If you have been storing spoiled food in the freezer, it will start to smell.
Otherwise, if your freezer smells like fish, it means that either something spilled inside the freezer.
Why Does My Freezer Smell Even After I’ve Cleaned It?
If the bad smell, which is most likely coming from your freezer, is not coming from food items that have spoiled, then the issue could be trapped in your insulation. The problem of a continual bad smell can become very time-consuming and often expensive to try and find out why it’s happening.
When you cannot determine where the smell is coming from, call a technician to inspect your unit. Insulation needs to be replaced when it becomes saturated with foul odors continuously, but bear in mind that this is often non-accessible.
How Does Baking Soda Get Rid of Bad Smells?
Baking soda, also known as sodium bicarbonate or sodium hydrogen carbonate, is a chemical compound with the chemical formula NaHCO3. It is a white crystalline powder that reacts in water to create carbon dioxide, which leaches odor out of objects.
It does this by drawing in moisture from the air when placed on an object, and then attracting bad odor molecules before they can sink into fabric fibers.
It’s important to note that baking soda is not meant for consumption—rather, use it only in case your refrigerator or freezer becomes smelly – never put it directly inside your mouth!
Conclusion
That about covers it!
Remember, you get rid of bad smells in your freezer all by yourself. It might just take a while. Try absorbents to soak up the bad smells, and give your fridge a good cleaning to get rid of spoiled or old food debris.
Thanks a lot for reading! If you found this guide helpful, please check out our other related articles below.


Designing Modern Living Rooms from Iconic Movies

7 Tips for Heating a Room with High Ceilings (On A Budget)