Toasters are relatively simple appliances. They do not have a lot of moving parts, so you may think they should work reliably just about every time. Fortunately, toasters have long lives, but they can have issues from time to time. For example, you may be frustrated that your toaster is not popping up as it should.
Toasters are typically made up of plugs, cords, switches, heating elements, and a thermostat. Because they don’t have a lot of parts, there isn’t much that can go wrong with them. If your toaster is not popping up, there are a few possible reasons why.
Fortunately, most of these issues are also relatively easy to fix. If you are looking for a way to address problems with your toaster, take a look at a few possible solutions below!
Materials Needed
You will not need a lot of materials to fix a toaster that is not working properly. Of course, you need to make sure you have access to your toaster. Then, make sure you also have a screwdriver and a cloth just in case you need to take apart the toaster or clean it. Then, you should be able to move forward with the cleaning process.
How To Fix a Toaster That Won’t Pop Up in Four Steps
In general, there are four broad categories of steps you need to go through, each with a series of smaller steps. Take a look below!
Step #1 Clean the Toaster

The first thing you need to do is clean the toaster. In order to successfully clean the toaster, the steps you need to follow include:
- You always need to make sure you unplug the toaster first. You need to remove all power flowing to the toaster because this is an important safety concern. Unplug the toaster and give it a few minutes to cool down, particularly if it has been on recently.
- Then, unscrew the front cover. Depending on how your toaster has been designed, you might need to remove the carriage lever first. Typically, you do not need a screwdriver to remove the carriage lever, but your model might require a screwdriver to do so.
- You should be able to see the latch assembly. You should blow on the latch assembly to remove any crumbs that might be present. Or, you may need to flip the toaster over to get the crumbs out. The goal is to remove any obstructions that might be prohibiting the latch assembly from working properly.
- After you have cleaned out the latch assembly, test the latch to make sure it is working properly. If it is still sticking, then you might need to use a bit of lubricant to make this easier.
- If you find that the latch assembly is still sticking, you may need to turn your attention to the heating coils. You might need to clean these as well. Typically, all you need to do is dump the crumbs out, but you may want to use a can of compressed air to help you.
- Once you have done all of this, it is time to put the toaster back together and test it. If the toaster is producing toast for you again, you have fixed the problem. If not, it is time to move on to the next step.
These steps are usually enough to fix the issue. If not, what should we do next? It is time to dig a little bit deeper.
Step #2 Inspect the Electrical Contacts for Wear and Tear
If you do not think there is a mechanical obstruction involving a carriage lever, it is time to take a look at the electrical components to see if there are any issues related to wear and tear. To do this, you will need to use your screwdriver to remove the front body of the toaster. There should be several screws located on a toaster that you can remove.
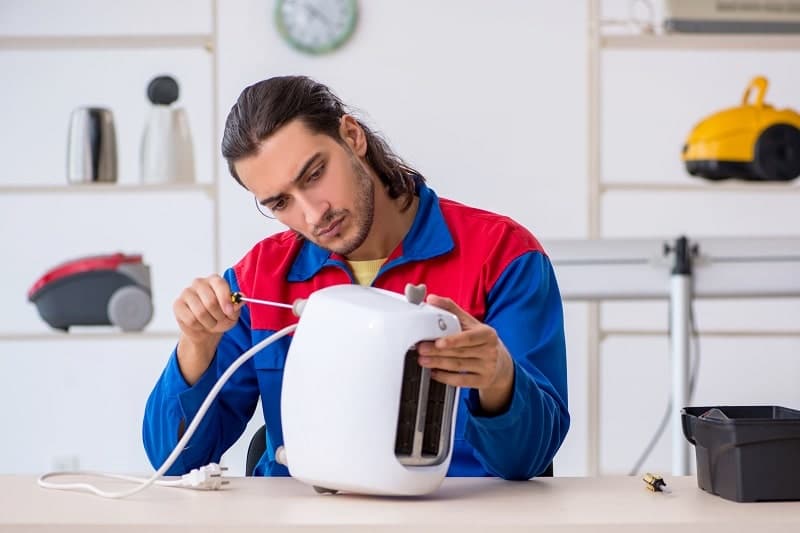
Take off the front cover and take a closer look at the toaster. You are looking for any signs of degradation involving the wires, the brackets, or the electrical contacts. If you find there are unusual smells or odors coming from the toaster, or if everything is discolored, this is a sign that something could be wrong with the toaster.
Unfortunately, if there are a lot of degraded electrical components in the toaster, this is probably not something that is going to be easy to fix. When compared to the price of the toaster, it might be better to replace the toaster. If you find that all of the electrical components are intact, and you may need to move on to the thermostat instead.
Step #3 Test the Thermostat
We have already gone through the process to test to see if there is an obstruction. If there is not one, there could be an issue with a thermostat. The steps you need to follow to check the thermostat include:
- Of course, make sure the toaster is still not plugged in. If you plug the toaster back into test it, make sure you unplug it again. This is important for safety reasons.
- You will need to go through the same process of removing the carriage lever and unscrewing the front cover once again. You should follow the same process.
- This time, you need to pay close attention to see if there are any screws next to the control where there is a light and dark setting. This is typically where the thermostat hides, and you need to remove these parts to inspect the thermostat.
- Jiggle the thermostat a little bit and flip the controls. The goal is to “wake up” the thermostat to see if this is enough to get it working properly.
Once all of this is done, put the toaster back together and test another piece of bread. This might be enough to get the thermostat working again. If a toaster is still burning the bread, it is time to reset the thermostat.
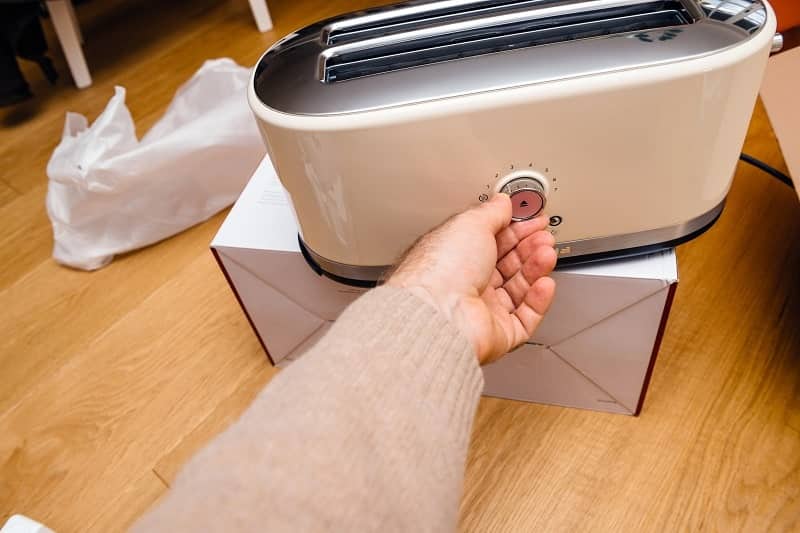
Step #4 Reset the Thermostat
If you need to reset the thermostat, you will need to take the dial knob off completely. Therefore, unplug the toaster again, unscrew the dial knob, and remove it from the front of the toaster.
You might also need to remove the thermostat completely before reassembling the toaster. Keep in mind that if you have questions about doing this, you should take a look at the manual to understand exactly how the thermostat works. You might also need to call a professional who can help you.
This can be an expensive process. Therefore, it might be worth it to replace a toaster instead of getting the thermostat fixed. This is something that you need to evaluate on your own depending on what is wrong with the thermostat and what is wrong with the toaster.
After you have removed the thermostat, you should put it back in the toaster, put the dial knob back on, and test the toaster again. This should be enough to completely reset the toaster and get it to pop up again.
These are a few general steps do you need to follow if you are looking for a way to fix a toaster that will not pop up. The two most common reasons include a mechanical obstruction and an issue with the thermostat. Fortunately, you can address both of these issues relatively easily. A toaster is relatively durable, so it should not have a lot of issues.
Frequently Asked Questions About Fixing a Broken Toaster
There are several common questions people have regarding a broken toaster.
These include:
What is the reason why a toaster pops up automatically when it is finished?
There are two possible reasons why your toaster pops up automatically. First, you may have a timer on your toaster that causes the lever to pop up when the timer dings. This is common if you have set a clock on your toaster. On the other hand, the toaster may have a thermostat that causes it to pop up when the bread reaches a certain temperature. This usually involves a dial knob that is on the front of the toaster.
What do you need to do to clean a pop-up toaster?
Cleaning a pop-up toaster is relatively easy. Usually, all you have to do is flip the toaster upside down and shake it a few times. This should be enough to get the crumbs out of the toaster. If you want to perform a more thorough cleaning on your toaster, then you may need to use a screwdriver to disassemble it and remove the tray. Remember to give the toaster time to dry before you put it back together.
Is it possible to repair a toaster that has been broken?
Yes, it is certainly possible to repair a toaster that is broken; however, the bigger question is whether this is worth it. Toasters are usually not very expensive appliances. Therefore, you may not want to pay for a repair. It could be cheaper to replace the toaster instead. It depends on how much you are willing to do on your own and how much the parts might cost.
Fix a Toaster That Will Not Pop Up
These are a few steps that you need to follow if you are trying to fix a toaster that is not popping up. There are two broad reasons why your toaster is not popping up. The first possible causes a mechanical issue related to the lever on the side of the toaster. Once you clean this, this issue should be solved.
The other possible reason is that something is wrong with the electrical components. You need to make sure nothing is degraded, and you need to take a closer look at the thermostat to see if this is working properly. If you have gone through all of these steps and your toaster is still not working, then it may be time to replace the toaster or call a professional.


Designing Modern Living Rooms from Iconic Movies

7 Tips for Heating a Room with High Ceilings (On A Budget)