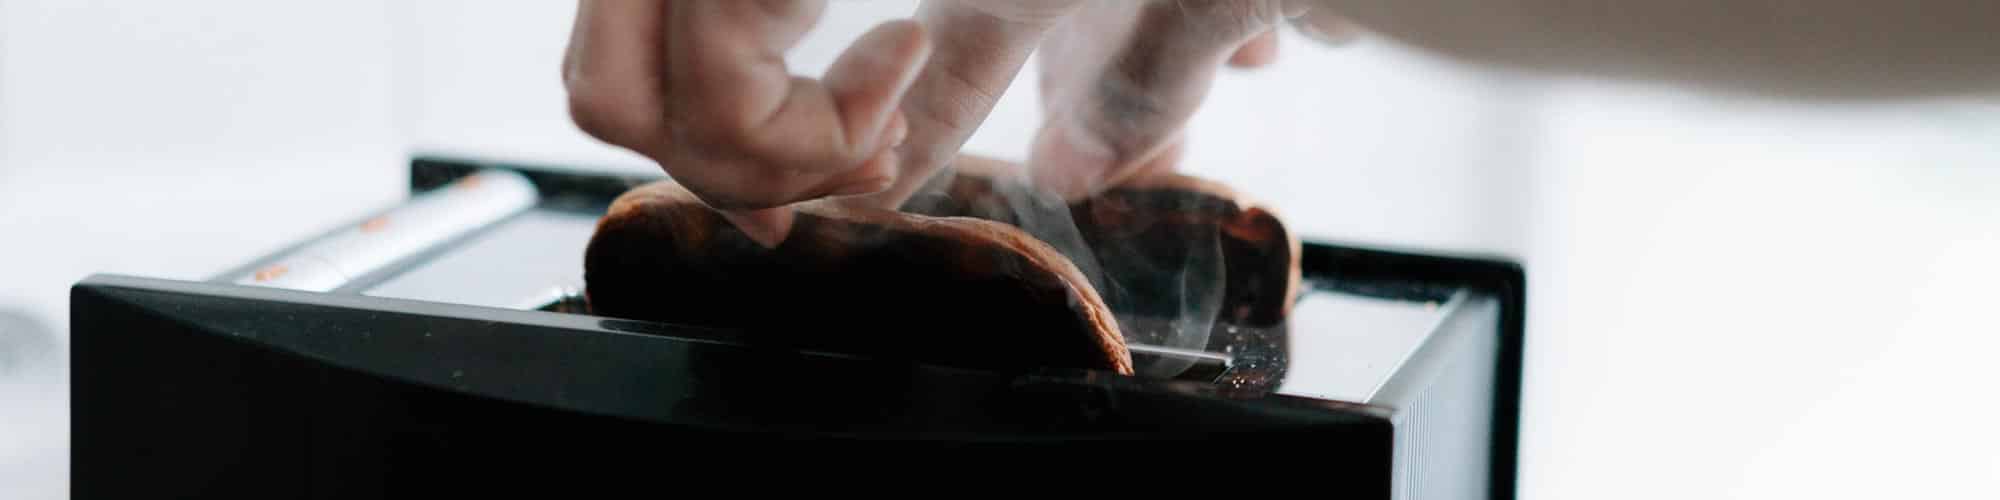
If you have a toaster in your home, there is a good chance that you use it every day. It can be frustrating when your toaster is not working properly. Sometimes, your toaster may even be burning your toast when it is on low heat. As a result, your breakfast might not be the same.
Unfortunately, toasters can malfunction more often than other small appliances. Toasters are usually built to be thrown away when they break, as it is not unusual to find a toaster for approximately $20. Furthermore, toasters often malfunction because there is something wrong with the food particles inside the toaster instead of the toaster itself.
When food particles fall off, they land in the base of the toaster. There, they can accumulate, obstructing the movement of smaller parts, plugging the latch release, damaging the heating elements, and interfering with the operation of the solenoid.
So, if your toaster is not working properly, what do you need to do? Take a look at a few steps below, and learn more about how to stop your toaster from burning the toast even when it is on low heat.
What You’ll Need To Fix Your Toaster
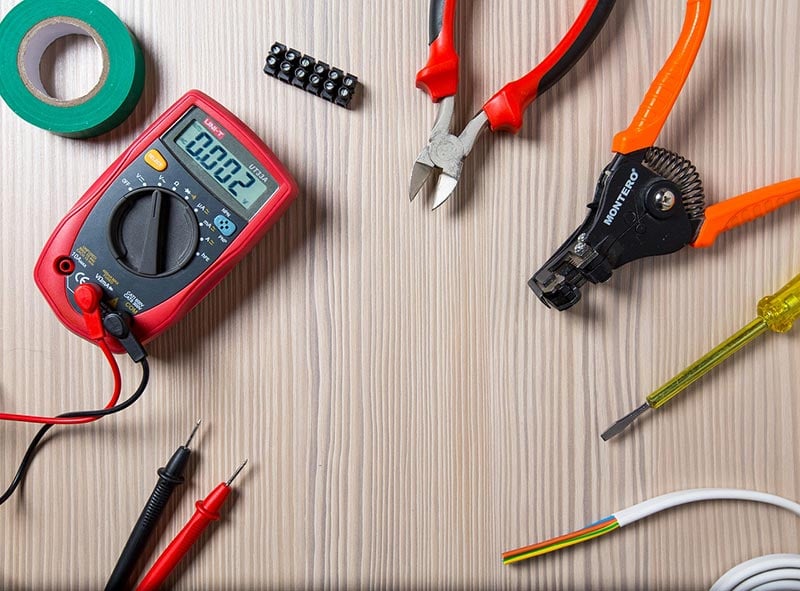
If you are trying to fix your toaster, there are a few important parts you need. These include:
- If you need to have access to your toaster.
- You also need to have a reliable screwdriver.
- You should have a reliable cleaning solution.
- You might need a multimeter to test the continuity of certain internal components.
- You may also want to have a can of compressed air.
- You also need to have a soft microfiber cloth you can use to clean your toaster.
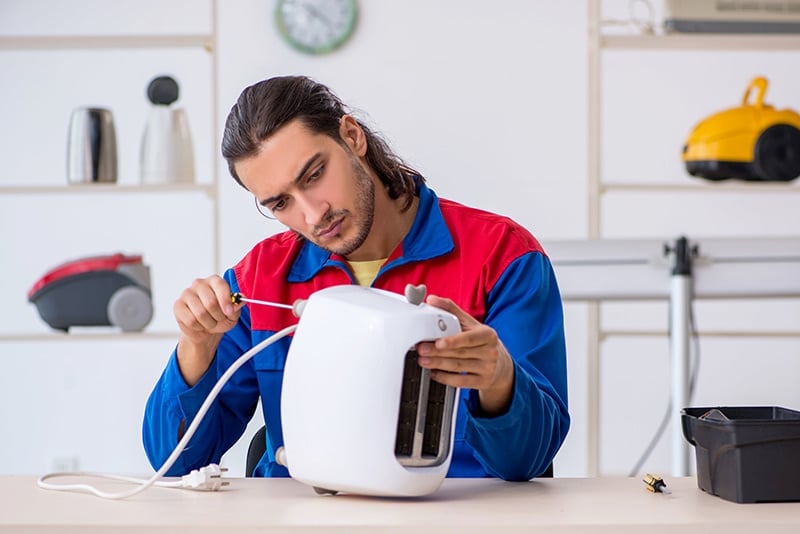
Once you have collected all of these items, it is time to get to work fixing your toaster.
How To Fix a Toaster That Is Burning the Toast on Low in 8 Steps
If you are ready to get to work fixing a toaster that is burning your toast on low heat, there are several steps to follow. These include:
Step #1 Unplug the Toaster
Before you do anything with your toaster, the first thing you need to do is unplug it. This is important because you do not want to increase the risk of electrocuting yourself. Unfortunately, it is not unusual for people to shock themselves accidentally when they are working on the toaster. There are exposed coils, and it is not hard to come into contact with one of the electrical elements.
The vast majority of toasters have a power cord that comes out at the bottom. Follow the power cord to the wall, and remove the toaster from the plug. That way, you know you will not shock yourself when you are working on your toaster.
Step #2 Clean Out the Toaster
One of the most common reasons why your toaster may be burning the toast on low heat is that there are a lot of food particles at the bottom. This can increase the intensity of the heating elements, burning the fresh food you put in the toaster.
Therefore, you need to clean out the toaster. Hold the toaster over a trash can and unlock the door. Then, watch as the food particles fall out of the toaster. You may need to bang on the toaster a bit to knock out some of the other food particles. You should also use a can of compressed air to blow the food particles away from the heating elements. This could be enough to stop your toaster from burning your toast.
Step #3 Open the Back Tray Cover
After this, your toaster may still be burning the toast. If that is the case, you need to take a closer look at a thermostat. There is a chance that you need to recalibrate the thermostat to get it working properly again.
Therefore, you need to flip the toaster over. Then, open the tray cover. In the vast majority of cases, you simply need to flip a latch to get this open. In other cases, you might need a screwdriver, so make sure you have one handy.
Step #4 Try To Shorten the Toasting Cycle
Once you have the crumb tray open, you should be able to see a bracket for the control knob. On most toasters, there is a bracket. This should control the calibration screw or knob that you can turn to recalibrate the thermostat.
Usually, if you move the bracket toward the solenoid switch, the toasting cycle will get shorter. On the other hand, if you move the bracket away from the solenoid switch, the toasting cycle could get longer. Because you are having trouble with the toasted burn in your toes, you should try to shorten the cycle.
Therefore, move the bracket closer to the solenoid switch. Then, close the crumb tray again.
Step #5 Test the Toaster
After you are done with this, it is time to test the toaster. Therefore, close it up, plug it in, and toast a big piece of bread. Check and see if you can work the toaster without burning your bread.
If you can, then you have solved the problem. If not, you should check the solenoid switch. Follow the next few steps below.
Step #6 Access the Solenoid and the Solenoid Switch
The next thing to do is to access the solenoid and see if there is something wrong with it. Therefore, you will have to work through the steps again. Open up the toaster in the same manner as you did before.
Typically, the solenoid is located near the thermostat. Therefore, once you see the thermostat and the calibration knob again, you should be relatively close to the solenoid. Open the crumb tray cover and reveal the solenoid switch.
Step #7 Test the Solenoid Switch Using a Multimeter
After you have located the solenoid switch, you should test it using a multimeter. A multimeter is specifically designed to test the resistance of a certain electrical component. In this case, you are using it to test a solenoid switch.
Follow the instructions on your multimeter and bracket the solenoid switch. See if there is any resistance flowing through it. If you are getting a number that is significantly above zero, this is a sign that the solenoid switch is working properly. On the other hand, if you get a number that is close to 0, you will need to replace the solenoid switch.
Step #8 Test the Solenoid Itself
If the solenoid switch is working well, then you need to move on to the solenoid itself. You are going to do the same thing once you locate the solenoid.
Usually, you can find the solenoid close to the latch at one end of the toaster. If you have not already done so, you will need to remove the shell of the toaster. Then, you should test the solenoid itself with a continuity tester.
Again, if you get a number that is significantly above zero, then this is a sign that the solenoid is working properly. On the other hand, if you get a number that is close to 0, this is a sign that you probably need to replace the solenoid to get the toaster working again.
Even though this is not a comprehensive list of all the reasons why your toaster might be burning the toast on low, these do represent the most common reasons. Work through these steps to figure out what is going on with your toaster. If you have accomplished all of these steps and you have not found a problem, then it might be time to reach out to a professional who can help you.
Do I Need To Replace the Parts or the Toaster Itself?
After you have finished all of these steps, there is a good chance that you will figure out what is wrong with your toaster. Now, you might be asking yourself, do I need to replace the broken part on my toaster? Or, am I better off replacing the entire toaster itself?
There are several factors you need to consider. First, you need to think about the cost of your toaster. How expensive is your toaster? If you got a very cheap toaster, then you may want to replace it. On the other hand, if you sank a bunch of money into it, then you may want to see what you can do to save the toaster.
Then, you also need to think about how old the toaster is. If the toaster is brand-new, you will be more likely to replace one of the parts. On the other hand, if you have had the toaster for a long time, then you might want to get a new one.
Finally, you also need to think about the cost of the replacement part. If the replacement part is only a few dollars, then you might want to replace it. On the other hand, if the replacement part is very expensive, then you may want to replace the entire toaster. Think about these factors carefully before you decide what you want to do.
Fix a Broken Toaster With These Steps
Ultimately, these are the most important steps you need to follow if you would like to fix a toaster that is not working properly. You need to work down this list of possibilities to figure out what the problem is. Furthermore, you should do everything you can to prevent the problem from coming back.
That is why it is important for you to clean your toaster regularly. Ideally, you should dump out all the crumbs every time you use the toaster. Furthermore, you may want to disassemble the toaster from time to time and use a can of compressed air to knock out the remaining food particles.
If you do this regularly, your toaster should last for several years. Furthermore, you might be able to prevent future problems from developing with your toaster.


Designing Modern Living Rooms from Iconic Movies

7 Tips for Heating a Room with High Ceilings (On A Budget)