Toasters are arguably the most common appliance in a household. There is a good chance that you use your toaster multiple times per day, particularly if you have multiple people in your home. It is also entirely possible that if your toaster is not working properly, your entire daily operation will grind to a standstill.
So, what happens if the lever on your toaster will not stay down? There are a lot of possible reasons why, and you will need to explore this issue thoroughly to figure out what is happening. If you keep pushing your lever down, and it keeps popping back up, what does this mean?
Take a look at a few possible causes below, and remember to reach out to a professional if you have questions. That way, you can get your toaster working again as quickly as possible.
Materials Needed
Because a toaster is such a simple appliance, you are not going to need much to take a closer look at it. You need to have access to your toaster. You should also make sure you have a screwdriver and a cloth. Take a look at the bolts on the exterior of your toaster and make sure the screwdriver fits. Then, you can get to work exploring your toaster a bit further.
Addressing the Toaster Lever in 5 Steps
There are several steps you need to follow to take a look at the lever of your toaster. If it is not staying down appropriately, the steps you need to follow include:
Step #1 Is Your Toaster Plugged In?
Okay, so this is probably the most obvious thing you have thought of, but we do not want to run the risk of overlooking it! If your toaster is not properly plugged in, the lever is not going to work properly. Even though you may think you have already explored this possibility, check one more time.
There are a lot of people who operate the toaster in a sleep-deprived state. There are even more people who work the toaster before their morning cup of coffee. There is no shame in forgetting to plug in the toaster. Simply take a look at the toaster and make sure it is plugged in before you go any further. You don’t want to spend hours messing with a toaster only to realize it is not plugged in.
Step #2 Look at the Exterior Wire
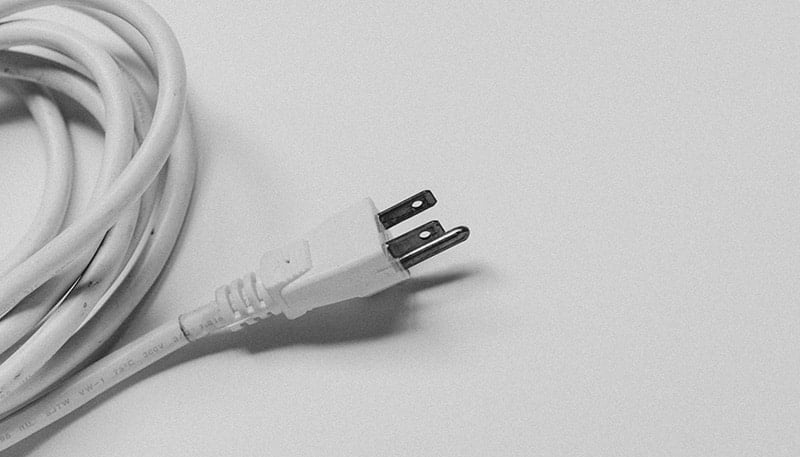
Next, you should take a closer look at the exterior wire. Closely inspect the cord coming out of the toaster. You are looking for any signs of damage. For example, if the cord has been sitting in water for a while, then it could have been corroded, meeting it is not going to transfer any power to the toaster.
In particular, you should pay close attention to the connection between the cord and the toaster. If you find that the court is loose, or if you can see all of the wires exposed, this is probably the culprit. It is not easy to replace the cord of a toaster. If this is the culprit, you may need to get a new toaster.
If the cord is not the problem, it is time to dig a bit deeper.
Step #3 Dump Out the Crumbs
Every toaster is a bit different, but there is a good chance that your toaster uses a magnet to hold down the lever until the timer or thermostat causes the toaster to pop up again. It is possible that the magnet is not holding down the lever because there are a bunch of crumbs in the way. If you can shake your toaster, and it sounds like you have a bunch of jelly beans inside, it is time to get rid of the cross.
The first thing you need to do is unplug the toaster. You do not want to try to carry this toaster off somewhere only to have the cord remind you of its existence. If you didn’t have a problem with the cord, you will if you walk away with the cord still plugged in. Unplug the toaster before you walk away.
Next, take a toaster outside. You want to take the toaster outside because you want to dump the crumbs out there instead of in your house. Simply flip the toaster over, whack it on the bottom a few times, and the crumbs should come out. If you really want to be thorough, then you may want to use a can of compressed air to help you.
Finally, take the toaster back inside and plug it in. If you find that it is working properly, you have solved the problem. If the toaster is still not working properly, there are a few other things you can try.
Step #4 A Problem with the Magnet Itself
As mentioned above, the magnet plays an important role in the function of a toaster. There could be a problem with the magnet itself. If you have had the toaster a long time, the magnet might have been worn out. Eventually, the lever simply whacks the magnet so many times that it gives out.
If that is the case, you might have to replace the magnet. You should take a look at the manual to see where your magnet is located. Usually, you will have to take a screwdriver and remove the lever to access the magnet. Once you have found the magnet, you will need to remove it, replace it, and put the toaster back together.
Finally, test a new magnet to make sure it works properly. If the magnet is not working as it should, you may have reversed the polarity. You might have something that going around to get it to work properly. Once you have done all of this, the lever should stay down. If it still does not stay down, there are other things you can try.
Step #5 Open the Toaster and Check the Spring
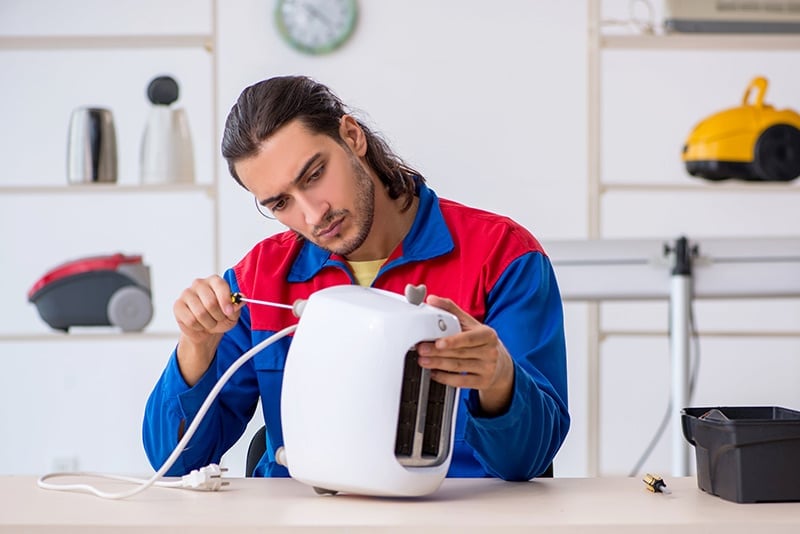
If you have done all of this and the toaster is still not working properly, it is time to dig into the inside of the toaster. Take your screwdriver, remove the screws, and remove the front cover of a toaster. You should be able to see the inside of the toaster.
In this case, you are looking at the spring mechanism. Similar to other metal parts, the spring is subject to corrosion. The spring is what allows the lever to lock into place when you are toasting something. Then, when the spring releases, your food pops back up again.
If the spring looks discolored or degraded, then it needs to be replaced. Figure out what type of spring you have. Then, find a suitable replacement. Remove the old spring from the toaster, put the new one in, and make sure it works properly.
You also need to take advantage of this opportunity to clean out any residual debris that could be present in the toaster. Take a can of compressed air, spray the inside of the toaster a few times, and close the toaster back up again. Test it to see if it is working properly.
If you have gone through all of these steps and your toaster is still not working properly, then you might need to replace the toaster. Or, you may need to call a professional to take a closer look at the appliance for you. It is up to you whether or not this is worth it.
How Do I Prevent My Toaster from Breaking?
It can be frustrating to have a toaster that is not working properly. Fortunately, there are ways you can prevent this from happening. First, you need to be gentle with your toaster. There is no need for you to shove the toaster lever down in the morning. A simple press is good enough.
Second, you also need to clean your toaster regularly. If you can prevent problems from building up inside your toaster, you can prevent them from getting in the way of your magnet. Furthermore, you can also prevent the crumbs from overheating in the toaster. This can go a long way toward protecting the inner workings of your appliance.
Finally, you should also do everything you can to keep the cord out of puddles. If you prevent moisture from collecting around the cord, you can prevent the cord from degrading. Follow these steps to make sure your toaster stays in good working order.
How Can I Stay Safe When Repairing my Toaster?
You always need to put safety at the top of your priority list when you are working with your toaster. There are several ways you can do exactly that. First, make sure you always unplug the toaster before you start working on it. You do not want to run the risk of electrocuting yourself.

Second, you should wear the proper protection when you are working on your toaster. For example, you may want to wear gloves and goggles when you are working on the interior of your toaster. That way, you can prevent debris from cutting debris or flying into your eyes.
Remember to reach out to a professional if you ever feel uncomfortable working on your toaster.
Fix a Broken Lever on Your Toaster
These are a few of the most important steps you need to follow if you are dealing with a broken lever on your toaster. You should always take a look at the possibility of mechanical obstructions. You should also not overlook the possibility that your toaster might not be plugged in.
If you need to disassemble your toaster to take a look at the inside of it, make sure it is unplugged before doing so. Then, if you find something wrong with the inner workings of your toaster, you should always weigh whether it is worth it to repair the toaster or replace the appliance. A professional might be able to help you make this decision.


Designing Modern Living Rooms from Iconic Movies

7 Tips for Heating a Room with High Ceilings (On A Budget)