We've independently reviewed this article to make sure it's as accurate as we can make it.
To find out more about our article creation and review process, check out our editorial guidelines.
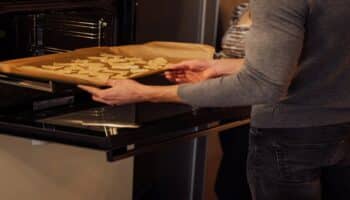
Does your oven light turn off during use?
That sucks! Being unable to keep an eye on your food’s progress because the oven light keeps turning off can be quite frustrating.
Don’t worry, though. I’m here to help.
If your oven light is flickering or shutting off, try power cycling the unit, inspecting the wiring, or replacing the light bulb. If the issue persists, you’ll need to check the door switch and control board.
Read on to learn how to fix your oven’s light!
Oven Light Keeps Turning Off? Follow These 5 Simple Steps
In this section, I’ll walk you through the five steps you must follow in order to prevent your oven’s light from turning off while in use.
Are you ready? Let’s dive in!
#1 Power Cycle the Oven
When I see an oven light flickering or shutting off, I always power cycle the unit.
Just like computers, modern ovens can encounter glitches and other errors. Power cycling your oven will reset the electronic components and solve the minor software issue causing the oven light to turn off or stop working.
You can easily power cycle your oven by unplugging it from the wall outlet, waiting for a few minutes, and plugging it back in.
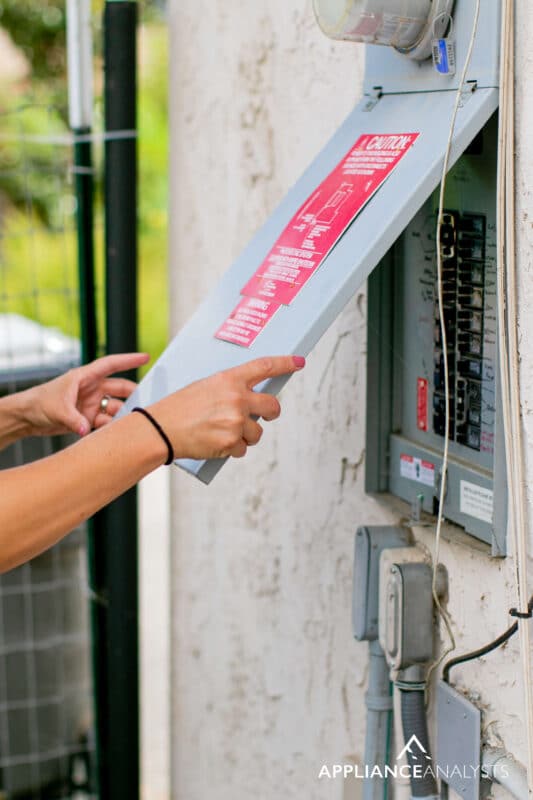
Note: If you can’t easily reach the power cord, you can power cycle the oven by going to the circuit breaker box, flipping the “Oven” switch to the “Off” position, waiting for a couple of minutes, and switching it back on.
Keep in mind that power cycling the oven is just a temporary fix. If the issue becomes frequent, you’ll need to inspect some internal components. Read on to learn more!
#2 Replace The Light Bulb
In my experience, a faulty bulb could also explain why your oven’s light keeps flickering or shutting off.

While oven light bulbs have a long lifespan, factors like temperature fluctuations, physical damage, and build quality can cause performance issues.
Luckily, replacing an oven light bulb is very simple. You’ll just need to:
- Get a compatible bulb. Most ovens require specific bulb types that can handle high temperatures. To find the right light bulb, refer to the manufacturer’s manual, as it typically points out which one you should get.
- Once you’ve purchased the compatible light bulb, please unplug your oven from its power source to prevent electrical hazards. Let the oven cool down completely before replacing the old light bulb.
- Open the door and locate the light bulb. Keep in mind that most oven light bulbs have a protective cover that can usually be removed by twisting or rotating it counterclockwise. Other shields have a small clip that is screwed into the top of the oven. Since the process of removing the cover can vary depending on the specific model you own, please consult the manufacturer’s manual.
- Carefully unscrew the old bulb counterclockwise. While you’re at it, please inspect the light socket. If necessary, clean it.
- Install the new light bulb and reattach the protective cover.

Once you’ve followed the steps above, please plug your oven back into its power source and test the light.
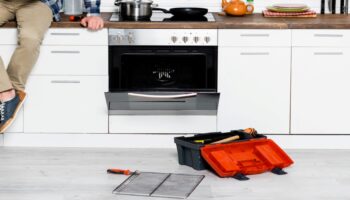
#3 Inspect the Wiring
If your oven’s light is still not working, I recommend inspecting the wiring that connects the bulb to the electrical system.
When there’s a loose connection, frayed wires, or any visible signs of damage, the oven light can flicker or turn off, even while you’re cooking.
Therefore, it’s crucial to carefully check the wiring for any problems to ensure the oven light works as it should.
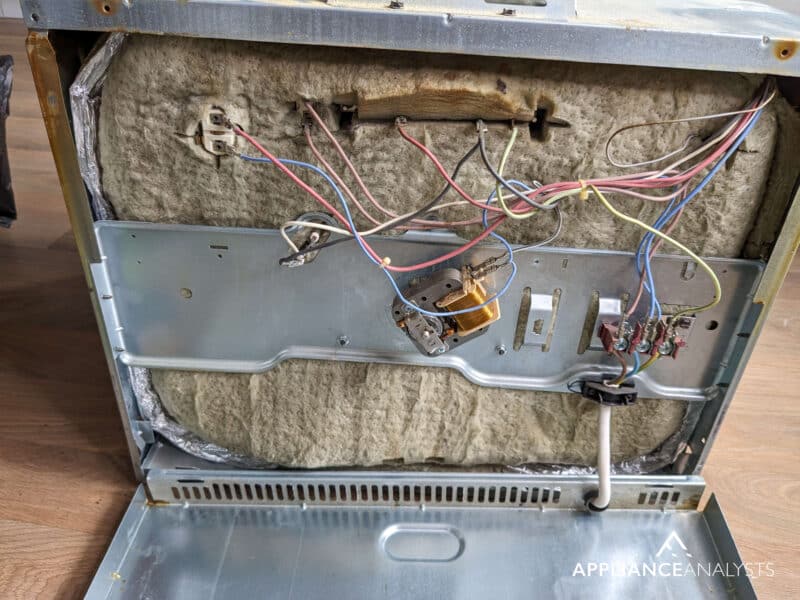
Here’s how to check your oven’s wiring:
- Unplug the oven from the power outlet to prevent any electrical hazards.
- Carefully move your oven to access the back panel. If necessary, ask a friend for help.
- Locate the screws holding the back panel in place. Then, use a screwdriver to remove the back panel and access the wiring.
- Ensure that all the connections are secure. If any connections seem loose, please gently tighten them.
- Look for any visible signs of damage. If you find any frayed or burnt wires, please replace them.
- Reattach the back panel and plug the oven back into the power outlet.
Keep in mind that if you’re uncomfortable inspecting the wiring yourself, it’s best to call a professional. They’ll be able to diagnose and safely solve the issue.

#4 Check The Door Switch
When I see an oven light flickering or shutting off, my usual advice is to check the door switch.
You see, some ovens have a door switch or sensor that is responsible for turning on the light when the door opens. The switch also turns off certain functions, such as the self-cleaning feature, when the door is open to prevent accidents.
Unfortunately, if the door switch malfunctions, you’ll experience different issues while trying to use the oven’s light.
In such cases, you’ll need to unplug the oven from the power outlet and access the door switch. Please refer to the manufacturer’s manual for detailed instructions on how to access the switch, as you’ll need to remove some panels and disconnect wires.
Once you’ve accessed the switch, please test it for continuity. If the multimeter doesn’t show continuity, replace the door switch with a new, compatible one.
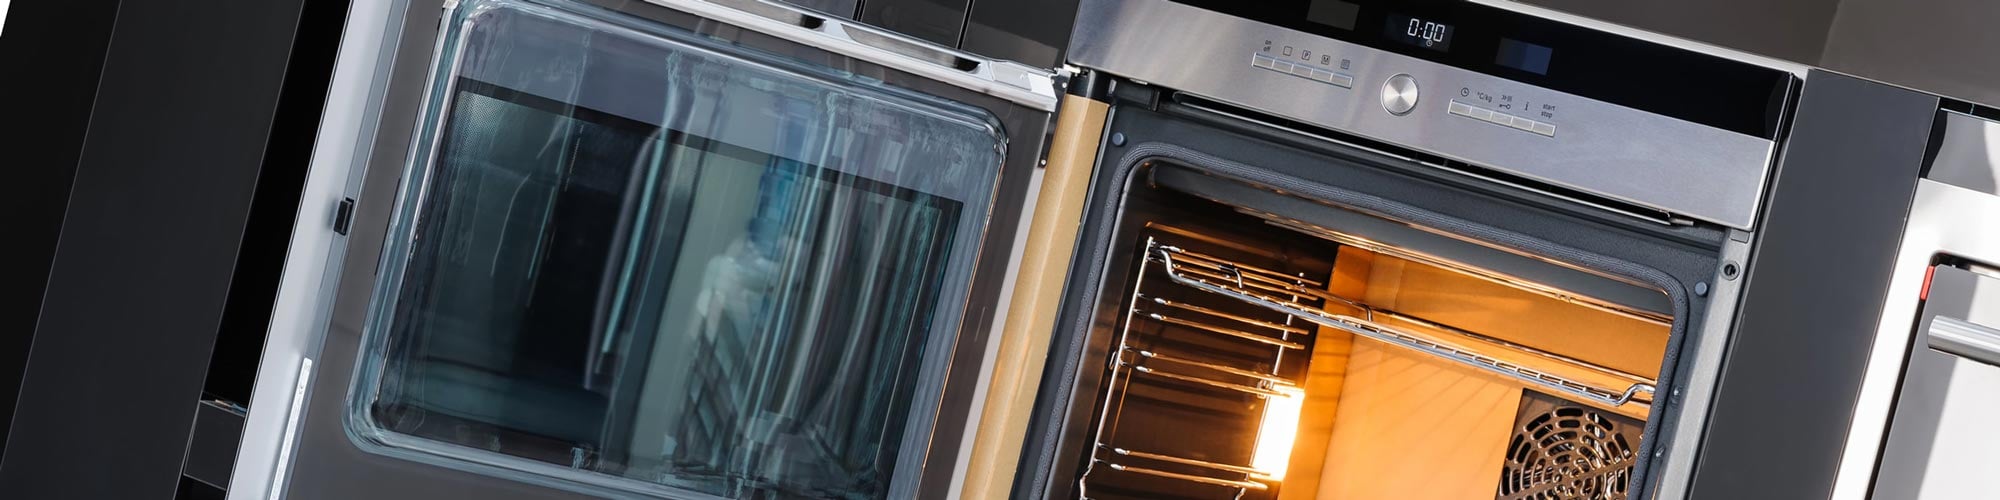
#5 Examine the Control Board
If you’ve tried all of the fixes above, but your oven light keeps turning off during use, it’s time to take a look at the control board.
Think of the control board as your oven’s brain, as it manages various functions and components, including the light. A faulty control board can result in problems like a flickering light, temperature issues, or unresponsive buttons.
Please follow these instructions to check the control board:
- Unplug the oven from its power source to prevent electrical hazards.
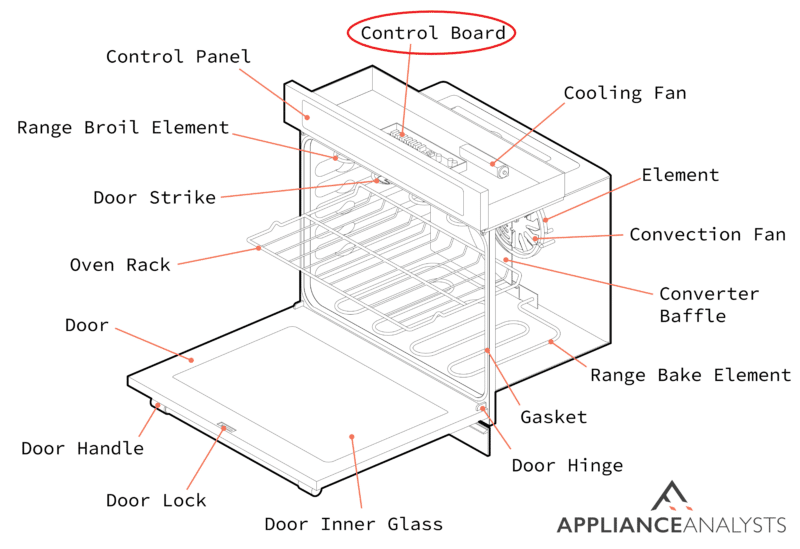
- Locate the control board, which is usually behind the control panel.
- Remove the screws or fasteners holding the control panel in place. Then, gently pull the control panel away to expose the control board.
- Check the wiring connections to the control board. You can also use a multimeter to test the control board for continuity.
- If you don’t get the recommended readings by the manufacturer or you notice any visible signs of damage, please replace the control board with a new one.
It’s worth mentioning that replacing the control board can be expensive and challenging. Therefore, I recommend consulting your warranty status and contacting an appliance repair expert.
Wrapping Up: Fixing Your Oven’s Light
That about covers it! Hopefully, now you know how to fix your oven’s light issues.
Remember that if your oven’s light is flickering or turning off, you need to power cycle the unit and replace the light bulb with a new, compatible one. However, if the light is still not working as it should, don’t forget to inspect the wiring, door switch, and control panel. Replace any necessary components.
Thank you so much for taking the time to read this article. If you ever experience a different issue while trying to use your oven, please check out our site.
Have a great rest of the day!


Designing Modern Living Rooms from Iconic Movies

7 Tips for Heating a Room with High Ceilings (On A Budget)