Is your oven door handle falling off, and you’re unsure how to fix it?
You’re not alone. Although modern ovens are made to last, it’s not uncommon to have certain parts loosen over time.
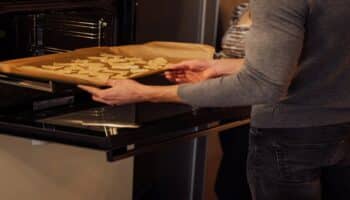
There are plenty of appliance owners that report loose or falling oven door handles as an issue, leaving them annoyed, hungry, and unable to access their food.
Thankfully, there are some typical causes with simple solutions I can walk you through in this article.
If your oven door handle is loose or falling off, you’ll want to try tightening the screws on it. If no screws are loose, you’ll need to pull out the oven, remove the door, and remove the handle by unscrewing each screw. Aim to replace the screws and fully clean out the screw ports.
That’s the quick answer, but there’s more to fixing your oven door handle.
Read on to learn the entire process!
Materials Needed To Fix an Oven Door Handle
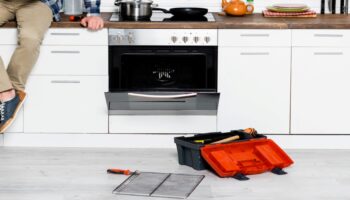
First, you need to gather all the materials you need to fix your oven door handle:
- A screwdriver that will fit the screws in your oven door handle. In most cases, a Phillips head screwdriver will do the trick; however, some oven door handles could require flat-head screwdrivers.
- A new set of screws to replace the ones in the door handle. Look at your user manual to figure out what type of screws your oven door handle requires (provided you don’t have the manual with you, please refer to our free resource below).
- A damp cloth with some cleaning solution to clean the ports for the screws once you remove the old door handle.

Note: You may have thought about using glue to fix the door handle; however, I advise against it. Glue is not as strong as screws and should only be used as a temporary solution. Eventually, you’ll have to pull the door handle off your oven again.
Fixing an Oven Door Handle: The Steps Required
Once you have all the necessary materials, it’s time to tighten your oven door handle.
The steps to follow are:
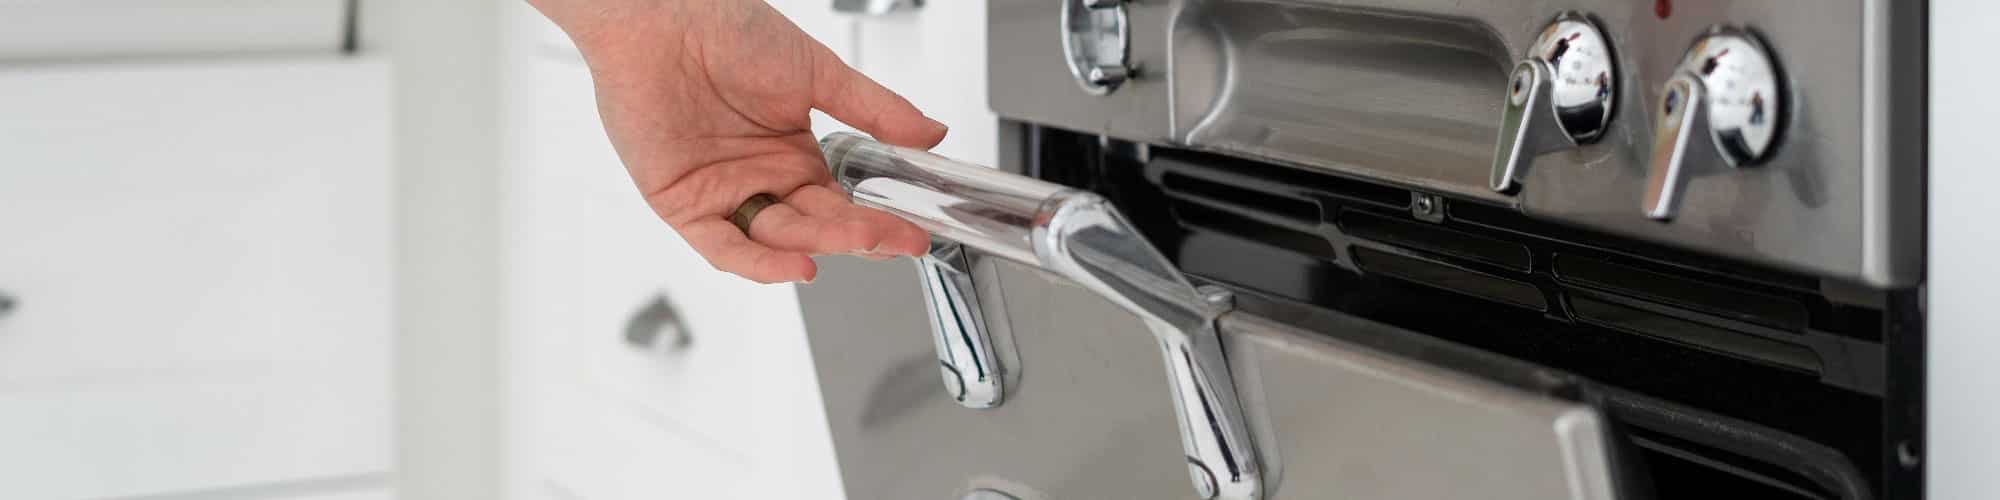
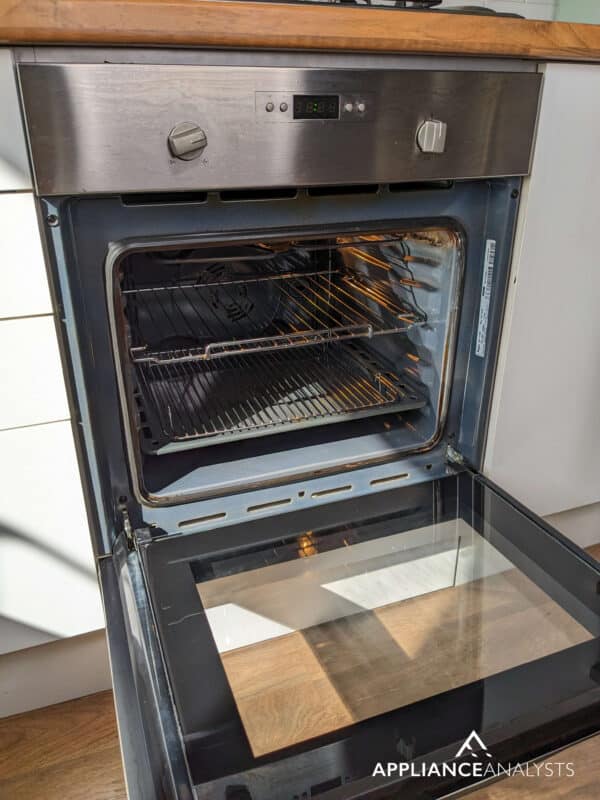
Step 1: Open the Oven Door and Release the Hinges
To tighten your oven door handle, first, you need to open the oven door, then release the hinges. Although oven door hinges are located in a slightly different location and every oven, they’re usually located at the bottom of each side of the oven.
Oven door hinges function just like any other hinges on any other door. The hinges are designed to give the door flexibility while also keeping it attached to the oven. Release the hinges to free the door from the oven. In my opinion, releasing the hinges will make working with the door handle much easier.
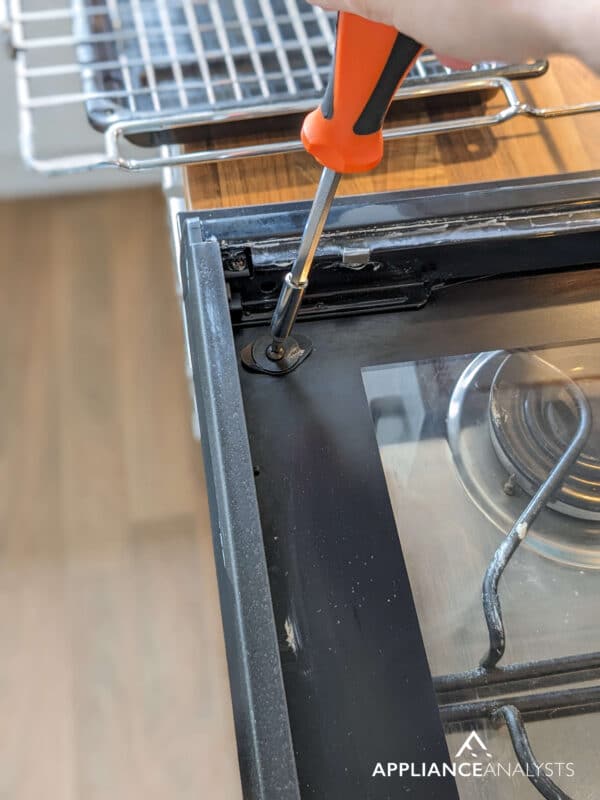
Step 2: Detach the Door from the Oven
After you’ve released the hinges, the door should come right off the oven. Therefore, the next thing I recommend you try to tighten your oven door is lifting the door. If you released the hinges correctly, the door should come free from the rest of the oven.
After you have released the oven door, place it on a flat surface. You don’t want to put the door on a slanted surface because the oven door won’t stay still while you work on it. If you feel there’s enough room in your kitchen, you may want to lay the oven door on the floor. I find that putting a towel underneath the door can protect the glass from breaking.
I recommend you take this opportunity to clean your oven’s glass and remove any grease buildup that could otherwise leak later on.
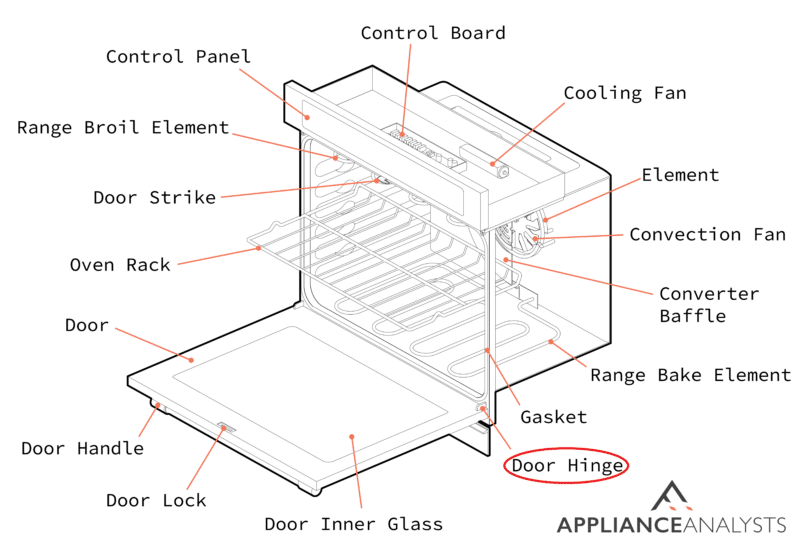
Step 3: Remove the Screws from the Oven Door
After successfully removing the oven door, you should remove the screws holding it in place. Look at the oven door and see where the heads of the screws are located. From what I’ve seen over the years, the screws are often located at the top of the inside of the oven door.
You must use a screwdriver to release the screws from the oven door. Even though many oven door handles use Phillips head screws, other screwdriver types may be necessary. If you’re unsure about screw sizes, you can look for them online using your appliance’s make and model. There are many websites out there that can help you find what you’re looking for.
Step 4: Clean the Ports and Examine the Screws
The next step to tighten your oven door handle is to look closely at the screws you just removed and see if they’re damaged. The screws might be rusted over. Or, you may notice a lot of cracks in the screws themselves. If the screws look damaged, they will need to be replaced.
You do not necessarily need to replace the screws if they’re not damaged. At the same time, it’s a good idea to have replacement screws just in case you need them. You may want to look at the manual to see what types of screws your oven door requires.
If you decide not to replace the screws in the oven door handle, you should clean them thoroughly using a damp cloth. Try to remove any dirt, grime, and food particles from the screws to ensure they’ll do their job when you put them back in the oven door handle. If you want to ensure the screws will stay in place, you can add Loctite or glue to the screw threads.
Finally, you should also clean the ports thoroughly before you decide to put the screws back in the oven door handle. You should try removing any dirt, grime, or rust in the screw ports.
Step 5: Put the Screws in the Oven Door
After you’ve decided to either clean your screws or go with new ones, it is time to put them back in place to tighten your oven door handle. You’ll need to use the same screwdriver to get the screws back in the ports quickly and securely.
Make sure you have a solid connection between the screws and the empty sockets before you screw them in. Then, ensure the connection is tight before you finish – a key step to keeping the door handle in place.
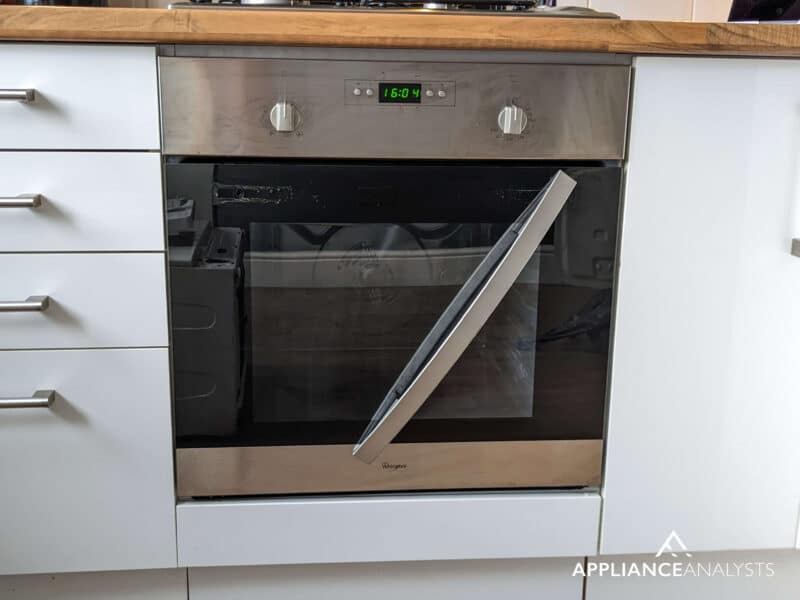
Step 6: Put the Door Back in the Oven
Once you’ve put the screws in place, it’s time to use your screwdriver and tighten your oven door handle. To put the door back in the oven, you must reverse the process. Position the oven door over the hinges. Then, refasten the hinges, making sure the connection is secure.
Be careful when you let go of the door handle. If the hinges have not been tightened appropriately, the door might fall off the hinges again. Ensure the hinges are tight before you step away.
Step 7: Test the Oven Door Handle
Once you’re done putting the door back in the oven, open and close the oven door a few times. Then, test the handle thoroughly – it shouldn’t move when you grab it.
The steps above are the basics to prevent your oven door handle from falling off. Keeping your oven door in good condition is key to preventing high running costs and lost heating efficiency.
How To Protect the Door Handle on Your Oven
The reality is that your oven door handle will take a beating. You may not realize how much you use your oven; however, whenever you open and close the oven door, you place stress on the door handle. Therefore, you should do everything you can to protect the handle from harm. A few basic steps you need to follow include:
- Clean the Door Handle Regularly: First, you should make sure you clean the door handle regularly. The door handle often starts to gray because it’s exposed to a lot of dirt, grime, and grease, causing the door handle to break down. Make sure you clean the handle regularly.
- Run the Self-Cleaning Cycle: You must also protect the screws inside the door handle. When you’re done cooking a meal, you should run the oven’s self-cleaning cycle to remove contaminants from the inside of the baking compartment. The self-cleaning cycle can prevent the screws from rusting.
- Don’t Hang from the Door Handle: The advice is aimed towards children; however, you should ensure nobody hangs from the door handle, child or otherwise. It’s not unusual for small children to jump and hang on the door handle, treating it like a jungle gym.
Over time, your oven door handle may start to break down. If you see cracks on the outside of the door handle, then you may need to replace the handle itself. You should look at the manual to see what you need to do to get a new door handle.
If you want to get any replacement part – or see how much one would cost – click to enter your model number in the search bar below. Our partners at AppliancePartsPros stock almost every part with free guides on how to install them.

Prevent Your Oven Door Handle from Falling Off
Ultimately, if you want to prevent your door handle from falling off, pay attention to the screws that attach the door handle to the oven door. If your door handle keeps falling off, you may need to clean the screws before you put them back in the door handle. If the screws look damaged, you may need to replace them entirely.
After you have fixed your door handle, you should do everything you can to protect it. Ensure you keep the inside and outside of the oven door clean if you want your door handle to last as long as possible.
I hope you’ve enjoyed learning more about protecting the door to your oven. If you’d like to know more about what you can do to get the most out of your oven, take a look at a few related articles and guides below and consider subscribing to our newsletter.
Have a wonderful day!
-Craig.


Designing Modern Living Rooms from Iconic Movies

7 Tips for Heating a Room with High Ceilings (On A Budget)