We've independently reviewed this article to make sure it's as accurate as we can make it.
To find out more about our article creation and review process, check out our editorial guidelines.
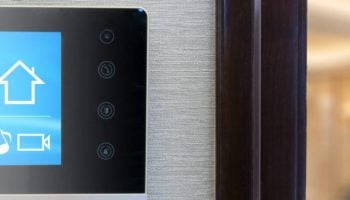
Is your Nest thermostat refusing to play ball? Then take a look at the 8 steps in this article that will help you to pinpoint the problem and get your thermostat up and running again.
If your Nest Thermostat won’t turn on try reconnecting the display, resetting it, and charging it with a USB. If you have a Nest Thermostat with batteries, reinsert them or install a C wire.
What should you do if your Nest Thermostat E or Nest Learning Thermostat won’t turn on? Or what if it’s the standard Nest Thermostat with batteries that’s giving you trouble? No matter the model, you’ll find more details on how you can fix your thermostat below.
Note – Nest thermostats can vary when it comes to batteries. In most models, you’ll find a small specialised battery that acts as a backup and is charged via power from the circuit. This is only a backup, and the real power comes through the C and R wires which connect to the transformer.
Fixing A Nest Thermostat That Won’t Turn On
NOTE: Your Nest thermostat will not turn on if it is not connected to the system. If the thermostat does not detect motion in front of it or no one is using the Nest app, the screen will switch off. It should power back on when you move in front of it or when you open the app.
Step #1 Wait 2 Minutes
Is your Nest Thermostat E or Nest Learning Thermostat displaying a blinking green light? Then your thermostat might not turn on while it is doing one of three things:
- Software updates
- Starting up
- Restarting
It should only take your thermostat about two minutes to perform any of these tasks. While it does, you should simply wait.
Step #2 Reconnect the Display
What if your thermostat has been stuck blinking a green light for more than 15 minutes? Then it may have frozen while updating or performing another task. If it has, you should do the following.
- Pull the thermostat off of its base
- Reconnect the thermostat to the base. Make sure that you hear it click into place.
Step #3 Wait For the Battery to Charge
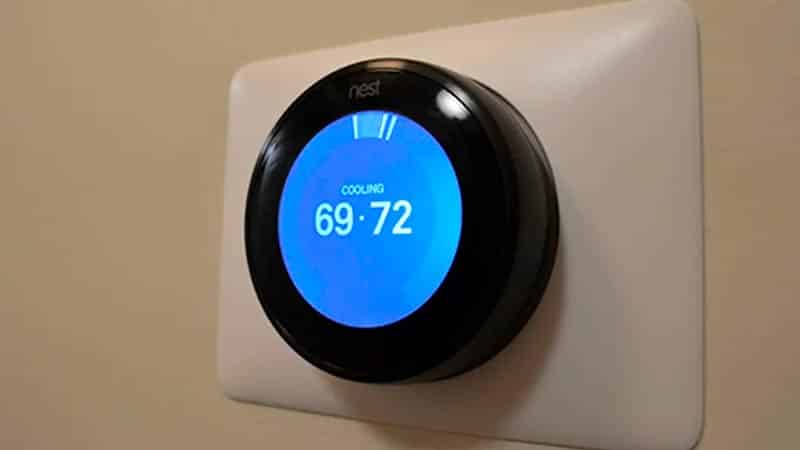
Does your Nest thermostat display a red charging light? Then the battery is currently too low for it to turn the screen on. You might need to wait up to one hour for the interior battery to charge and then you can try turning the screen on. Ensure that the thermostat clicks into the base so that it will charge properly.
Step #4 Reset the Thermostat
If your thermostat is still not responding, you should perform a manual reset. To do this, follow these steps.
- Press the thermostat down for 10 seconds until the screen turns off. (If the screen is already off, skip this step.)
- Press and release the ring and follow the steps on the screen to restart it
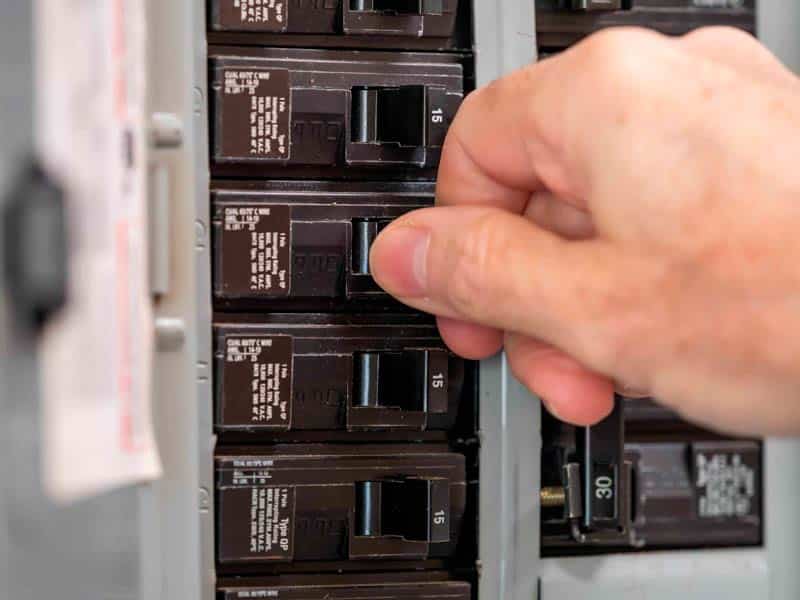
Step #5 Check Your Circuit Breaker and Fuse Box
Depending on your Nest model, the power being off at the circuit breaker may be what’s stopping it from turning on. Typically Nest thermostats have a backup battery that will keep it going while the main power is out, but over time a lack of power will eventually turn it off.
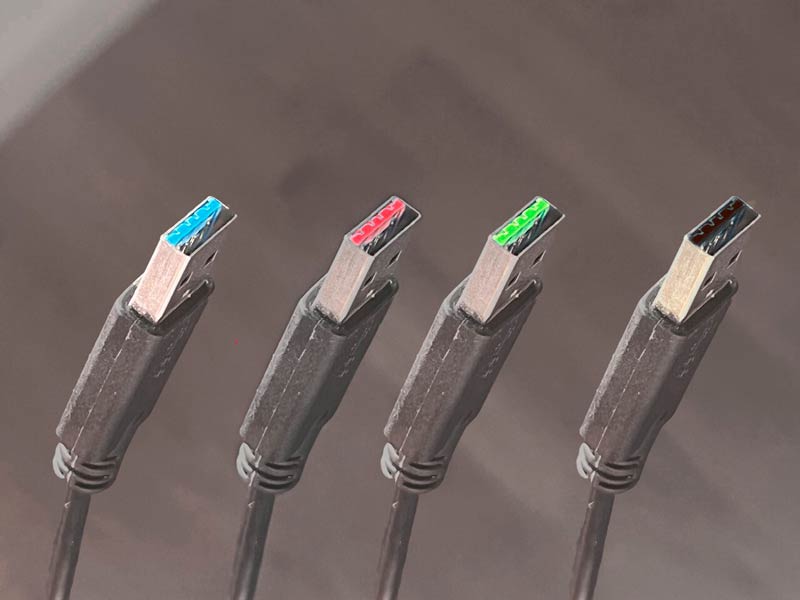
Step #6 Charge It With a USB
You should not make a habit of charging your Nest thermostat with a USB cord. But, to ensure that your base is not the issue, try charging it with a USB. You will need either a micro or a mini USB cord for this job depending on the type of thermostat you have.
If the thermostat charges with a USB, you will need to call a technician to have a look at it. There is evidently a problem with the thermostat’s base.
NOTE: Do not connect the USB to a computer to charge the thermostat
Step #7 Check the Wiring
If your Nest thermostat has a wiring or system issue, the screen will not turn on. Here’s how you can fix a wiring issue.
- Connect the display to the Nest thermostat base
- Press SETTINGS on your Nest Thermostat E or Nest Learning Thermostat
- Press TECHNICAL INFO and then press POWER
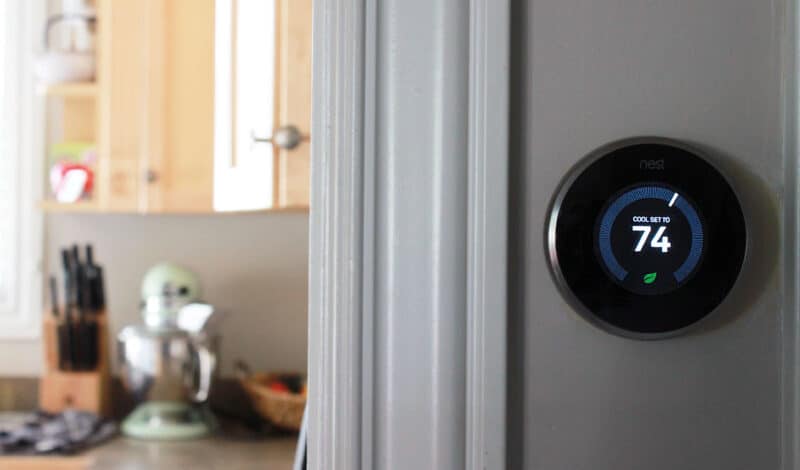
- Check the voc, vin, or lin values. If the values are not in range, connect a C wire to the thermostat. Alternatively, you can connect a Nest Power Connector to the thermostat.
- NOTE: If the C wire is already connected to the control board, put it in the C connector
How to Fix a Nest Thermostat That Won’t Turn On
Does your Nest thermostat refuse to respond when you touch the bar on the right-hand side? Then there may be a fault with it. Check out some of the following tips that will help you to fix a standard battery-operated Nest Thermostat.
NOTE: If the thermostat does not detect motion, the screen will switch off. It should power back on when you move in front of it if it has enough power in its batteries.
Step #1 Reinsert the Batteries
Your Nest thermostat’s screen should turn on automatically after you insert the batteries. To check and see if your thermostat responds to a battery change, do the following:
- Disconnect the thermostat from the base
- Remove the batteries. Ensure that there isn’t anything blocking the battery terminals.
- Insert the batteries again. You should hear a click as they sit in place.
- Reconnect the thermostat to the base. The thermostat should turn itself back on.
TIP: These are the same steps that you would need to perform to reset the thermostat
Step #2 Replace the Batteries
Your Nest thermostat will not turn on if the batteries are dead. You should replace the batteries in your thermostat using the following steps:
- Disconnect the thermostat from the base
- Remove the batteries. Ensure that there isn’t anything blocking the battery terminals.
- Insert new batteries. They should be high-quality 1.5 V AAA alkaline batteries. You should hear a click as they sit in place.
- Reconnect the thermostat to the base. The thermostat should turn itself back on.
Step #3 Install a C Wire
If your Nest thermostat is still not working, you may need to connect a C wire to the thermostat. Alternatively, you can connect a Nest Power Connector to the thermostat. To do this, you should contact a technician.
Conclusion
Thank you for checking out this article, and we hope it helps you get your Nest thermostat working again. When your thermostat is working properly, it can help you save a significant amount of money on your utility bills.
Have you found this article helpful? Then feel free to browse our website and find other informative articles. You could even sign up to our e-mail list.
Thanks for reading, and have a great day!
Cheers,
Craig


Designing Modern Living Rooms from Iconic Movies

7 Tips for Heating a Room with High Ceilings (On A Budget)