Your generator is supposed to be a reliable failsafe when there’s no other power source. But that means the machine needs to be in working order and ready to go any time. If it’s oozing oil, you can’t rely on it to do its job when duty calls.
Luckily, there’s often a simple fix. This article will walk you through the process of finding and stopping your leak.
Start by making sure the machine can’t switch on while you’re working on it. Then check the oil to make sure you have a leak and not just a slight buildup of grime on your generator. Next, inspect the oil drain and tighten up or replace the oil plug if it’s loose. If that doesn’t work, examine the valve cover gasket and swap it for a new one if it’s worn out.
Don’t worry, we cover all that in more detail below. With these 6 easy steps, you should be able to get your generator working in no time.

Follow These Steps:
Step 1: Switch Off the Power
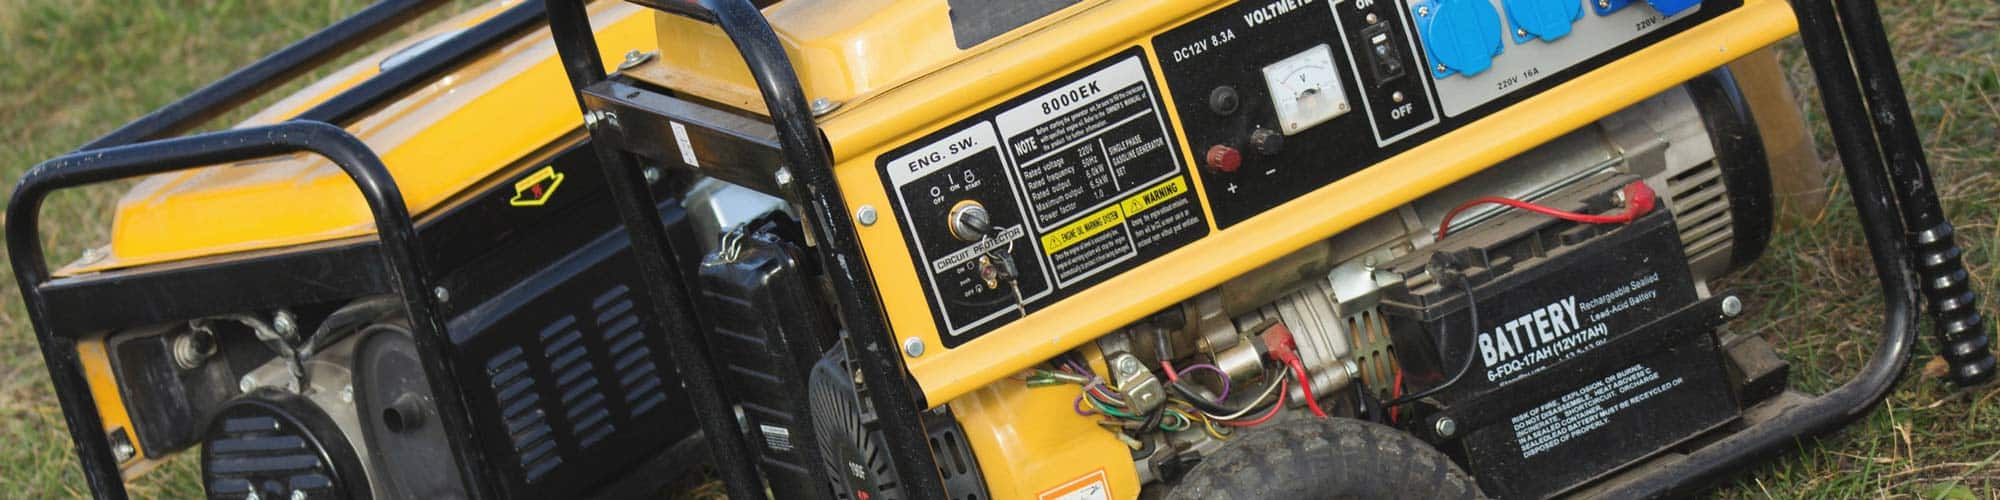
Open up the lid and find the main circuit breaker. This is a large switch on the interior control panel. It might be surrounded by lots of scary warning labels about electricity. Flip it to the off position.
Many home backup generators also have buttons to shift between “on” “auto” and “off” modes. Set yours to “off”. You don’t want any chance of the generator powering on while you’re working on it.
Step 2: Check the Oil Level
A little bit of oil pooling inside the casing doesn’t always mean there’s a leak. Diesel generators are prone to a problem called wet stacking, in which fuel and soot accumulate in the exhaust and drip out as an oily sludge.
To make sure you’re dealing with a leak, slide the dipstick out and wipe the end off with a clean rag. Then pop it in and back out again. Does the level look low even though you filled it recently? If so, there’s probably a leak.
Step 3: Inspect the Drain Plug
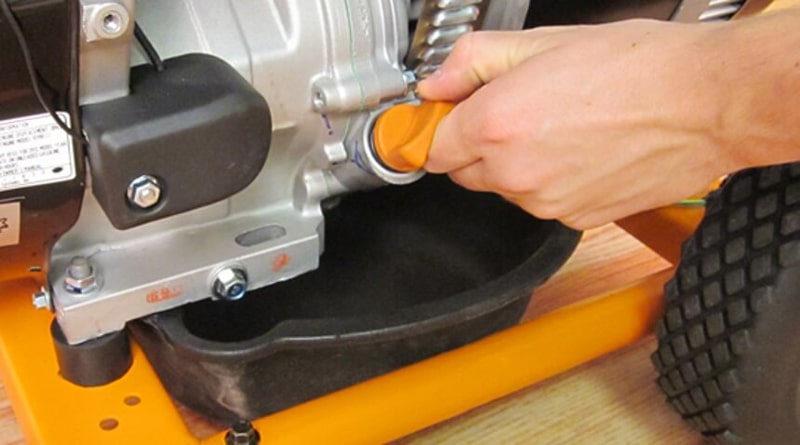
When oil is leaking out of your generator, the first place to check is…the place where oil comes out of your generator. Check the drain at the bottom of the unit where you empty it when you’re changing the oil. Make sure you have a canister under the drain when you start fiddling with it! If there’s any oil left, you may need to catch it on its way out.
Take a look at the end of the drain to see if there are any drips or smears of oil. If so, the plug may have loosened up over time from the vibrations of the motor. You can tighten it up with a socket wrench.
If the drain plug doesn’t feel loose, remove it and check for cracks or stripped threads. If you find any, you’ll need to replace the plug. Check your manual to find the part number and specs.

Step 4: Tighten Bolts on the Engine Case
The drain plug isn’t the only thing that can get wobbly and leaky over time. Go over the rest of the engine case with a good set of socket wrenches and tighten up any that feel loose. Don’t go overboard, just get them nice and snug.
Step 5: Check the Gasket
Before we continue, you have an important question to consider: what does your warranty cover?
This next step will involve removing the valve cover on your generator’s engine cylinder. We’re not going to get deep into the guts of the machine, but you may be voiding your warranty just by popping it open. If you can have a technician fix this for free, that may be a better idea than doing it yourself.
If you’re not worried about your warranty, here’s what to do:
- Locate the valve cover. This is a hood or cap bolted over the engine cylinder. It will often be square or hexagonal with a rounded top.
- Remove the bolts holding the cover in place using a wrench or drill. Take the cover off and set it aside.
- In some models, the gasket is built into the cover. More often, it’s a separate ring of thick rubber that sits between the cover and the casing. Take it out and look for signs of wear and tear on the gasket. If you find gaps or cracks, you know what’s behind your leak.
- Use a clean rag with a little paint thinner to wipe down the surface where the gasket was sitting. Do the same to the inside of the cover. If there are stubborn chunks of grime, remove them with a plastic scraper, but be careful not to damage the machined surface that the gasket seals against. The cleaner the surface is, the better the seal will be.
- Wipe any dust off your replacement gasket and insert it inside the valve cover. There may be openings to slot it over the bolts, or there could be a lip that slides over the edge of the cap.
- Put the cover back on the cylinder and screw it in place.
If you want to get any replacement part – or see how much one would cost – click to enter your model number in the search bar below. Our partners at AppliancePartsPros stock almost every part with free guides on how to install them.

Step 6: Soak Up the Oil
Once you’ve stopped the leak, it’s time to clean up the mess. The quicker you act, the less likely it is to leave a permanent stain.
Choose an absorbent material such as:
- Coconut coir
- Sawdust
- Clay kitty litter (non-clumping)
- Special-purpose oil absorbent
Sprinkle it over the oil spot and leave it for at least 24 hours to sop up. Then you can sweep it into a dustpan and dispose of it. If there’s still a stain, you can usually scrub it off with a stiff brush, warm water, and dish soap.
What If It’s Still Leaking?
You tried the steps above, but the problem persists. This could mean your generator has a crack in the housing or some kind of mechanical failure. Dealing with these kinds of issues is beyond the scope of this article. We’d recommend getting a professional in to take a look.

Conclusion
A leaky generator can cause all sorts of headaches. It also makes it hard to count on your machine when you need it most. With any luck, it will turn out to be a minor issue, and the steps we’ve outlined will nip it in the bud.
Thanks for reading! If you have other questions about generators or appliance repair, take a look at the related articles we’ve highlighted below.


Designing Modern Living Rooms from Iconic Movies

7 Tips for Heating a Room with High Ceilings (On A Budget)