We've independently reviewed this article to make sure it's as accurate as we can make it.
To find out more about our article creation and review process, check out our editorial guidelines.
Is your fridge showing a red warning light?
You’re not alone! I know how concerning a fridge red light can be, especially when you don’t know what it means.
Luckily, you’ve come to the right place for answers.
If your refrigerator is showing a red warning light, the door is probably open, there’s a power issue, the temperature is too high, or you have frost buildup. An overfilled fridge or an old water filter could also explain the problem.
Keep reading to solve the red light on your fridge!
Why trust us? This article was written by Craig Anderson and Andy Fulenchek.
Craig has helped thousands of other homeowners repair their appliances since 2016.
Andy is one of our resident appliance repair experts with over a decade of experience. He currently runs his appliance repair company with a team of trusted technicians.
6 Ways to Get Rid of the Red Warning Light on Your Refrigerator
Different reasons can explain why your fridge has a red light. Luckily, there are various solutions you can try.
Some refrigerators have a red light that simply indicates the power is on. Ensure the light is either a normal operation indicator or an alert by reading the manufacturer’s manual.

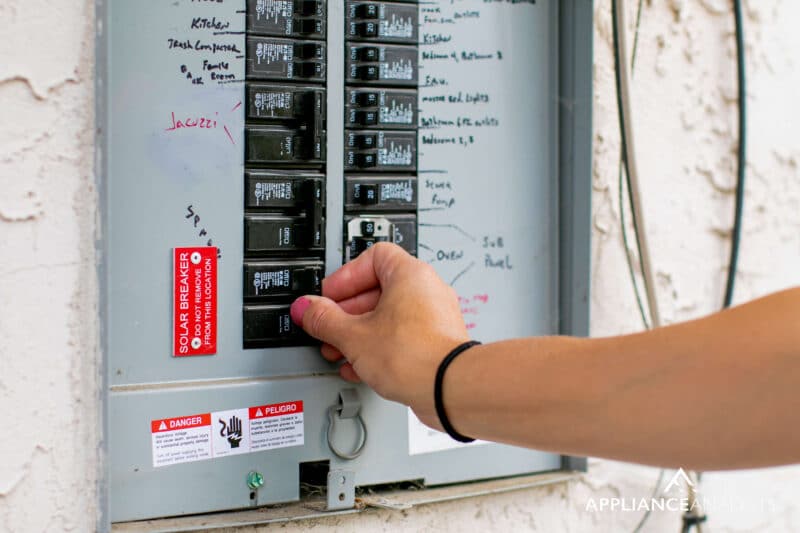
#1 Reset Your Fridge
A red light in a refrigerator can indicate a power failure, typically linked to a power outage.
In such cases, I recommend resetting your fridge to solve the red light. To do so, unplug the unit from the power source and wait a few minutes. Then, plug it back in. You can also turn it off at the circuit breaker.
Keep in mind that certain modern refrigerators require you to press a button to confirm that there was a power outage, usually labeled as “PF.” You’ll also need to press the PF button to solve the red light.
Some refrigerators use batteries for alarms, such as high temperature or power outage alerts. In such cases, you’ll need to ensure the batteries are fresh.
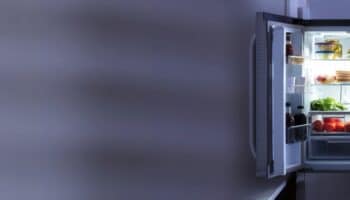
#2 Check the Door
I tend to find that a red light typically indicates that the door is open.
Try closing the door, but if you can’t, there are probably too many items. So please move any heavy objects on the doors to the shelves.
You’ll need to check the door seal (or gasket). If it’s dirty, you won’t be able to close the door.
Here’s how to clean the gasket:
- Mix 1/2 cup of vinegar with 1 cup of water in a large bowl.
- Soak a soft sponge, brush, rag, or cotton swab in the cleaning solution. Then, wipe down any dirt or grime.
- Use paper towels to dry the gasket to prevent mold from growing in the seal.
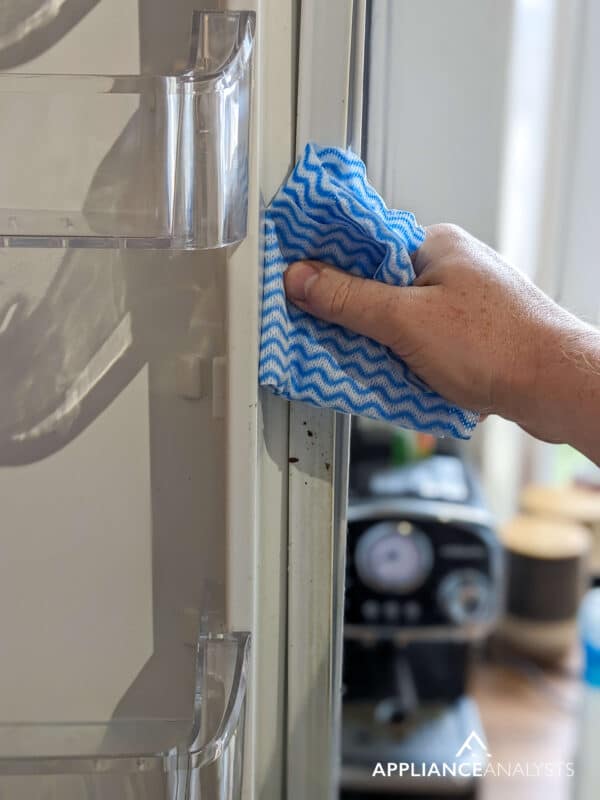
Once you’ve finished cleaning the gasket, try closing the door again. If you notice the gasket is broken, please replace it. To do so, you’ll need to check your manual and see what type of door seal you have (push-in, snap-in, or screw-in seal) since the installation process can vary.
For example, if you have a screw-in gasket, you can easily replace it by following this guide:
- Lay the new gasket on a flat surface for 24 hours or until it regains its shape.
- Loosen the screws around the door liner, and pull the old gasket out.
- Position the upper half of the new gasket and secure it by tightening the screws. Then, repeat the process with the bottom half.
Bear in mind that gasket replacements cost anywhere between $50-$75.
If the fridge is opened frequently, you can see a red warning light. Try opening the door only when necessary.
It’s also important to inspect the door switch. If it’s faulty, it will think the door is open even when closed, and you’ll see a red warning light.
My usual advice when checking the door switch is to place a camera inside your fridge to ensure the lights turn off when the door is shut. If they remain turned on, consider replacing the door switch.
If you want to get any replacement part – or see how much one would cost – click to enter your model number in the search bar below. Our partners at AppliancePartsPros stock almost every part with free guides on how to install them.

#3 Check the Temperature
Now, it’s time for us to ensure your fridge is set to the correct temperature.
From what I’ve seen, refrigerators can show a red warning light if the temperature is too high or too low. Your fridge should sit between 3 °C (37.4 °F) and 5 °C (41 °F).
You can easily check your fridge’s temperature by placing a glass of water on the middle shelf and leaving it for 8 hours. Then, place a thermostat in the glass of water and wait for the reading.
You’ll need to adjust the temperature if you notice that the temperature is too low or too high.
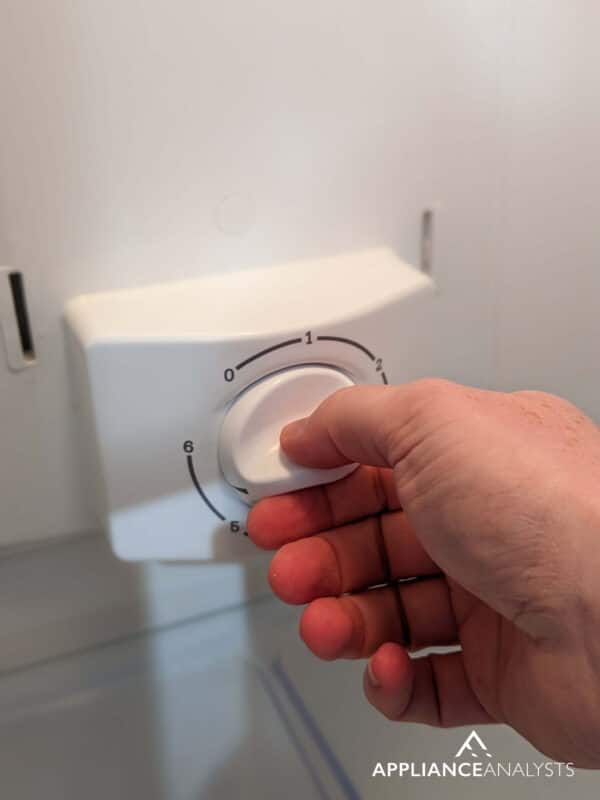
If your fridge has a digital display, tap on the “Temperature” button and use the Up and Down buttons to set the correct temperature.
But, if you have a sliding gauge thermostat, you’ll need to push the slider to the right or left to change the temperature.
Additionally, you should never store warm food in your refrigerator. Otherwise, you’ll experience temperature issues and won’t be able to solve the red warning light.
Check the refrigerator vents to make sure they’re not obstructed by any items. If they’re, the temperature will vary.
#4 Defrost Your Fridge
If you’ve tried the fixes above but still have a red warning light on your freezer or refrigerator, you’ll need to defrost the unit.
Most modern fridges can automatically detect frost buildup and turn on the auto defrost mode.
However, some refrigerators will show a red warning light indicating that you must press the “Defrost” button.
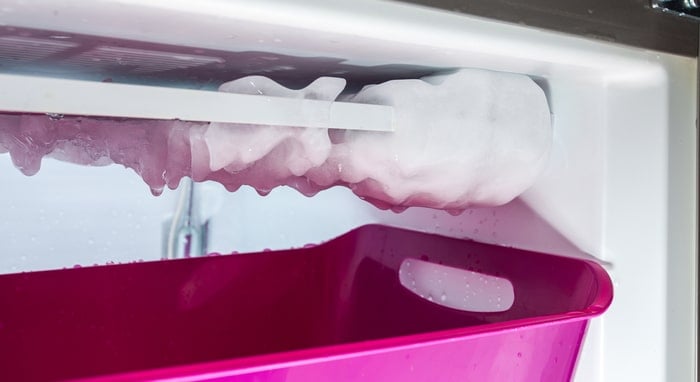
If the auto defrost function is not working, you’ll need to manually defrost your appliance. Here’s how to do it:
- Transfer all the high-perishable foods to a cooler and remove any other items. Then, unplug your refrigerator from the wall outlet or turn it off.
- Take out all the removable compartments, such as shelves and drawers.
- Place old towels on the floor so they can absorb the water.
- Place a bowl of boiling water inside your appliance. The steam will help melt the frost.
- Wait until the ice has completely melted.
- Clean your fridge. I recommend mixing equal parts of warm water and vinegar and using a soft sponge. Don’t forget to clean the shelves and drawers.
- Dry your refrigerator with paper towels.
- Plug your fridge back in and set it to the coldest temperature mark. Then, wait for 30 minutes and adjust the temperature (remember, your fridge should sit between 3 °C (37.4 °F) and 5 °C (41 °F)).
- Transfer food back into the refrigerator.
Bear in mind that if your fridge’s auto defrost feature is not working, you’ll need to check the defrost control board, timer, or sensor. You can also call a professional.

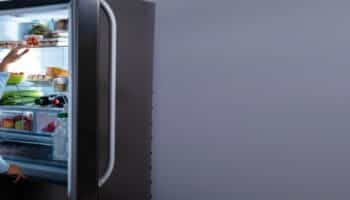
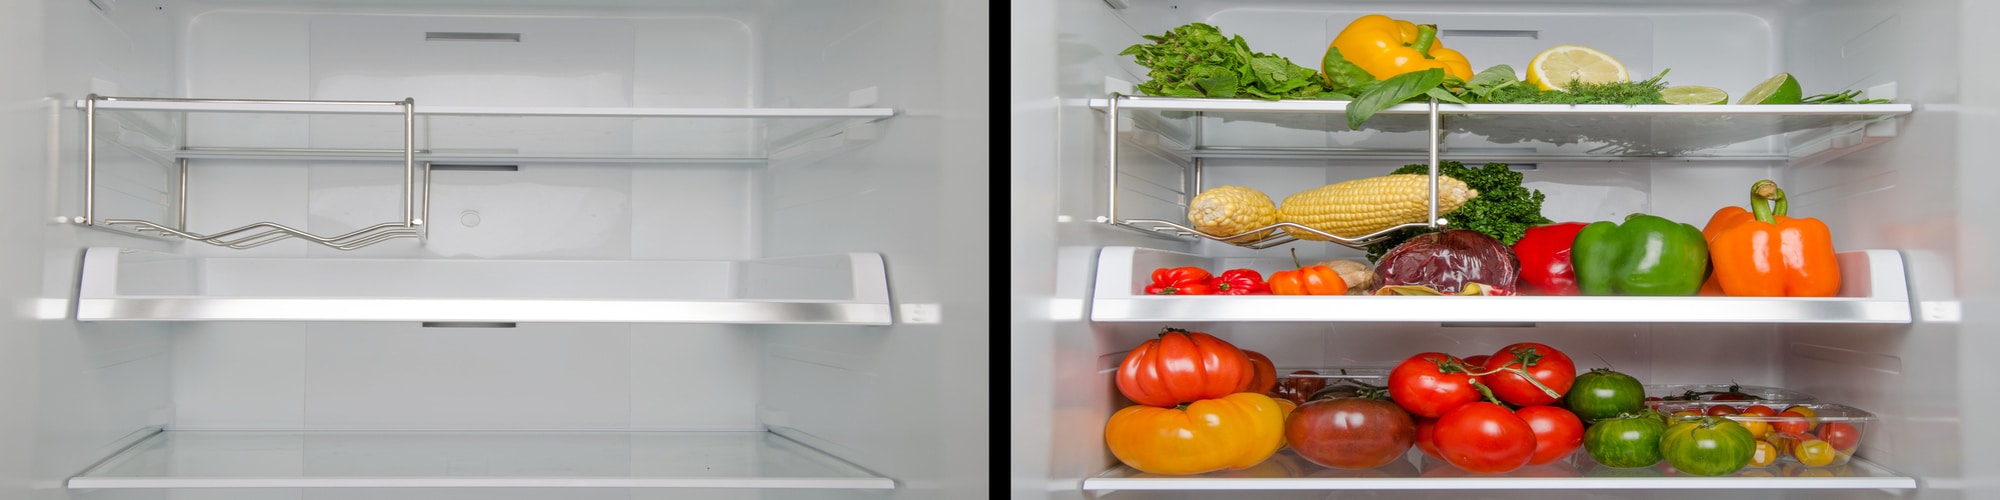
#5 Make Sure Your Fridge Is Not Overfilled
In my experience, red lights can start blinking in a fridge if it’s overfilled, indicating an airflow issue.
To solve the red light, try rearranging the items in your fridge. Here’s how I recommend storing your food:
- Top shelf: Store on the top shelf all the ready-to-eat foods, such as drinks and leftovers.
- Middle shelves: these shelves are ideal for storing items prone to spoiling (dairy products, cooked meats, eggs, etc.)
- Lowest shelf: Since it is the coldest shelf, I suggest storing raw meat and fish. Make sure they’re not touching other items.
- Drawer: Store vegetables and fruits. Make sure they’re wrapped in paper or plastic bags with holes to last longer.
- Door: Since it is the warmest area in your fridge, try storing condiments and spreads, such as mustard, ketchup, pickles, etc. Don’t store milk or other dairy products.
You should never store warm food in your fridge, as it will make it work harder and cause temperature issues.
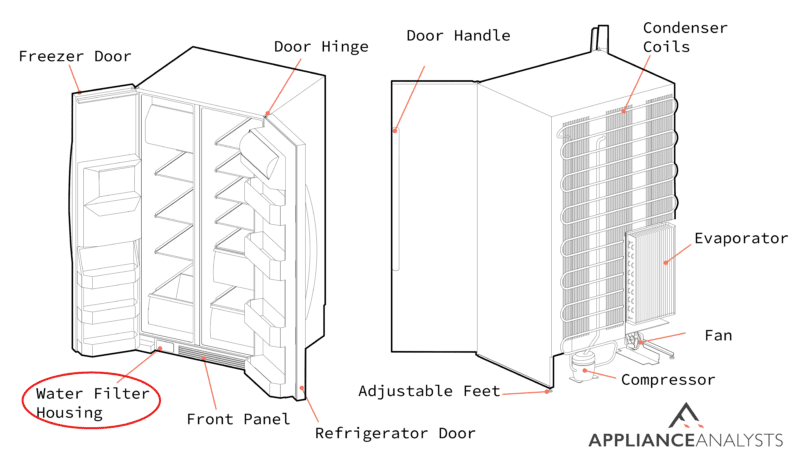
#6 Replace the Water Filter
Some fridges will show a red light if you haven’t replaced your water filter in 6 months. So, please try replacing your water filter to solve the issue.
Bear in mind that there are different types of water filters, so you’ll need to check your manual to know the water filter that’s specific to your appliance and replace it.
After replacing the filter, you’ll need to hold down a particular button for three or five seconds to let the control board know that you’ve just replaced the filter, prompting it to reset the timer for you.
Here’s how to replace the water filter in a Samsung fridge:
- Check your manual to see if you need an internal or external filter. Don’t forget to check the location of the water filter.
- Check the model number displayed on the water filter and buy a new filter that has the same model number.
- Shut off the water supply and remove the old water filter.
- Connect the water supply line to the inlet side of the filter. Then, connect the dispenser line to the outlet side of the filter.
- Put the new water filter into place.
- Press and hold the “Filter Reset” button for three seconds.
- Dispense water to purge any air from the system. Please reuse that water.
If you want to get any replacement part – or see how much one would cost – click to enter your model number in the search bar below. Our partners at AppliancePartsPros stock almost every part with free guides on how to install them.
Wrapping Up: Solving Your Fridge’s Red Light
Hopefully, now you know how to fix the red light on your fridge.
Remember, you’ll need to check the door, temperature, and water filter. Also, don’t forget to defrost your appliance and ensure it’s not overfilled.
Thank you so much for taking the time to read this article. If you found it helpful, please check out our related content below.
Good luck!


Designing Modern Living Rooms from Iconic Movies

7 Tips for Heating a Room with High Ceilings (On A Budget)