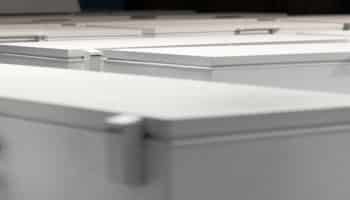
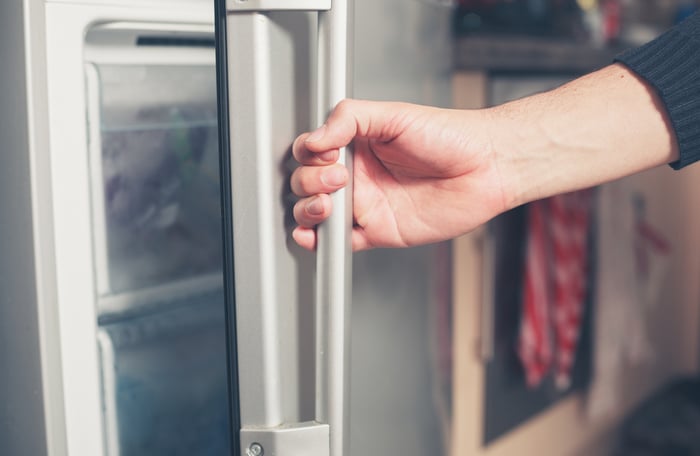
Are you struggling to open a stuck freezer door?
That sucks! Appliances are supposed to make our lives easier, not overcomplicate them while forcing us to test our strength.
I know it can be very annoying to need something from your freezer, only to be met with an obstacle that might ultimately end in you having to eat something else.
But don’t worry. Below, I’ve prepared a list of the most common reasons why this happens, as well as 4 quick tricks you can try to get everything back to normal.
When you’re struggling to open a stuck freezer door, you’ll want to try replacing the closing cams or the drawer gears if it’s an upright model. If that fails, you can also try replacing the door hinges, or the seal provided there’s any damage to it.
Keep reading to make using your appliance easier!
#1 Replace the Closing Cams
Let’s start off by making sure that your appliance’s closing cams are not worn out or broken. These little components are responsible for holding your freezer’s door open when you’re looking for something to eat, and they also work to help the unit’s door close on its own.
They are normally made out of plastic and are built to be very durable. However, time and use can wear them down significantly.
Before they’re completely useless, they show certain signs of damage, especially when you try to close your freezer door, as it will likely stay open unless you push it in. And if you’re struggling to open your freezer door, this could also be why, as the closing cams might be stuck.
Solution: Luckily, replacing these components is very easy and cheap. More often than not, hardware stores near you will have the model you need, and even if they don’t, your manufacturer should be able to provide new ones.
Just make sure that you’re buying the right ones for your specific unit, as there are different sizes, capacities, and fittings. If you’re not sure which ones to buy, you can always check your User Manual or go to Google and search for “<Your Freezer’s Make And Model> Closing Cams”.
Alternatively, there are other websites that sell many closing cams for various models, so you might also want to look there.
Once you have the parts you need, here’s how you can go about replacing your closing cams:
- Unplug the freezer from the wall outlet.
- If your model has a water supply, you’ll likely have to remove the base grill of the unit to disconnect the water dispenser tube.
- Carefully remove the screws securing the upper hinge cover and disconnect any cables attached to it.
- When you’re certain that the door hinge is no longer connected to the freezer, get someone to help you lift and remove the freezer door.
- This will expose the closing cams. Depending on the model you own, you might be able to simply remove them by sliding them upwards, or you might have to unthread some screws holding them in place.
- Get the new closing cams you just bought and place them where the old ones were.
- Once you’ve successfully replaced all the closing cams on your appliance, put the door back into the unit’s body and reconnect any cables you detached.
- Test the closing and opening motion of the door and see if it’s still giving you trouble.
#2 Replace the Drawer Gears
The next likely culprit for this whole situation is stuck drawer gears. These components are what allow your freezer to open and close its door normally.
Now, this will only affect upright freezer owners, so if yours is a chest model, you have nothing to worry about. No drawers, no problem!
Drawer gears are typically made out of plastic and not unlike closing cams, are built to withstand everyday usage and friction. However, over time, they can start having difficulty spinning as they used to, or even become stuck altogether.
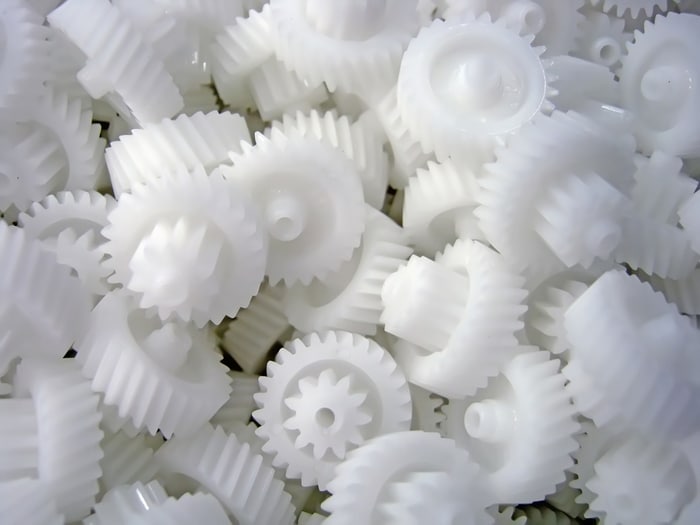
Something like this could explain why you’re struggling to open your freezer door, or why it might not seem to open all the way.
Solution: Replacing your drawer gears is very simple and quick. The tricky part here won’t be the replacement itself, but rather getting the drawer to open enough so that you can work comfortably.
As I mentioned in the previous step, if you’re not sure which drawer gears to buy, give your manufacturer a call, check your User Manual, or do a quick Google search on your appliance’s brand and model.
Once you have the right parts, here’s what to do next:
- Try opening the freezer drawer as much as you can, as you’ll need to remove any trays and food inside it.
- Once you’ve done that successfully, you’ll see two gears on each side of the drawer’s slide rails. Use a screwdriver to carefully detach the gears from it, as well as the metal bar connected to them.
- After you’ve done that, remove the gears from the metal bar and attach the new ones you bought in their place.
- Reassemble.
If the drawer gears were to blame, you should now enjoy a smooth and effortless motion when opening your freezer door.
#3 Replace the Door Hinges
Next, let’s check on yet another critical part of your freezer’s range of motion – the hinges.
Similar to the closing cams, these components make it possible for your unit’s door to move and rotate at different angles over its own axis. Freezer door hinges work similarly to those on regular doors, so if you’ve ever replaced one of those, you’re already halfway there.
As opposed to drawer gears or closing cams, hinges are typically made out of metal or any other resistant material that’s meant to sturdily provide motion to your freezer door. However, corrosion, rust, and other factors can eventually wear them down to the point of being useless.
Luckily, replacing them is very easy, and if you already changed the closing cams, you’ve got most of the process down.
Solution: The hinges are located directly above the closing cams, so you probably already removed them in the past. Simply follow the steps from point #1 to get unrestricted access to them again and replace them with new ones.
Remember to check your User Manual or do a quick Google search if you’re not sure about the right model.
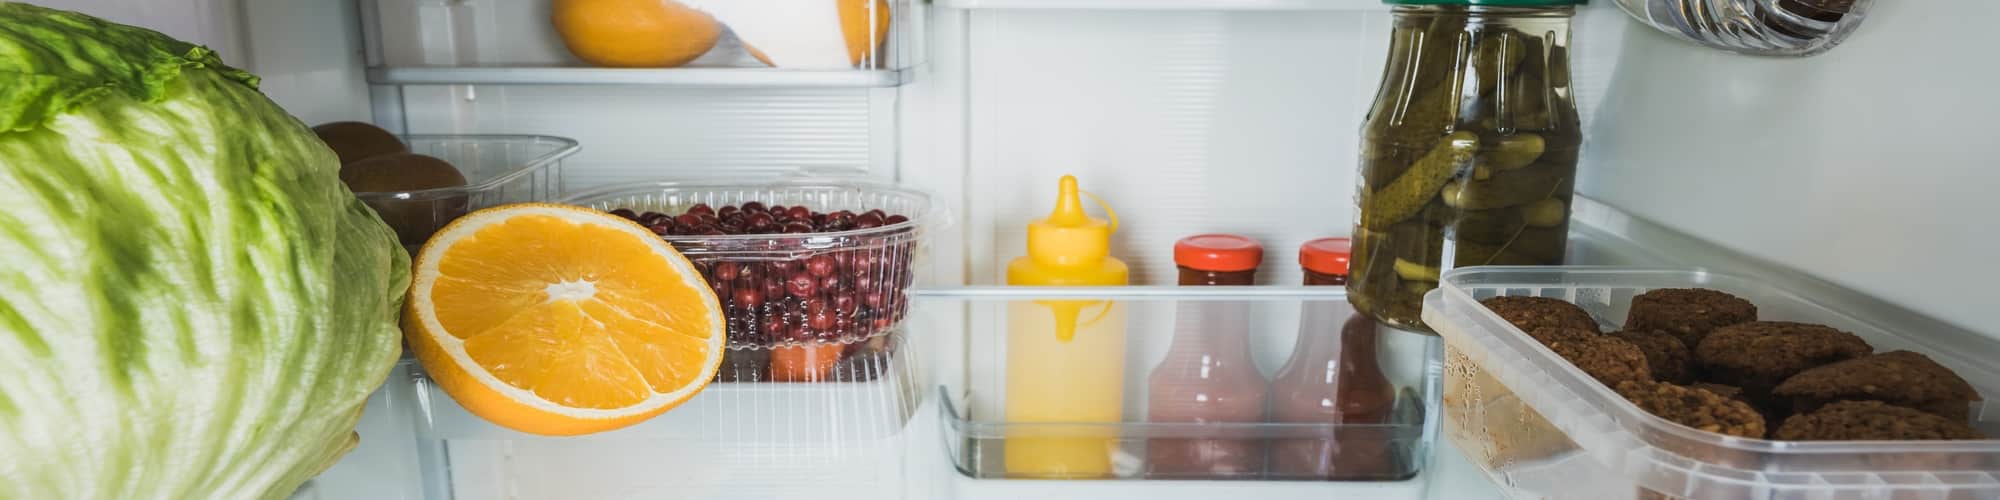
#4 Check the Door Seal
The last reason why you might be struggling to open a stuck freezer door is that the door seal, better known as “gasket”, is damaged.
Gaskets are present in most modern appliances, as they provide perfect sealing in many situations. You can find these rubber components in things like blenders, food processors, and even water coolers!
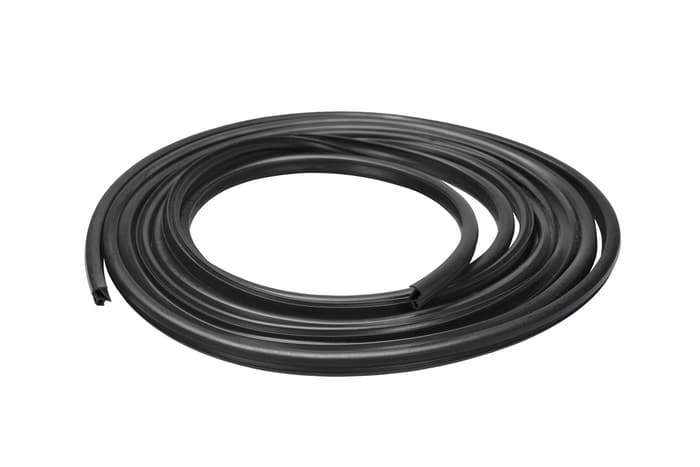
In the case of your freezer, the door seal (or gasket), is used to keep whatever’s inside the appliance’s compartment isolated from the external conditions in your home. Successful freezing and refrigeration depends greatly on preventing excessive heat and moisture, which are abundant in most homes.
If your gasket is improperly placed or broken, not only are your groceries at risk of rotting, but you’ll also be using excessive amounts of electricity, which can skyrocket your monthly bills. Moreover, a broken gasket could let humidity enter the unit’s door, which can then freeze and make it very hard for you to open it when you need to.
Solution: I saved the best for last, as replacing your freezer’s door seal is the simplest process on this list. In most cases, this rubber component is not glued to the appliance but rather placed carefully to guarantee proper isolation. This means that you can easily pull on it to remove it completely from your unit.
Once the gasket is off, replace it with a new one that you can get from a hardware store, an online marketplace, or directly from your manufacturer.
The new seal should let no humidity inside the freezer, thus preventing frost and making your door easy to open again.
Common Things to Avoid
Now that we’ve covered the most likely culprits of your situation, I’d like to give you a couple of additional tips to prevent further issues with your appliance. They’re not strictly related to a stuck door, but they can help make your unit run better and keep it in good condition.
Don’t Overfill the Compartment
Many people think that there are no consequences for filling their appliances to the brim, but this is not the case.
Every freezer has a maximum capacity to maintain the right temperatures for freezing, and exceeding this limit can be disastrous. Placing more food than recommended inside your appliance’s compartment can not only overtax it but also draw excessive amounts of power.
Moreover, an event like this can also result in your food going bad, as your appliance might not be able to keep everything frozen.
The maximum capacity of your freezer should be mentioned in your User Manual, but if you can’t find it anywhere, I recommend not going over 75% of the compartment’s height.
Defrost Before Using
You’d be surprised by how easily forgetting to do something like this can cause a lot of problems and skyrocket your utility bills.
Ideally, it’s recommended that you defrost your freezer at least once every 6 months. But why is it so critical?
Well… there are two main reasons. Freezers use sensors to detect and regulate the temperature inside them to stay within the range you dialed in. Excessive frost buildup can cover these sensors, rendering your appliance unable to accurately gauge the compartment’s internal temperature.
Moreover, there’s an internal component in your freezer called a “compressor”, which circulates a liquid called “refrigerant” through a series of coils. This process dissipates heat and keeps your groceries frozen.
The compressor is kept lubricated with a special oil. And while it’s effective, it’s also very sensitive to freezing.
Waiting too long to defrost your appliance could cause your compressor to fail, leaving you with an expensive doorstop in the shape of a freezer.
Conclusion
That about covers it.
When you’re struggling to open a stuck freezer door, convenience can quickly turn into frustration and spoiled groceries.
I hope this piece has helped you better understand why this happens and what you can do to address the most common culprits of this situation. More often than not, something as simple as replacing the drawer gears in your upright model, or checking on the rubber door seal, will do the trick.
Thank you so much for sticking with me all the way to the end. If this article piqued your interest and answered your most burning questions, you’ll be happy to know that there’s a lot more content to keep learning from below.
On the site, you’ll find all sorts of solutions for everyday appliance issues, such as a dryer that won’t turn off, or a refrigerator that smells like chemicals.
Have a wonderful week!
— Craig.


Designing Modern Living Rooms from Iconic Movies

7 Tips for Heating a Room with High Ceilings (On A Budget)