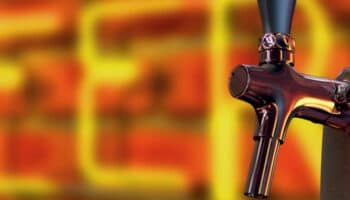
Your kegerator is great at dispensing beer. The problem is that it doesn’t know when to stop. You’re watching a steady stream of liquid sunshine trickling out of the tap and going to waste. We can tell you the most likely reasons your beer faucet is leaking and help you find a fix.
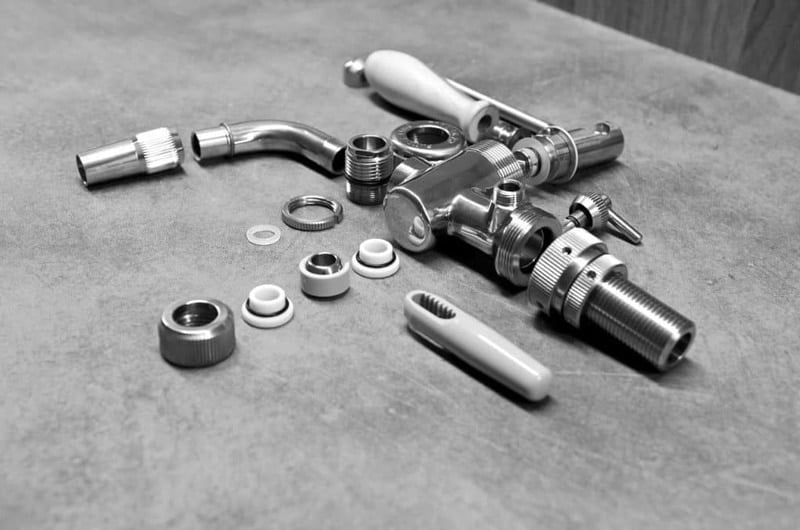
Got a leak from the back of the faucet? Check for a loose coupling nut, damage to the rubber washer, or breaks in the shank sleeve. Leaking from the spout could mean a bad lever or shaft seat washer. Beer flowing from the top of the faucet means you need to replace your bonnet washer or ball washer.
The longer you wait, the more beer you lose. So let’s find that leak and clamp it down!
What’s Wrong With Your Tap and What to Do About It
#1: Coupling Nut is Too Loose
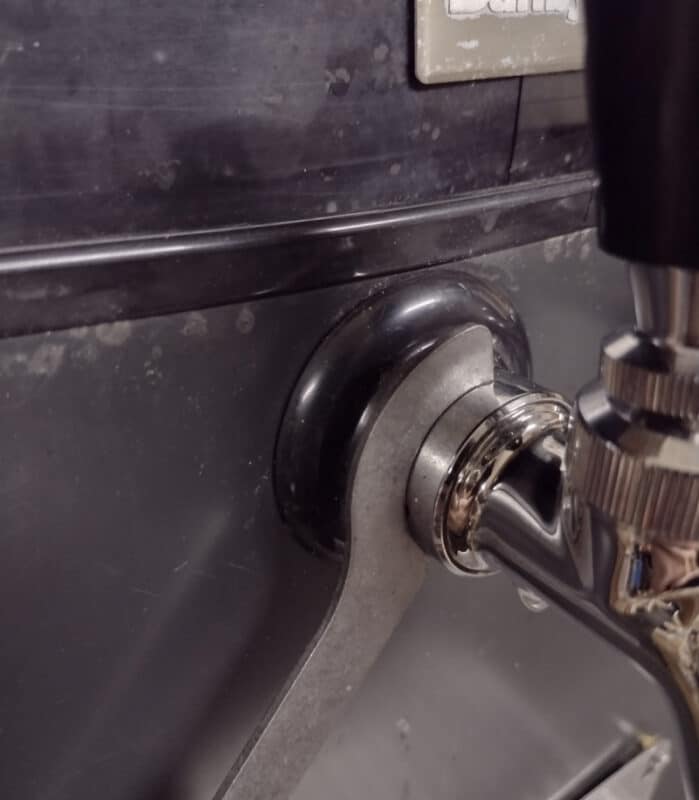
One possibility is that the connection between the shank and the faucet isn’t tight enough. The shank is the piece that links the tap to the tube carrying your beer up from the keg. A little piece called the coupling nut keeps them together. If the coupling nut isn’t on tight enough, you’ll see beer dripping out at the base of the faucet.
Your faucet wrench is the tool to reach for here. The coupling nut has small holes that fit the hooked end of the wrench. Give it a couple of counterclockwise turns. Yes, this piece tightens in the opposite direction from most screw threads.
Go slowly and limit yourself to a crank or two at a time. If you tighten too much, you can cause a worse problem, as you’ll see in a moment.
#2: Cracks in the Coupling Washer
Inside the coupling nut is a small rubber gasket. We call this the coupling washer or body gasket. If this part is old and worn out, it stops forming a tight seal. The beer flows into the shank as normal, but some of it runs out the cracks in the washer instead of going on to the spout.
Ready for a bitter laugh? One way this can happen is if you tighten the coupling nut too much. So trying too hard to fix Problem #1 can cause Problem #2. You might get an unwelcome shock as jets of beer shoot out of the holes in the nut.
When this happens, open the fridge door and disengage the keg coupler. This will stop to flow of beer to the lines.
Now take the faucet off your beer tower and clean it. Use your faucet wrench to loosen the coupling nut, then unscrew the rest of the faucet. Pop off the coupling washer and get a new one. Better yet, get a set of them so that you’ll have replacements for the future.
#3: Shank Sleeve Damage
This is closely related to the previous problem. Instead of a broken coupling nut, you have an issue with the small metal ring that sits inside it. This part, the shank sleeve or coupling sleeve, can wear down over time. This is common if your kegerator uses a sleeve made of chrome-plated brass. Stainless steel parts are more durable.
Unscrew the faucet and coupling washer as we described above. Remove the sleeve and check for warping or corrosion. Are there any trouble signs? Grab a new sleeve and swap it in for the old one.
#4: Shaft Seat Washer Problems
A standard rear-closing beer faucet has a small shaft inside that controls the valve. There’s cylindrical part at the front end and a round ball at the back. This valve shaft is what keeps your beer from flowing out of the spout until you pull the lever.
If the rubber gasket on the round end warps or breaks, it can’t maintain the seal. Your precious brew starts trickling out from the spout even after you shut the lever.
You’ll have to disassemble your entire beer faucet. Use a flathead screwdriver to unscrew the round nut which holds the washer in place. Once it’s off, you can slide off the gasket (also called a plunger washer). Check it for damage. If this washer is bad, that’s what’s causing your leak. Buy a fresh one, pop it on the shaft, and reassemble your faucet.
#5: Worn-Out Lever
If there’s no problem with the washer on the shaft, the issue might be with the lever. Dings or cracks in this piece can prevent it from shutting the faucet all the way. You might have a great seal on your shaft seat washer, but the lever isn’t activating it.
As with shaft washer issues, this problem causes beer to dribble from the spout of the tap. To confirm the diagnosis, take apart your beer faucet and look for chips in the lever. If you spot any, the only fix is to get a replacement. The good news is that you should be able to find one for less than ten dollars.
Go with stainless steel rather than chrome-plated brass. It’ll cost a few dollars more, but steel parts are sturdier. Chrome tends to wear away and expose your beer to the brass underneath. This can taint your beer with metallic off-flavors – and worse, traces of lead.
#6: Friction Washer Needs Replacing
What if your beer is foaming out from the top of the faucet body, underneath the handle? In that case, the issue is probably with yet another gasket.
There are two small pieces that seal off the upper part of the faucet. The upper one is the friction washer or bonnet washer. The lower one is the friction ring or the ball washer. Go ahead and take a moment to giggle.
Once again, you’ll need to disassemble your beer faucet to check these parts for damage. Take off the tap handle first. Then unscrew the collar underneath and the friction bonnet underneath that. The two washers sit right under the bonnet. Look them over for signs of wear and tear.
If this turns out to be the issue, you’re in luck. These parts are even cheaper to replace than the lever itself.
Conclusion
Every part of a draft faucet needs to seal up tight if you want to avoid leaks. The most common causes of escaping beer are the soft rubber gaskets closing off the plunger and lever. You should be able to find the problem by taking apart your faucet and giving each piece a close inspection.
Now that you know what to look for, we’re confident you’ll be able to pinpoint the spot where your beer is getting loose! If you found this post helpful, you may want to look through the related articles below. We have lots of helpful info for kegerator owners looking to up their game.


Designing Modern Living Rooms from Iconic Movies

7 Tips for Heating a Room with High Ceilings (On A Budget)