We've independently reviewed this article to make sure it's as accurate as we can make it.
To find out more about our article creation and review process, check out our editorial guidelines.
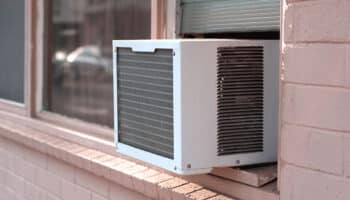
You may have some central air conditioner envy, but there are some distinct advantages to window units. One of them is how much easier they are to clean and maintain. Of course, they are also much cheaper to purchase and install.
Having said that, not maintaining a window air conditioner will have much the same effect that a lack of maintenance on a central air unit will. Your air conditioner will have to work harder to cool your space, which will ultimately cost you more money. It will also shorten its lifespan and again, eventually cost you even more.
So, assuming you don’t want to cook on hot summer days, the following is a series of step-by-step processes to keep your window air conditioner running at peak performance — and saving you money.
Better yet, unlike a central air conditioning unit, you should be able to tackle any maintenance yourself without any issues.
So let’s get started.
Gather Your Gear
With the exception of a replacement filter, there’s a good chance you already have everything you’ll need in terms of tools. And if your window air conditioner uses a washable filter, you won’t even need that.
- Screwdriver
- Mild detergent like dish soap
- Commercial coil cleaner (optional)
- AC fin tool
- Soft cloth
- Soft brush
- Warm water
- Garden hose (optional)
- Vacuum cleaner (optional)
Now that you have everything you need, let’s get started.
Window Air Conditioner Health Check — the Essentials
There are a few steps you can take that should minimize maintenance and repair issues going forward.
Refer to this short list of essential considerations, but please note that some of these should be addressed before installation.
#1 Ensure Your Window Air Conditioner Is in the Best Location
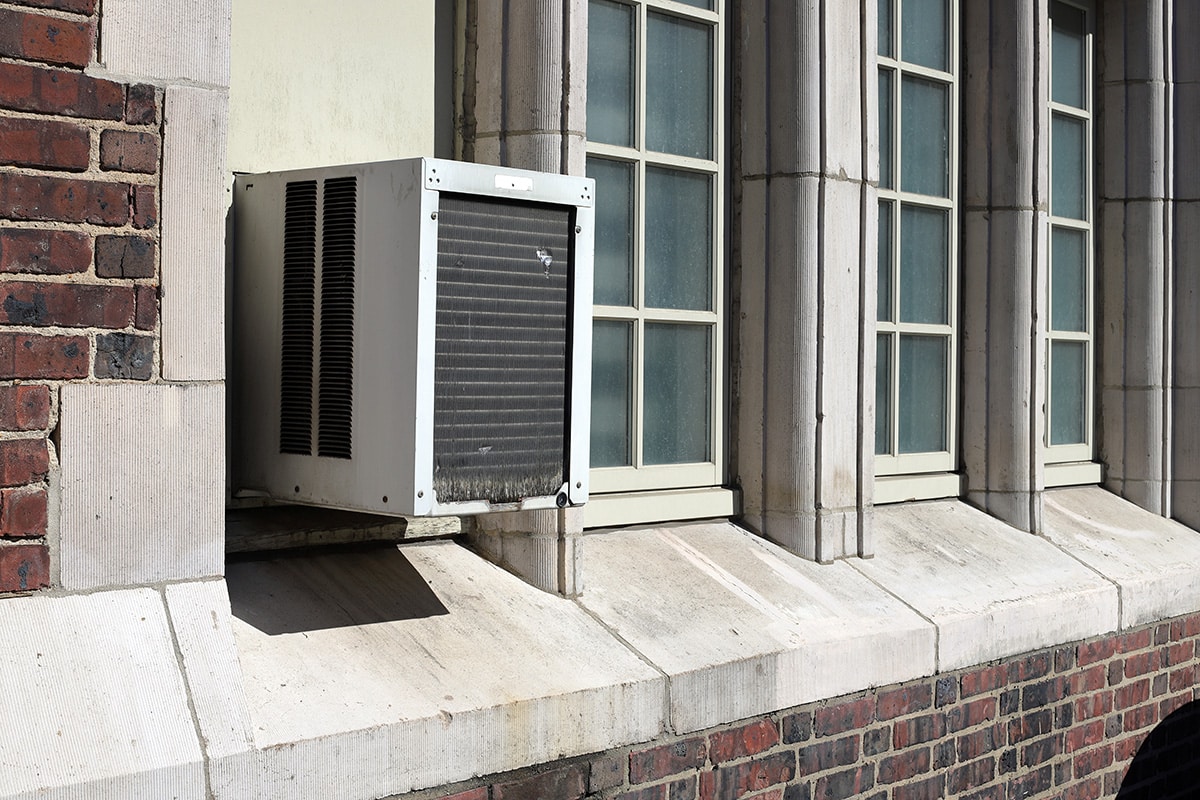
Do your best to make sure your window unit isn’t in direct sunlight. This will be a problem if you’re in a condo or apartment that has only south-facing windows, as you’ll get several hours of direct sunlight in a day.
The more hours of the sun shining directly on your air conditioner, the harder it has to work. Placing it in a shadier spot will extend the life of your air conditioner.
#2 Check the Tilt
Many window air conditioner manufacturers require that the unit be installed on a very slight tilt down. The purpose of this is to ensure that condensation collects in the drain pan instead of into your home.
Check your user’s manual or installation guide to see if this is required on your unit. There are some newer models that come with the drip pan already installed at an angle.
#3 Inspect/Replace Window Seals
If your window air conditioner isn’t properly sealed, it will allow cool air to escape from your home and allow hot air in. Essentially, you’re defeating the purpose of the air conditioner.
Moisture can damage the seal so it’s also a good idea to annually inspect and replace seals if necessary.
Window Air Conditioner Health Check — Follow Good Habits
#1 Adjust Fan Options
It may be necessary to adjust your fan depending on the weather. On typical, warm summer days it’s best to run the fan on high. However, on more humid days, change the fan setting to low, as this allows the compressor and cooling coil more time to dehumidify the air rather than just cool it.
#2 Use the Energy Savings Options, If Any
If you have a newer window air conditioner and it has options for auto, smart fan, or perhaps energy saver, spend some time experimenting . Doing this will allow you to discover if you can still reach your desired temperature when one or more of these modes is in use.
#3 Don’t Set the Temperature too Low
If you set your window air conditioner thermostat at 70° (21°), it’s going to work hard all the time to reach and maintain that temperature.
Instead, the recommendation from the US Department of Energy is to set your air conditioner at 78°F. For those of you who use Celsius, that’s 25°.
#4 Winterize
If you can, it’s always best to remove your window air conditioner and store it for the winter. This way, you can properly close and lock your windows, and keep the cold air outside.
If removing it is not possible, make sure all gaps around the air conditioner are fully sealed. Additionally, it’s not a good idea to cover a window unit as it will simply trap moisture inside and lead to mold growth.
Window Air Conditioner or Health Check — Maintenance
Following a good maintenance routine is essential to the health and longevity of your air conditioner. Meaning it will ultimately save you money.
For a visual of a complete dismantle and clean, please refer to the following video. Note that you’ll need to take your unit outside and you’ll need access to a water source.
Not everyone—especially if you’re in an apartment or condo, has a driveway or garage to follow the steps in the above video. Don’t worry, you can still limit you’re cleaning attempts to the steps below, it will just take more time.
1. Replace or Clean your Air Filter
Check the owner’s manual for your model and determine whether or not you have a permanent/washable/reusable filter or a disposable filter. If you have a disposable filter, replace it in accordance with the manufacturer’s guidelines, which are typically between 1 to 3 months.
Dirty air filters are one of the — if not the — biggest reasons behind window air conditioners not effectively cooling. The dirt restricts the airflow that is necessary for functionality.
If you have a washable air filter you’ll need to clean it. Follow the steps below.
1. Power off your air conditioner.
2. Remove the filter.
3. Use a brush or vacuum to remove as much loose dirt as possible.
4. Wet the filter and then use a soft brush and mild detergent to wash away any caked-on grime.
5. Shake off any excess water, and then allow the filter to completely air dry. It’s very important to make sure the filter is 100% dry before putting it back into the air conditioner as a wet filter will create the perfect conditions for mold.
6. Install the clean filter.
7. Power up your air conditioner.
#2 Clean the Front Panel
The more often you do this, the easier the job. For example, consider taking the front panel often and cleaning it every time you change your filter.
1. Power off your air conditioner.
2. The front panel will be secured with either screws, clamps, or clips. Remove it, however necessary.
3. Brush or vacuum off any dust or debris.
4. Mix up some dish soap — or any other mild detergent — and warm water in a spray bottle and then spray down the panel. Let it sit for a few minutes and then wipe it down with either a microfiber cloth or brush, depending on the dirt.
5. Dry thoroughly and replace.
6. Restart your air conditioner.
#3 Clean out the Cabinet
Over time, debris will collect inside the unit. And the more that’s settled in there, the harder your air conditioner has to work.
1. Use a small hand broom or a vacuum cleaner with a baseboard cleaner tool and or brush that allows you to get into the nooks and crannies of your air conditioner and clean it out.
#4 Clean the Coils and Fins
Your window air conditioner has two coils. In the front — towards your living space — you’ll find the evaporator coil and in the back — towards the outside — the condenser coil. Both of them are covered with small, delicate, aluminum fins.
It’s the coils’ job to transfer heat from the inside to the outside and the dirtier they are, the less efficient they are. And there’s also the chance of mold growth.
1. Make sure your air conditioner is powered off.
2. With access to the interior, use a soft brush and fin tool to clean the fins.
3. Wash the fins down by spraying them with a dish soap and warm water mixture or a commercial coil cleaner. Let it sit for about 20 minutes and then wipe the coils down with a soft cloth.
4. If any of the fins are bent, you can try to straighten them with the AC fin tool.
#5 Check the Condensate Drain for Clogs
If your drain pan is properly tilted and in good condition, you shouldn’t have any problems. However, if there are problems that are left unattended mold and mildew can grow and will eventually fan musty-smelling air into your home.
1. Power off your air conditioner.
2. Carefully remove the drain pan and dispose of any water. Clean with a damp cloth, using warm water, white vinegar, and a little dish soap.
3. Inspect for damage and rust. If the pan is in bad condition, it should be replaced.
4. Refer to your owner’s manual to locate your air conditioner’s drain hole. Make sure that it’s not plugged, and that the condensate is able to flow through it freely.
5. With the help of another person, tilt your air conditioning unit to drain any excess water.
#6 Clean and Inspect the Fans
Your air conditioner has two fans, one near the evaporator and another near the compressor. So one towards the front and another towards the back.
1. Power off your air conditioner.
2. Make sure that the fan blades spin by pushing them with your hand. Also, make sure they’re not bent or rubbing against the shroud that covers the fan.
3. Vacuum around the fan’s motor housing, since an accumulation of dirt, pet hair, or dust bunnies can hinder the motor’s rotor.
You’ve Done It!
It may seem like a lot of work, especially if you couldn’t just take it out to your driveway and hose it down. Regardless, your well-maintained window air conditioner means you’re:
- Able to run your AC more efficiently
- Not blowing mold and mildew into your home
- Extending the life cycle of your appliance
- Saving money
And best of all, it will keep you cool when the weather gets hot!


Designing Modern Living Rooms from Iconic Movies

7 Tips for Heating a Room with High Ceilings (On A Budget)