We've independently reviewed this article to make sure it's as accurate as we can make it.
To find out more about our article creation and review process, check out our editorial guidelines.
You’re trying to perform routine maintenance on your water heater, which means you are trying to flush it out. Unfortunately, you are having problems with getting the unit to drain. If you can’t get it to drain, you are unable to remove any sediment that has built up inside of the tank.
Believe it or not, this is actually a relatively common issue, especially on older models of water heaters. For future reference, this problem can often be prevented with the addition of special components that can filter incoming water or with more frequent drainings and flushings.
In the meantime, you need to get that drain valve unclogged so you can drain and flush your water heater. If you’re ready to find out what steps you need to take to do this, read on and we’ll dive right in.
Is Your Drain Valve Clogged?
Your first step in fixing your non-draining water heater is to determine whether the drain valve is actually clogged.
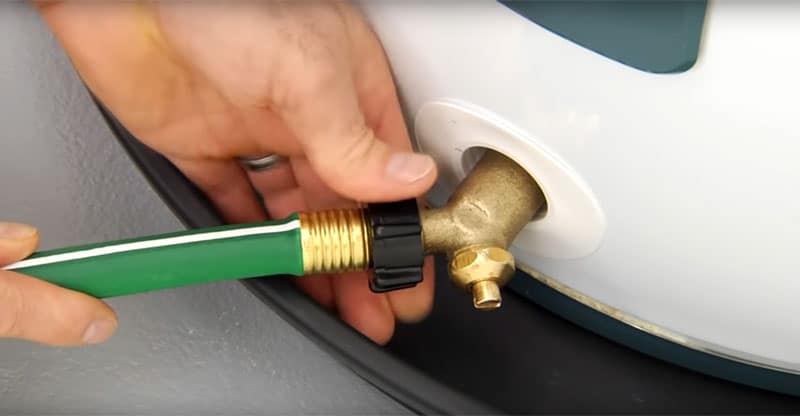
You should first turn off any water and gas or electricity to the unit, and then attach a water hose to the valve. The other end of the garden hose should be run outside or to an interior drain.
Now, you should open the water heater’s drain valve. Next, open a hot water faucet nearby, which will allow air to be forced into the tank.
As the water drains from the tank, inspect it. As long as the water is clear, then you don’t have a drain valve that is clogged. However, if the water is barely draining or not draining at all, then there is obstruction somewhere and the drain valve is indeed clogged. You will need to move through the following steps to unclog the drain valve.
Step #1: Give It Some Time
Your first step is to have a little bit of patience and give it some time, as minor clogs in your water heater will actually clear up by themselves. The pressure of the water will eventually give way, pushing the debris through the drain valve if the opportunity presents itself.
Ultimately, you should first attach the water hose to the unit’s drain valve and send the opposite end to an interior drain or outside the house. Make sure all hot water faucets are closed and then open the valve. Then, just sit back and relax while you wait to see if the water pressure pushes the obstruction out. If the valve is still clogged after two to three hours, move on to the next step.
Step #2: Use a Stiff Wire
This particular method of unclogging the drain valve to get your water heater to drain can be relatively effective, especially if there isn’t a large amount of debris keeping the appliance from draining.
Make sure the drain valve is closed and ensure the hose isn’t connected to the valve. Grab several towels and place them below the valve so catch any water that may leak out.
Open up the drain valve and insert a wire coat hanger or stiff wire directly into the opening of the valve. You will want to rotate the wire in a circular motion, as this will help to loosen any debris that may be inside.
If this works to unclog the valve, water should start to flow out of the valve. Continue to insert the stiff wire or hanger into the valve until you notice a decent flow of water. Once you have this, you can turn the drain valve off and connect the water hose.
Keep in mind that the valve is likely to clog up a few different times as the tank is being drained. Continue to repeat the above process until the tank has been completely emptied.
Step #3: Stomp on the Hose
If you are still having problems getting your water heater to drain properly after following the aforementioned steps, you may want to try the “stomp on the hose” method a try.
With this method, you will want to ensure the hose is attached and the valve is open. Next, stomp on the water hose roughly two feet from the unit with firm pressure. Doing so will send an air bubble into the water heater tank. In many cases, this will be enough to unclog the valve.
Be prepared to continue this process a few times, as there is a good chance the sediment will settle in the tank, clogging the drain valve again.
Step #4: Perform a Reverse Flow
If stomping on the hose doesn’t unclog your water heater, you can try the reverse flow method. This method of unclogging your water heater almost always works. However, if the drain valve is faulty or the clog is very severe, then this method will be ineffective.
To perform the reverse flow method, you must close the drain valve and connect one end of a washing machine hose to the valve and the opposite end to a water hose. Connect the other end of the water hose to a bathtub, outside faucet, or other threaded faucet.
Now, you should turn the water to the faucet on and open up the drain valve for roughly 10 to 15 seconds. As the water flows through the valve into the water heater tank, the valve should unclog.
You can then turn the water off and close the valve. Next, remove the hose from the faucet and open up the drain valve. If everything worked properly, the water should start to drain. However, in the event that the water doesn’t start draining, this is indicative of a faulty drain valve or an incredibly severe drain.
Step #5: Replace the Drain Valve
If the aforementioned methods have not worked to unclog your drain valve so you can drain and flush your hot water heater, then it may be time to simply replace your drain valve with a brand-new one. Luckily for you, this can actually be done with your water heater full of water!
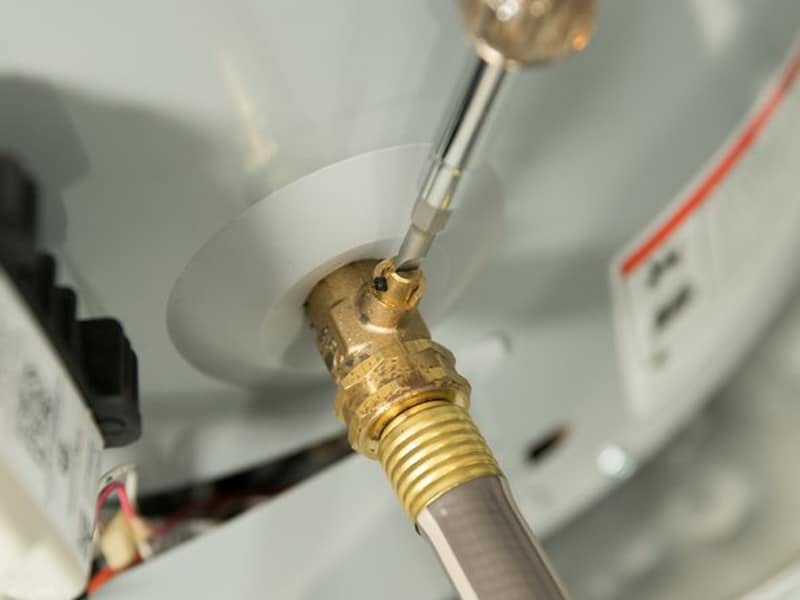
Your first step is to wrap the threads of the new valve with some Teflon tape. A brass drain valve is recommended by most plumbing professionals.
Make sure all hot water faucets inside of the home are closed, as this helps to create a vacuum and ensures that water doesn’t pour out during the process.
Place a few towels, and even a pan, beneath the drain valve. With an adjustable wrench, unscrew the valve and replace it with a new one as quickly as possible.
As you do this, be prepared for some water to come out of the hot water heater tank. This is why you want to perform the removal and installation of the valves as quickly as possible.
Once the new drain valve is in place, you can connect a water hose and start the process of draining and flushing your water heater.
Conclusion
When you are trying to perform maintenance on your water heater and it just won’t drain, it can be pretty frustrating. Luckily, the solution is generally a relatively easy one. More often than not, the problem is a clogged drain valve. The steps above can help you unclog the drain valve so you can drain and flush your water heater, which helps to increase the longevity of the appliance.
For more tips and tricks around the house, check out some of our other articles. As always, thanks for stopping by and reading this article! We hope it helped solve your problem with your water heater.


Designing Modern Living Rooms from Iconic Movies

7 Tips for Heating a Room with High Ceilings (On A Budget)