Is your water cooler overflowing? You might not be replacing the jug correctly. Here’s 5 possible reasons why.
Having your water cooler overflow is probably one of the most inconvenient things that can happen to you on a daily basis. You’re stuck having to constantly mop up the floor, while in short supply of drinkable water to quench your thirst after such effort! A total nightmare.
Believe it or not, this issue is a lot more common than you think, and sometimes it’s even caused by user error, rather than a technical fault. But you don’t want to hear that. If you’re here, what you’re looking for are answers. And you need them fast.
In order to successfully fix the issue behind your current misfortune, you require a detailed list of the possible causes and solutions. But the research is so tedious! What are you to do? Luckily, nothing at all.
I’ve already taken care of all of that for you.
Below you’ll find the aforementioned compendium, with said causes and solutions. Rest assured that, if you follow it to a tee, you will get back to enjoying your usual supply of drinking water in no time.
Are you ready? Let’s dig in!
Fixing an Overflowing Water Cooler
Sometimes, our user habits can contribute to the appearance of these issues. Actions as negligible as forgetting to clean our water reservoir regularly, or failing to partially drain it before placing a new jug, are more than enough to wreak havoc in our lives.
Your water cooler might be overflowing due to:
- Improper jug replacement
- A broken jug
- A molten spigot seal
- Clogged spigots
- A clogged reservoir
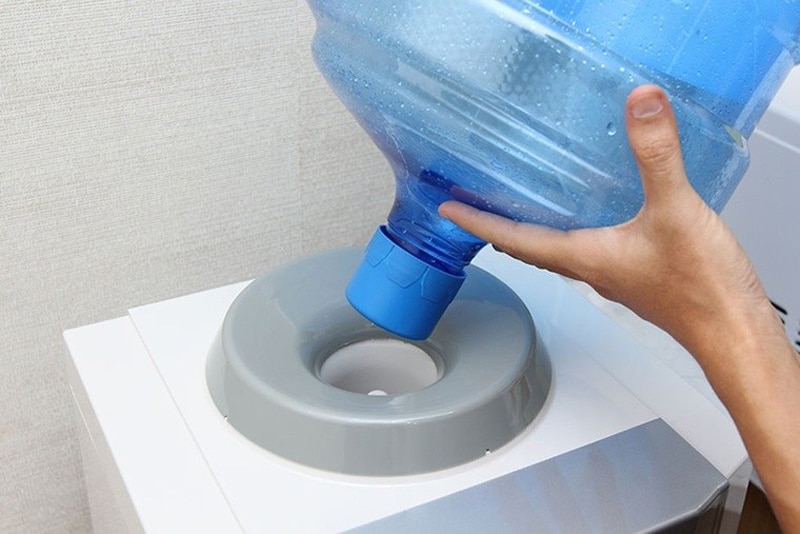
#1 Improper Jug Replacement
Drain your reservoir before replacing your jug
I want to start off this list with the most obvious, and thus easily forgettable factor. Replacing your water jug.
If your water cooler is overflowing, you might not be draining your reservoir properly before placing a new jug. While these appliances are designed to maintain a steady level of water as they operate, abruptly increasing the liquid’s flow into a nearly-full reservoir, is a bad idea.
Solution: Before replacing your water jug, take a clean bucket, or a couple of glasses and fill them so that the reservoir is partially empty.
This will not only keep your overflowing problem from happening, but also save hundreds of precious liters of water over the years.
#2 A Broken Jug
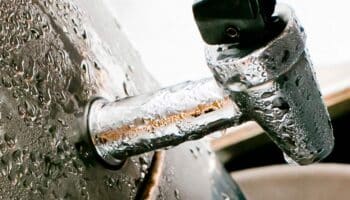
Check your jug for leaks, bubbles, and hissing
If your jug-replacing game is on point, it’s time to move on to the next most likely culprit.
Small hairline fractures on your hard plastic jug can not only cause leaking, but also be the explanation behind your overflowing problem. As you know, water coolers maintain their water level steady by taking advantage of the pressure inside the reservoir.
When your jug presents even the smallest fracture, said pressure conditions are altered, preventing the appliance from keeping the water from overflowing.
This might sound overly complicated for something as simple as a water cooler, but remember, these units are all about physics.
Solution: I know it can be tedious, but testing your jug before placing it into your water cooler can save you a lot of time, and headaches. Identifying hairline cracks on these units is as simple as looking for tiny puddles beneath them or listening for hissing.
Most jug suppliers will exchange the damaged unit for an unscathed one for free.
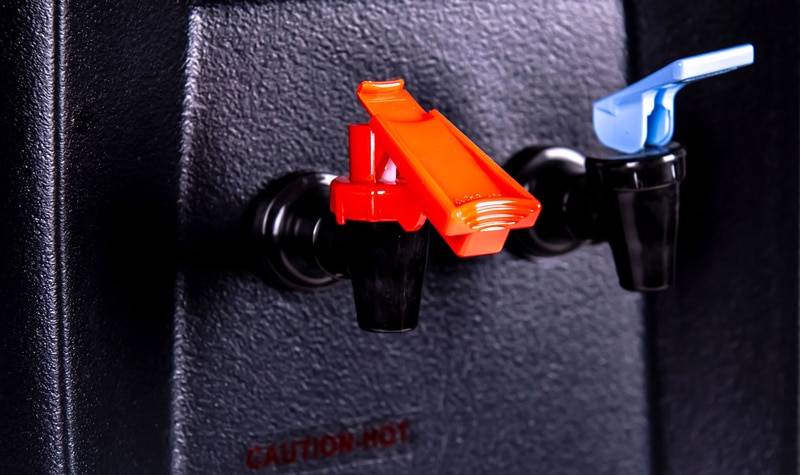
#3 A Molten Spigot Seal
Hot water can melt your spigot seals
The spigots in your water cooler are able to control the flow of water with the help of little rubber parts, or seals. While these are designed to be resistant and last a long time, the one in your hot water spigot could need replacement much sooner than the one in its cold counterpart.
This is not something that will happen 100% of the time, but when it does, the molten rubber can contribute to blocking the outlet of the spigot and cause overflowing by preventing the reservoir from draining properly as it draws water from the jug.
If you’re not in the habit of using the hot water spigot in your water cooler, or if your appliance doesn’t even have one at all, you have nothing to worry about, but in case you do, you should try to replace this part soon as possible.
Solution: Doing the repair is quite simple, and very similar to fixing a broken spigot. Please follow these steps:
- Carefully turn the appliance off with the switch, unplug it, and let it cool down
- Remove the jug
- Grab a bucket and drain the remaining water in the reservoir
- Remove the lever at the top of the spigot, expose the rubber seal, and replace it
- Slightly refill the reservoir, and flush both spigots lightly
- Place the jug back in the water cooler
- Plug your appliance back into the wall outlet, and turn it on with the switch
- Flush some water through the hot water spigot to prime the tank
- Wait 10 minutes
All done!
As you can see, this process is very simple, but you should be extremely careful when doing it, as the hot water can cause damage to your skin.
#4 Clogged Spigots
Keep your spigots clean and clear
Failing to clean your water cooler and all its components regularly can prove troublesome. Doing so can seem unimportant, but it can contribute greatly to clogging both your spigots, and your reservoir.
If your water cooler is overflowing, and you haven’t given your appliance a good cleaning session in a while, chances are that this has already happened.
As I said before, water coolers are very reliant on physics. They use the internal pressure of the reservoir to determine how much water the jug can release in order to keep the levels steady, and prevent leaking or overflowing.
A clogged spigot can suck in water from your reservoir, but have trouble releasing it, resulting in more water being drawn from the jug, but not enough being thrown out.
Solution: To guarantee ideal functioning conditions and hygienic operation, you should try to clean your water cooler at least once every six months. That being said, doing so more often, can’t hurt.
The process can be very similar to replacing your spigot lever or rubber seal, In case you’re not sure as to how you can go about it, there’s a ton of online resources that you can follow along step by step.
#5 A Clogged Reservoir
Clean your reservoir regularly
Similar to clogged spigots, a clogged with reservoir can compromise the way in which the water flows within your appliance. If your water cooler is overflowing, and you’re 100% positive that your spigots are clear, this could explain the issue.
At this point, you’re probably thinking, “how can my reservoir or spigots get clogged if only water passes through them?”. The answer is simple. Sediment.
Even with all the purification processes that your commercial drinking water undergoes, sediment is present in it at all times. Granted, not at the levels you’d find in tap water, but it’s definitely there.
Whilst sediment formations won’t appear immediately, leaving your water cooler without proper cleaning for extended periods will most certainly result in obstruction over time. Do not neglect your appliance.
Solution: As stated in the previous point, make sure to clean your water cooler at least twice per year. This will prove beneficial to both your health, and your appliance.
And the best part is that doing it is not very hard. All you need is some hot water, a couple of soft brushes to scrub off any sediment, and 30 minutes to spare.
Conclusion
To have your water cooler leak, is bad, but to have it overflow, is even worse. While they might seem like similar issues, in some cases, the causes and solutions can vary greatly.
The best way to keep your water cooler from overflowing is to give it proper maintenance, clean it regularly, check your jug before placing it, and partially drain your reservoir before doing so.
Unless the issue is more technical, incorporating these good practices every time you operate your appliance, should keep your floor dry, and your problems away.
Now, while these solutions might seem simple, you should never hesitate to call an expert if you ever feel doubtful during the process. I commend you for trying to do your own repairs, but never at your wellbeing’s expense.
Thank you so much for sticking with me all the way to the end. If you found this article useful, why not keep the learning going with our other great resources below? There’s no such thing as too much knowledge.
Stay hydrated and safe!


Designing Modern Living Rooms from Iconic Movies

7 Tips for Heating a Room with High Ceilings (On A Budget)