Do you have a water cooler in your house or office? If so, you rely on this to provide a steady flow of water when you need it most. Therefore, it can be frustrating if you see that your water cooler is starting to leak.
There are a number of reasons why your water cooler might be leaking. Usually, there is a crack or a hole somewhere in the jug. Or, there might be air pressure changes that are leading to the leak. Regardless, there are several steps you need to follow to identify the source of the leak and fix it.
We understand that you want to address this issue as quickly as possible. That is why we have done a significant amount of research to figure out why your water cooler might be leaking. Then, we have put together a list of key steps you need to follow if you want to fix the issue.
So, are you ready to take a closer look at your water cooler? Do you want to figure out why it is leaking? If so, then let’s get started.
Common Causes of a Leaking Water Cooler
Before we get into the process of fixing a water cooler that is leaking, it is helpful to take a look at a few possible causes of the leak itself. These include:
- First, there might be a tiny hole or crack in the bottle. Usually, leaks are due to a crack in the bottle somewhere, not the actual cooler itself. If you have cracks in the bottle, air can get inside, causing water to leak out.
- Of course, there is also a possibility that there could be a crack in the cooler as well. Even though this might be unusual, it usually takes place when the cooler is being transported. It is highly unusual for a crack to develop in the cooler randomly unless someone strikes it with a heavy object.
- There is also a chance that something could be wrong with the spout of the water cooler. For example, there may be an internal valve issue that is causing water to leak out even when you do not want water to flow.
After you have figured out where the leak is coming from, there are a few steps you need to follow if you would like to fix it. Take a look at the most important steps below, and get ready to fix your water cooler.
Materials Needed To Fix a Leaking Water Cooler
If you believe you have a leaking water cooler, there are several materials you require. These include:
- Of course, you need to have access to your water cooler so you can figure out what is going on with it.
- Next, you also need to have access to your manual, which can help you figure out what type of parts you might need to order.
- You may need to have a screwdriver with you if you need to take apart the water cooler.
- You should also have a flashlight in case you need to see inside of the water cooler.
- You also need to have plenty of towels that you can use to clean up any water that might spill around the water cooler.
After you have gathered all of these materials, it is time to take a close look at the water cooler to see what is going on.
How To Fix a Leaking Water Cooler in 6 Steps
If you would like to fix a leaking water cooler, there are a few steps you need to follow. These include:
Step 0: Check The Water Tray
This is one doesn’t really count, but I just want to make sure we’re not having a “duh” moment here! Water coolers have small trays to collect spillage, right under where you put your cup or glass.
These trays are easily detachable, and they’re meant to be regularly emptied. It’s the same as a drain tray or a drip tray in many other appliances.
If the extra water is coming from your tray, it’s likely just overflowing. You’ll need to carefully remove this as it’ll be full – and just empty it more regularly in future.
With that out of the way, let’s move on to fixing actual leaking components.
Step 1: Shut Off the Supply of Water
Before you can start working on the water cooler, you need to remove the supply of water. If your water cooler is connected to an internal water line, then you need to shut off the water line at that source. Hopefully, you do not need to shut off the water supply to the entire building.
If the water cooler is freestanding, then you may want to take a look at the faucet or spigot. Then, disconnect the knob or turn it to stop the flow of water. That way, you do not have to worry about a flood developing in the room.
You need to make sure the knob is tight so that you shut off the water supply completely. You should not need to use a tool to do this, but you do need to double-check the water supply to make sure it has been shut off.
Step 2: Mark the Water Level
After this, you need to use a black marker to mark the water level on the cooler itself. This is important because you need to figure out how fast the water is leaking. The speed of the water leak may give you a clue as to where the leak is coming from.
In general, the slower the leak, the smaller the hole. If the leak is very small, there may be a broken seal somewhere. On the other hand, if the water is leaking very quickly, then there is probably a large leak somewhere that should be easy to spot.
Of course, if the leak continues even after you have shut off the water supply, you need to put some towels around the water cooler. That way, you can reduce the chances of developing serious floor damage.
Step 3: Remove the Bottle
After this, you need to remove the bottle from the unit. Then, take the bottle and place it in a large sink. Or, you might want to move the water bottle outside. It is important to move the bottle to an area where water damage is not going to be a concern. The entire point of this move is that you should not have to worry about your floors getting damaged if the water bottle continues to leak.
Next, you need to keep a close eye on the bottle and the cooler itself. If the bottle continues to leak, then you know where the leak is. You need to take a close look at the bottle to figure out where the leak is coming from. On the other hand, if the cooler is continuing to leak, then you know the issue was somewhere in the water cooler.
During this process, you should also place a cup underneath the spout. That way, you can catch any additional water leaks that might develop. It is important to think about how you can prevent water damage from taking place on the floor.
Step 4: Check the Reservoir for a Clog
As you continue to go through this process, you should also take a few minutes to check the water reservoir for a clogged. There is a chance that this could be where the leak is coming from. If the reservoir is clogged, then water might be backing up behind the reservoir, eventually spilling over onto the floor.
The most common reason why the reservoir gets clogged is that someone shoves something in the reservoir that should not be there. For example, someone may clean up a small spill with a paper towel and then stuff the paper towel in the reservoir instead of putting it in the garbage can. This could be the reason why you are noticing a leak around the water cooler.
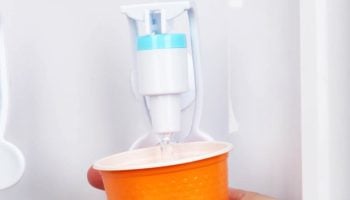
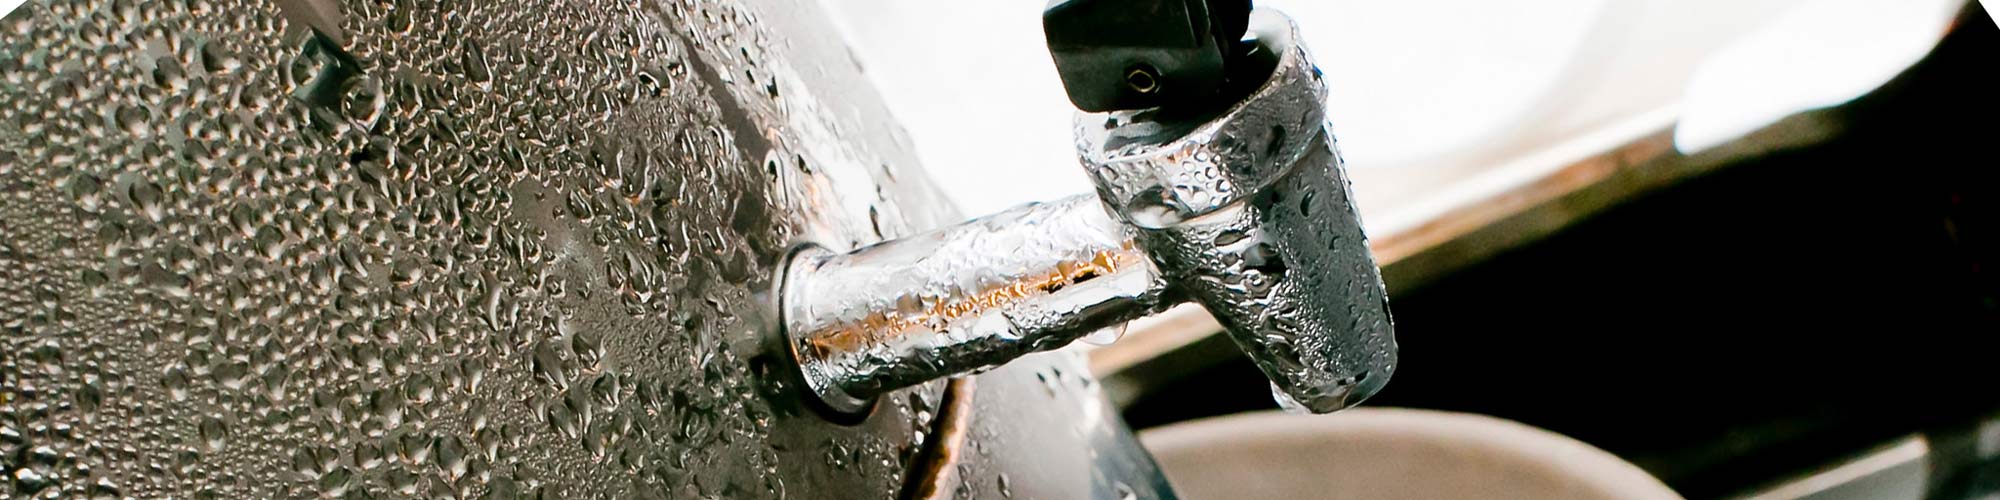
Step 5: Check the Spout and Spigot
This is also an opportunity for you to check the spout and spigot for any signs of potential leaks. If you notice there is water leaking out of the spout and spigot even after the water cooler has been removed, this could be the concern.
You should take a look at the manual to see what you have to do to fix your spout and spigot. There is a chance that you may have to replace them. Take a look at the manual, see what type of spout and spigot you have, and then consider ordering a new one.
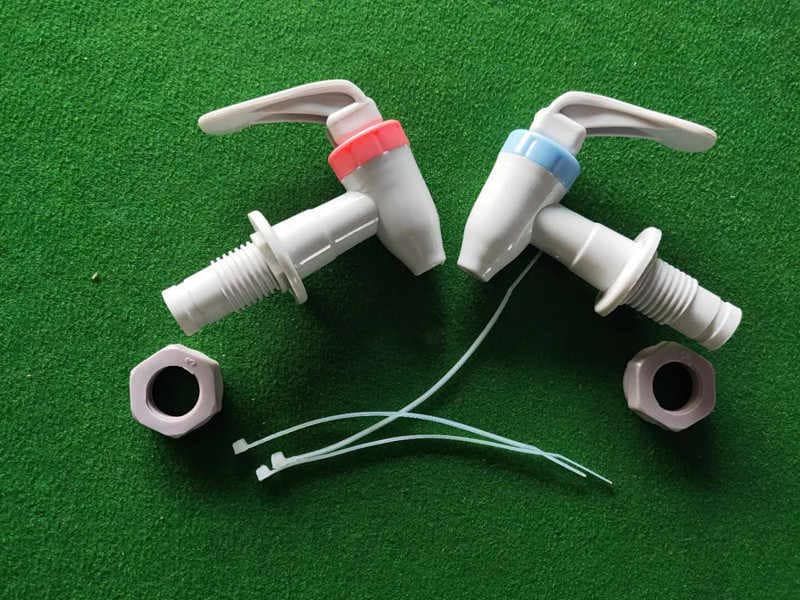
Step 6: Replace the Broken Part
After you have figured out where the leak is coming from, you need to replace the broken part. For example, if you have discovered that the issue was related to the spout, then you need to get a new spout for the water cooler. Or, if you have discovered that something was wrong with the reservoir, you need to clear the leak. Fortunately, you should not have to replace the entire reservoir.
If you have realized that the problem was the water cooler, then you need to get a new one. You should reach out to the company to see if they might offer a new one for free. If the water cooler gets damaged during the transport process, they should be willing to replace it for you. After you get a new water cooler, you should make sure there are no leaks continuing. If there are still leaks, there might be another problem present.
These are the most important steps you need to follow if you are interested in fixing your leaking water cooler. You need to address this problem quickly so you can prevent your floors from getting damaged. That way, you can enjoy fresh, clean, cold water once again.
Make Sure You Get Your Water Cooler Fixed
Even though it is helpful to have a water cooler available, you also need to make sure you address any leaks as quickly as possible. It can be frustrating if you see your water cooler beginning to leak, but this is not something you have to go through on your own.
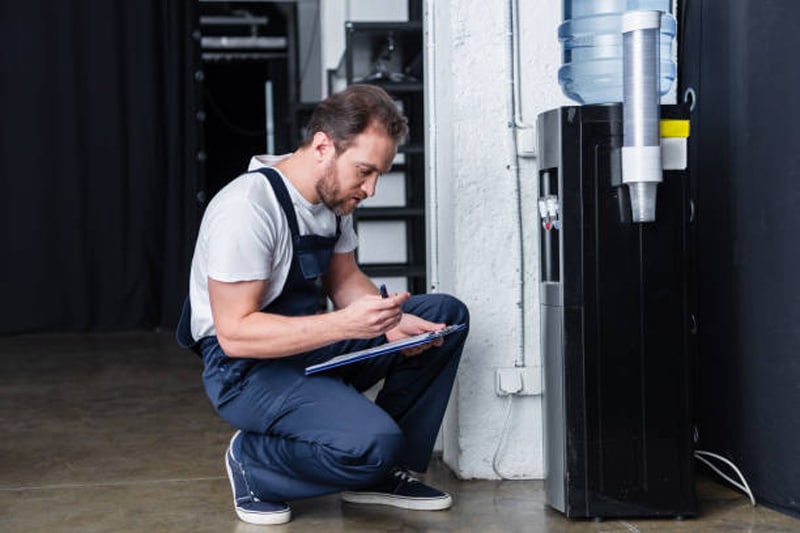
You should use your manual to systematically go through all the individual parts to see what is wrong. If you are having a difficult time interpreting the manual, you might want to reach out to a professional who can help you. Remember that there are replacement parts available. You do not necessarily have to replace the entire water cooler if you think there is a leak taking place.


Designing Modern Living Rooms from Iconic Movies

7 Tips for Heating a Room with High Ceilings (On A Budget)