Is your vacuum cleaner harder to wake up than a teenager on a school morning?
Don’t worry – you’re not alone. A lot of electrical appliances can ‘give up the ghost’ and refuse to turn on. Often it’s due to simple causes.
In this article, we’ll walk you through 10 common causes that can cause a vacuum cleaner to not turn on, and how to solve them. There is a short answer we can give, though.
To fix a vacuum cleaner that won’t turn on, first clean out the bag, filters, and check for blockages. Try the vacuum cleaner with different plug sockets, and ensure the plug and power cable are free from damage or gunk.
Those are the quick fixes, but you may need more detail to solve this.
If so, read on and let’s walk through the various common issues that can stop a vacuum cleaner turning on.
Fixing A Vacuum Cleaner That Won’t Turn On
1. Is There Power Going Through Your Cleaner?
This is perhaps the first and the most obvious thing you should ask yourself. You need to ensure that there is power going through your cleaner before checking for any other problems.
Check if the switch is turned on. If the power at the wall has been turned off, turn it back on and start the cleaner. If it does not start, plug in a different socket to find if the problem is with your vacuum or your electricity connection. The breaker might have tripped and needs to be reset.
You should also check that the power plug is in the socket. Put the plug all the way in to ensure that your vacuum cleaner is getting the full connection.
2. How About the Cable Connection?
The cable connection is another thing you should check. If your vacuum cleaner is coded, it is critical to inspect and evaluate the input connection. After checking whether there is power from the socket, the next step should be to check the plug to the vacuum.
Examine every section of your cord to ensure it is not damaged, but ensure you unplug it from the wall first.
If you have pets, they might have chewed through the cable. As a result, check for damaged connections at both ends of the cable.
The switch should also be checked. Sometimes the vacuum’s switch may not be fully pressed inside. If this is the case, make sure to press it in fully.

3. Is the Bag Full?
This is yet another cause of a jammed vacuum cleaner. If the dirt collection bag or canister is full, your vacuum cleaner might not turn on. Additionally, even if your bag isn’t full, it is imperative to empty it or replace it before restarting the vacuum cleaner.
Note that the equipment’s suction capabilities might not work if there is an obstruction in the airflow. This helps avoid straining the motor and creating internal damage.
Additionally, you should also clean the filter while emptying it. Gently tap it against the garbage bin to release any clinging dirt or microscopic particles that may be stuck inside. Then, using your finger or another non-sharp object, carefully remove dirt from the filter’s slats.
4. Overheating
Is it hot outside? There are chances that the vacuum might have automatically shut down. To fix the problem, wait for fifteen minutes before restarting the vacuum. Of course, if you haven’t used the vacuum in a while, this can’t be the issue.
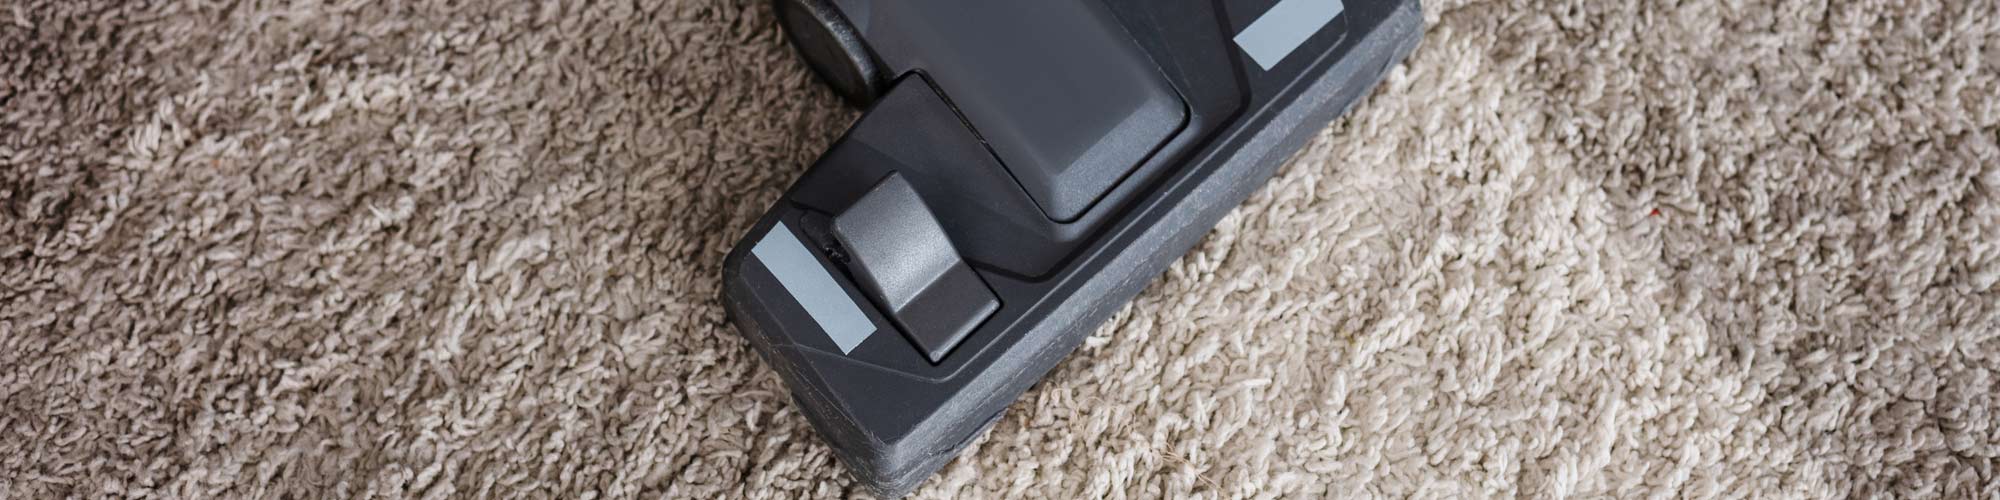
5. Blockages
Technically, if the air can’t flow, the vacuum cleaner won’t work. Examine the suction head, filters, and any tubing that may be present. If you discover a blockage, you may have just solved your problem.
6. Check the Brush Roll
Brush rolls are another common cause of jammed vacuum cleaners. If that brush roller becomes tangled and refuses to spin, the vacuum cleaner may not turn or function properly.
If you can hear power entering the motor, but the vacuum still isn’t operating, switch it off and clean or untangle the brush head. After that, restart the vacuum and check to see if the problem has been resolved.
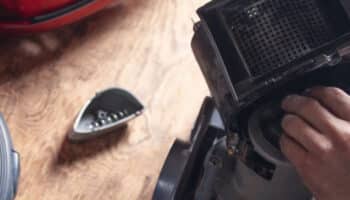
7. Clean the Filters
This is another crucial step you must take to ensure that the vacuum cleaner runs in its top-notch condition. Bagless vacuum cleaners have filters that must be cleaned or replaced regularly. Ensure you follow the cleaning instructions for the bagless vacuum cleaner and make sure it’s completely dry before putting it back in the box.
Note that most vacuum cleaner models, especially newer ones, are designed with filters to help pick up particles that may taint your indoor air quality. If your vacuum cleaner has a filter, you should clean it and replace it regularly.
Indeed, the significance of keeping your filter clean cannot be overstated. This is especially true if you have a vacuum cleaner with a HEPA filter, which is meant to enhance your indoor air quality. Therefore, keeping that filter clean is critical to helping improve the air quality in the room.
8. Is the Motor Okay?
Of course! We don’t need to tell you how vital a motor is for any device. If the motor is not functioning correctly, the suction will most likely not start. The motor might be destroyed for a variety of reasons.
The most common problem is a clogged filter. Even so, overuse of the canister may also cause your motor to die. The only remedy for a damaged motor is to replace it with a new one.
Furthermore, also don’t forget to check other parts during the replacement. If any other parts are causing the motor to fail, replacing the motor might not cure the problem.
If you want to get any replacement part – or see how much one would cost – click to enter your model number in the search bar below. Our partners at AppliancePartsPros stock almost every part with free guides on how to install them.

9. How About the Electrical Path?
The electrical system in your vacuum cleaner might be the issue. If this is the problem, you’ll need a multimeter and some knowledge to fix the problem.
One of the best things about performing electrical repairs on your own is that it can save you a pretty significant amount of money on diagnostics.
Note that you must open your vacuum and inspect it for any open circuits to conduct electrical repairs. Begin with the circuits nearest to the plug. From there, make your way to the motor. If you detect a faulty circuit, you can either replace it yourself or take it to a technician to be changed.
Do you have any fuses in your vacuum? These are other things you need to look into. If there are fuses, conduct a visual inspection and use your multimeter to determine whether the fused connection has been broken. If the problem is with the fuse, they are inexpensive and relatively easy to replace.
If you have the necessary expertise, you may also want to inspect the motor and replace any broken parts visually.
Besides, if the problem is with the motor, it is often easier and less expensive to buy a new vacuum cleaner than to try to fix it or take it to a professional.
10. Are You Following the Instructions Correctly?
Check your owner’s manual as well. Some modern vacuums have a safety shutdown that disables the motor if it becomes too hot. That could be the problem if you haven’t used your vacuum cleaner in a long time.
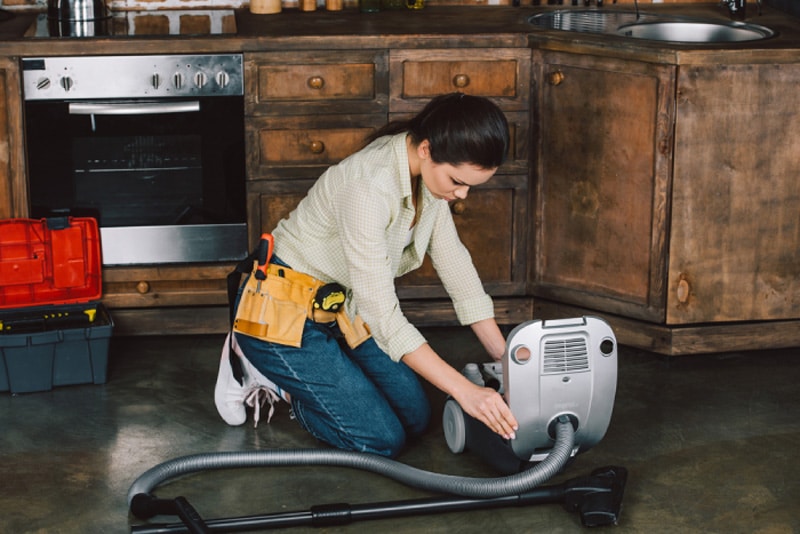
Consult a Professional
If you’ve walked through all the above and it still isn’t turning on, we may be out of luck. It could be that the vacuum has had a critical electric failure, and has passed away.
If so, the only remaining step is to ask a professional for help. Granted, this can be costly and you may be better off simply buying a new model.
That being said, if you’ve observed that your vacuum isn’t picking up as thoroughly as it used to, a repair shop can replace parts for less than $10, depending on what’s causing the problem and the store’s pricing.
Depending on how old your vacuum cleaner is, hiring someone to repair your vacuum cleaner for you and your family may be the best option.
However, it is frequently easier to get a new vacuum cleaner, especially with the new models and technologies on the market, such as robot vacuums.
Vacuum Maintenance Tips
Maintaining your vacuum cleaner is just as important as cleaning your house. Otherwise, you’ll have to invest money in a new system in no time.
Here are some tips to help you get more output from your vacuum cleaner:
- Do not wait for the bag to be filled. Instead, once the bag is nearly full of garbage, clear the bag or replace it.
- Maintain a routine for clearing the vacuum cleaner. Don’t forget; the device requires a bit of attention from you.
- Clean the filters as they are a very crucial part of the machine. That is why you can’t let it get clogged.
- Clean the brushes. This part of the device secures optimal performance. So, regularly clean it with care.
- Don’t leave the cleaner unattended while it is on.
- Unplug when you are not using the machine.
- If your cleaner is not a wet & dry vacuum, don’t even think of using it to clean wet surfaces.
- After completing your cleaning chores, keep the cleaner safe and in a dry and cool area.
- Avoid collecting items like screws, coins, or sharp-edged metals.
Final Thoughts
Do not let your experience with this vital household appliance turn sour. Ensure you consider the above tips the next time it fails to turn on, and there is no doubt that you will experience exceptional results. If the problem persists even after consulting a technician or if your vacuum cleaner is more than eight years old and keeps breaking down, you should buy a new one to avoid incurring the recurring repair costs.
Liked the article? Follow our blog for more exciting articles, and let us ensure you remain updated with the latest content.


Designing Modern Living Rooms from Iconic Movies

7 Tips for Heating a Room with High Ceilings (On A Budget)