Are the lights on your range hood not working?
You’re not alone! I understand how frustrating it can be when your range hood’s lights are not working, especially when you’re cooking dinner.
Luckily, you’ve come to the right place for answers.
If your range hood’s lights are not working, you’ll need to check the power supply and replace the light bulb with a compatible one. If the issue persists, it’s important to test the light socket and switch, inspect the wiring, or replace the control board.
Read on to learn how to get your range hood’s lights working again!
Fixing Your Range Hood’s Lights: 6 Simple Steps
Different reasons can explain why the lights on your range hood are not working. But don’t worry! In this section, I’ll guide you through six solutions you can try to forget all about the problem.
Keep in mind that fixing the issue will require accessing and testing certain internal components, so having the manufacturer’s manual handy is crucial.

#1 Check the Power Supply
When fixing a range hood light that is not working, I always start by checking the power supply.
If there’s been a power outage or if the circuit breaker has tripped, the range hood won’t receive power, and its components, such as the fan, buttons, or light, won’t work.
The easiest way to determine whether your range hood is receiving power is by trying to turn it on and listening for the sound of the fan running. If you don’t hear a humming sound, there’s no airflow, and the lights aren’t working either, the circuit breaker has likely tripped.
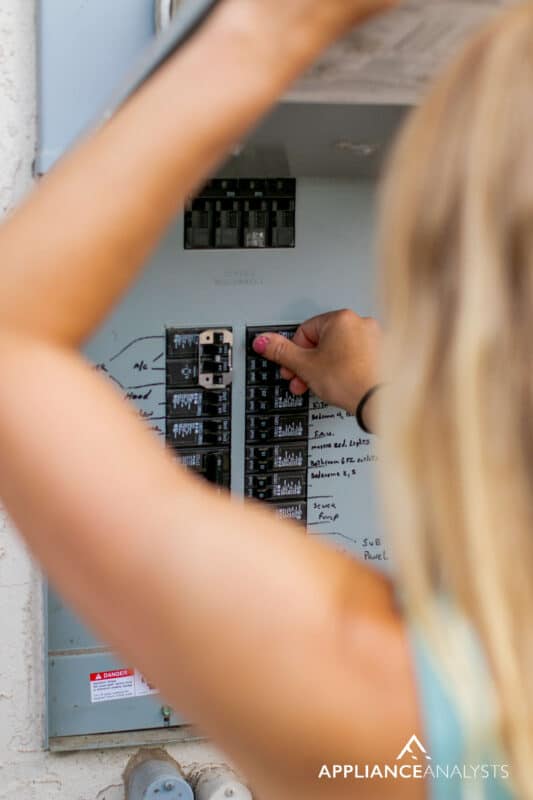
To fix the issue, please go to the circuit breaker box, search for the “Range Hood” or “Kitchen” switch, and make sure it’s in the “ON” position. If it’s in the middle or set to “OFF”, reset it and ensure it’s switched on.
Once you’ve reset the circuit breaker, go back to your kitchen and turn on the range hood again. If the lights are still not working, you probably need to replace the bulbs. Keep reading to learn how to do it.
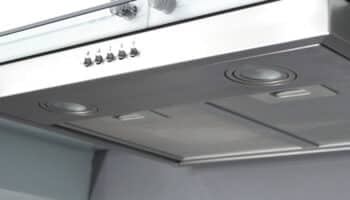
#2 Replace the Light Bulb
I find that when the lights on a range hood are not working, it’s typically due to a faulty light bulb.
Although light bulbs usually have a long lifespan, they can deteriorate over time due to normal wear and tear and exposure to heat generated during cooking.
Luckily, replacing your range hood’s light bulb is very simple. You’ll just need to:
- Turn off your range hood at the circuit breaker to prevent electrical hazards.
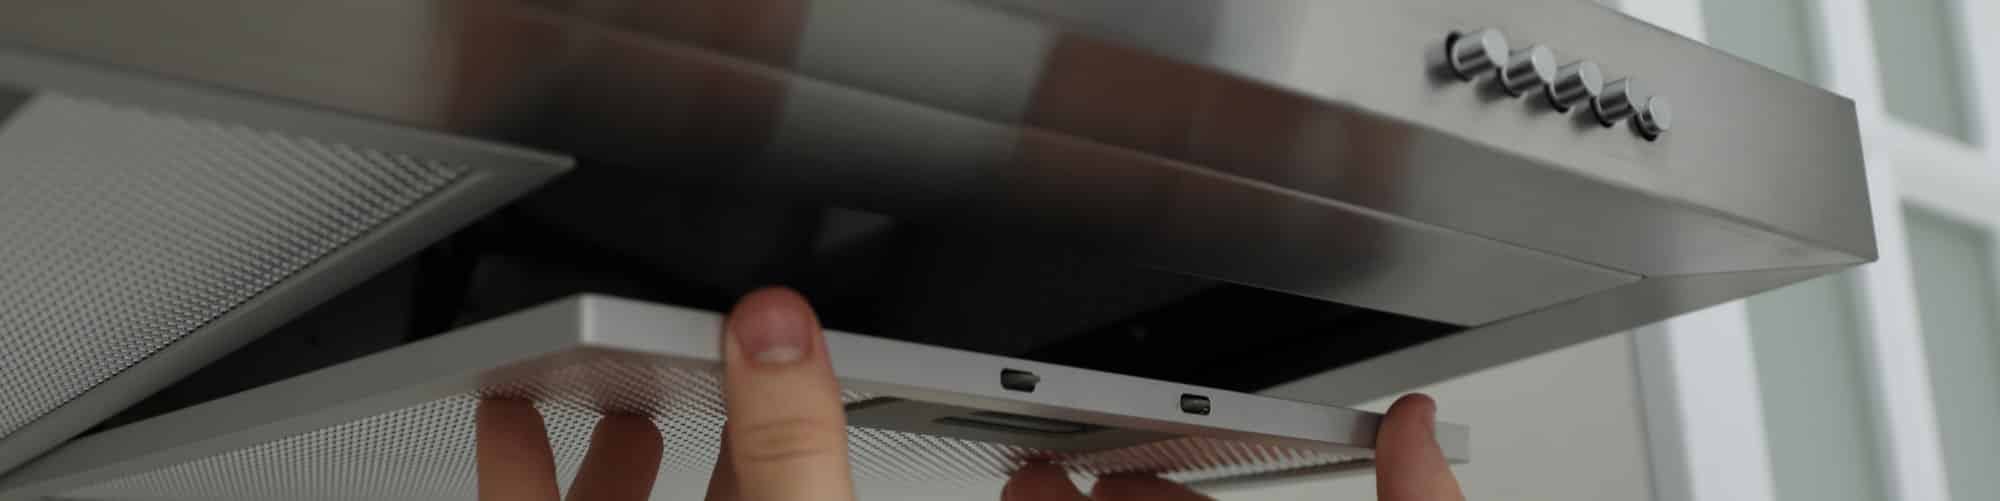
- If there’s a cover over the light bulbs, please carefully remove it.
- Gently turn the light bulb counterclockwise to unscrew it.
- Purchase a compatible light bulb. Keep in mind that not all light bulbs can be used with range hoods, as they need to withstand high temperatures and meet specific size, wattage, and type requirements.
- Screw the new, compatible light bulb clockwise into the socket. Make sure it’s secure.
- Reattach the cover you previously removed and test the light bulb.
It’s important to consult the manufacturer’s recommendations to ensure you purchase the correct bulb and adhere to the wattage limit specified for your range hood. You can also inspect the current light bulb for guidance.

Note: Keep in mind that the process of replacing the light bulb can vary depending on the range hood model you own.
#3 Test the Socket
If you’ve replaced the light bulbs, but your range hood lights are still not working, there’s likely an issue with the socket.
The light socket, where you screw in the bulb, is responsible for allowing electricity to flow to the bulb so that it can produce light. Therefore, if the socket is faulty, it can prevent the bulb from receiving power. As a result, the light will flicker or won’t turn on.
To determine whether the socket is faulty, you’ll need to test it with a multimeter. If the socket tests negative for continuity, you’ll need to get a replacement.
Tip: To make sure you get a compatible replacement, search for your range hood’s model number and enter it in the search bar below.

Follow these simple steps to replace the light socket:
- Turn off the range hood at the circuit breaker to prevent electrical hazards.
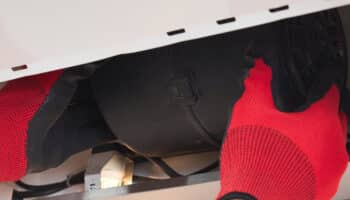
- Remove the necessary panels to access the light socket. Keep in mind that you’ll probably need a screwdriver.
- Take a picture of the wiring connections for future reference. Then, carefully disconnect the light wires.
- Release the socket from the panel.
- Push the new light socket into the panel. Then, refer to the picture you previously took to reconnect the wires correctly.
- Reassemble the range hood.
Once you’ve followed the steps above, please turn on your range hood at the circuit breaker and check if the lights are working.
#4 Check the Light Switch
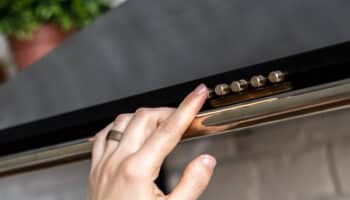
If your range hood’s lights are still not working, I recommend testing the light switch.
Just like a regular switch in a room can turn a light on and off, the range hood light switch works similarly. Unfortunately, if the light switch malfunctions, it will fail to activate the lights.
To check your range hood’s light switch, please turn off the unit at the circuit breaker and remove the necessary panels to access the switch. If needed, refer to the manufacturer’s manual for detailed instructions. Then, look for any visible signs of damage.
If the switch seems to be in good condition, remove it and perform a multimeter test. Set your multimer to the lowest setting for ohms of resistance, then touch one probe to one switch terminal and the other probe to the remaining terminal. Activate the switch and check the multimeter’s display. If it doesn’t change significantly, it’s time to replace the switch.
Here’s how to replace your range hood’s light switch:
- Turn off the range hood at the circuit breaker.
- Release the light cover and remove the light bulb.
- Remove the control cover using a screwdriver.
- Take a picture of the wires connected to the light switch for future reference.
- Carefully disconnect the wires.
- Release the old switch from the control panel.
- Install the new light switch and refer to the picture you previously took to reconnect the wires.
- Reassemble your range hood.
Once you’ve replaced the light switch, restore power to the range hood and test the lights.
Note: If you don’t feel comfortable testing or replacing the light switch yourself, it’s best to call a professional. They have the required tools and expertise to fix the issue.

#5 Check the Wiring
When dealing with a range hood light that isn’t working, my usual advice is to check the wiring.
The wiring in your range hood ensures that all the internal components receive the necessary power to function properly. Unfortunately, over time, wires can become loose or damaged, which can result in the lights not turning on.
To check the wiring, simply turn off the range hood at the circuit breaker. Then, remove the necessary covers to access the back of the control panel.
Once you’ve accessed the wiring, look for any signs of damage, such as fraying or loose connections. Please ensure that all wires are properly connected.
If you find broken or damaged wires, please replace them or repair the connections. Keep in mind that if you’re not an experienced DIYer, it’s best to call a professional.
#6 Replace the Control Board
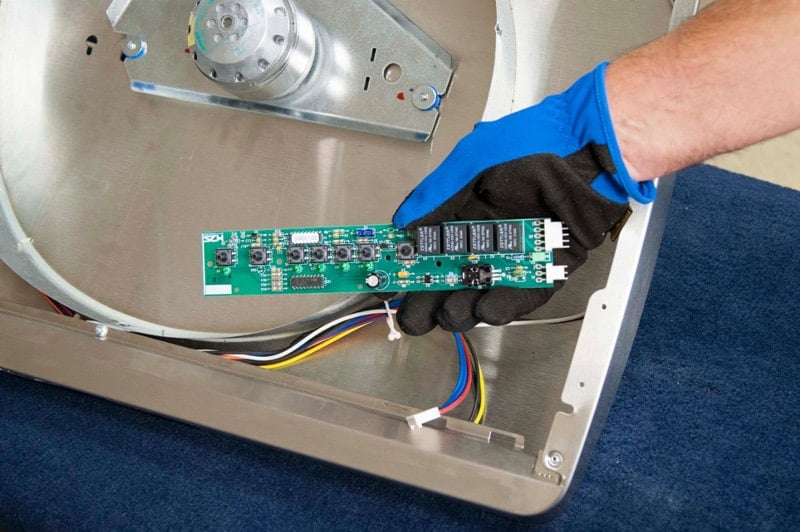
If you’ve tried all the fixes mentioned above, but your range hood’s lights are still not turning on, then it’s time for us to check the control board.
You can think of the control board as the brain in your range hood, as it controls various functions, including the lights and fan motors. If the control board malfunctions, you’ll experience different performance issues while trying to use your range hood.
Follow these simple instructions to replace the control board:
- Turn off the “Kitchen” or “Range Hood” breaker to ensure your safety.
- Refer to the manufacturer’s manual to locate the circuit board.
- Remove the necessary components, such as filters and covers, to access the circuit board.
- Take a picture of the wires connected to the circuit board for future reference. Then, carefully disconnect them.
- Remove the old control board.
- Refer to the picture you took earlier and reconnect the wires to the new control board.
- Reassemble your range hood.
It’s worth noting that replacing the control board can be challenging, especially if you don’t have prior experience with these types of repairs. Therefore, I strongly recommend leaving the job to a certified professional.
Wrapping Up: Range Hood Light Troubleshooting
That about covers it! Hopefully, now you know how to fix your range hood’s lights.
Remember that if the lights on your range hood are not working, you’ll need to check the power supply and replace the light bulbs with new ones. If the issue persists, don’t forget to test the light socket and switch. It’s also important to check the wiring and replace the control board if necessary.
Thank you so much for taking the time to read this guide. If you’ve found it helpful, please check out our other related articles below.
Have a great rest of the day.


Designing Modern Living Rooms from Iconic Movies

7 Tips for Heating a Room with High Ceilings (On A Budget)