We've independently reviewed this article to make sure it's as accurate as we can make it.
To find out more about our article creation and review process, check out our editorial guidelines.
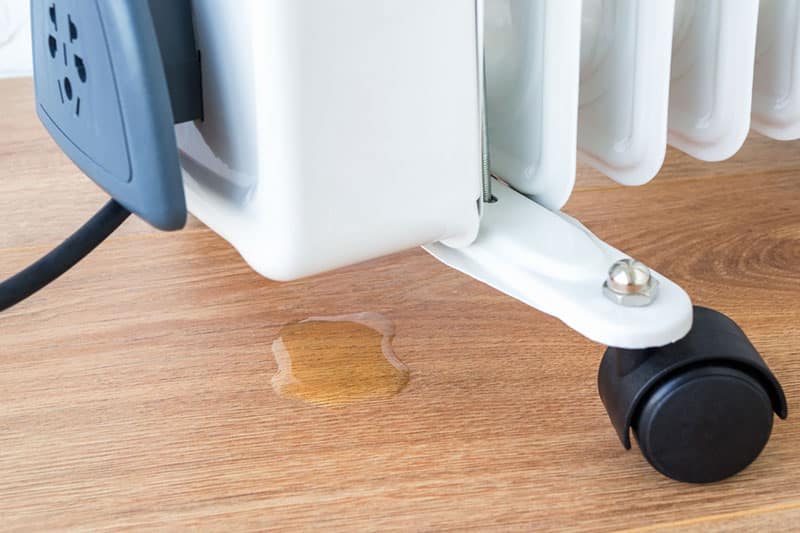
Is your oil heater leaking oil?
Don’t worry, I’ve been there too. I know how annoying it can be to have this happen, especially during colder months.
Luckily, you’ve come to the right place to get this issue fixed.
If your oil-filled radiator is leaking, you’ll need to open it, take the connections off, and unscrew the cap. Then, put heavy-duty PTFE tape over the thread and tighten it with a pipe wrench.
Read on to learn more about how to fix this problem!
How to Fix a Leaking Oil-Filled Radiator
Stopping a leak in an oil-filled radiator is not as complicated as it seems. It is a case of locating the leak, which normally comes from the nuts where the oil was filled. You will then need to rethread the cap to stop the leak.
Does that sound like a lot to do? Then don’t worry as coming up next I’ll go through these steps one at a time.
#1 Grab Your Gear
To get ready, here’s a list of everything you will need for the job:
- Screwdriver
- Pipe wrench
- Heavy-duty PTFE tape
You can find all of these materials at most hardware or home improvement stores, such as Home Depot or Lowe’s.
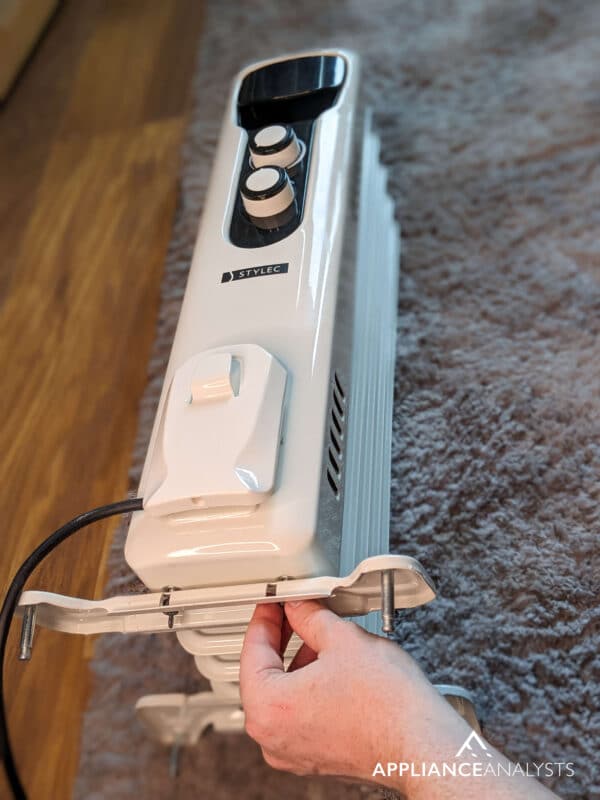
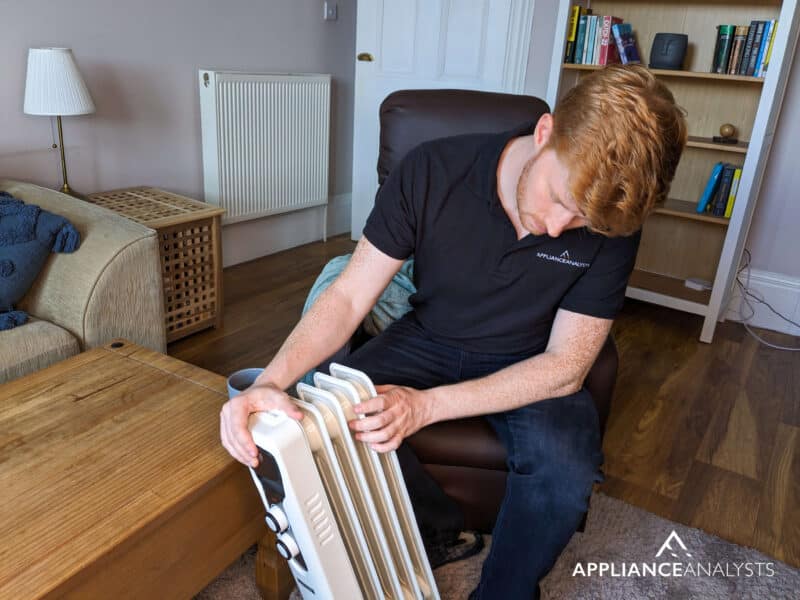
#1 Open the Radiator
The first thing you need to do to get this job underway is to open the radiator.
To do so, you will need to remove the screws that are holding its shell in place. Keep the screws together so that it’s easy for you to put them back in once you’ve done the job.
#2 Take the Connections Off
The next thing to do is to take the connections off. But before you do so, I strongly recommend you take a photo of the connections, so you can remember the way they were set up.
This will prevent any issues when you go to start the radiator later.
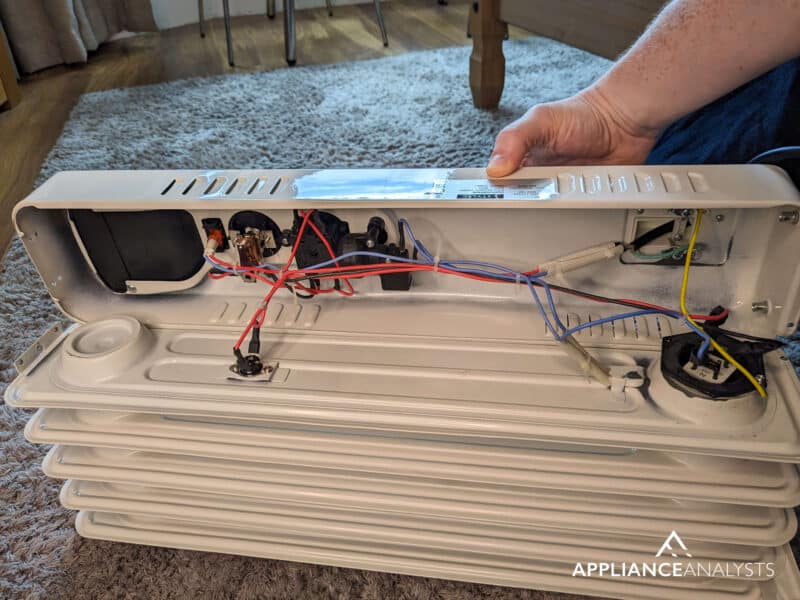
Once you have removed the connections, you will have easy access to the nuts where the oil is leaking from.
#3 Unscrew the Cap
Next, you’ll need to remove the nuts and unscrew the cap where the oil is held. Most oil-filled radiators have two; make sure you remove them both.
These caps are on pretty tight, so you’ll likely need a pipe wrench to get them off. Oh, and don’t forget, plenty of elbow grease.
#4 Put Heavy-Duty PTFE Tape Over the Thread
With the caps removed, line the inside of them with heavy-duty PTFE tape. This tape should be oil-resistant to stop any leaks in the future.
Make sure that the tape goes around the cap flat and push it firmly into place.
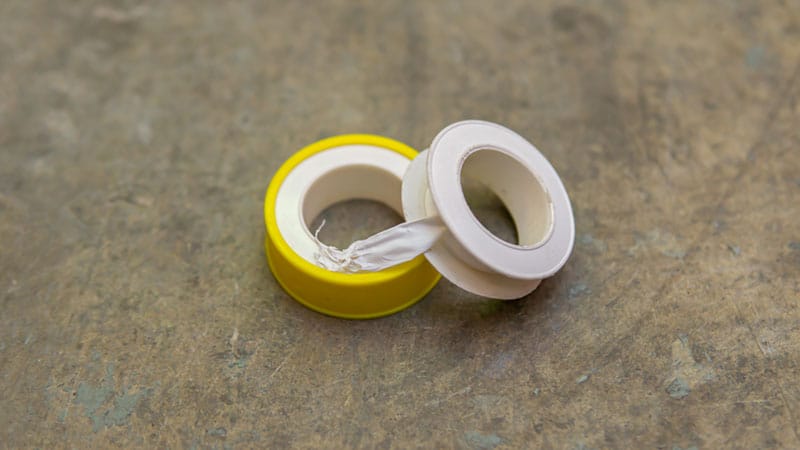
Tip: Please make sure you wrap it in the correct direction. It is also essential that you use the right PTFE tape for this job. If the tape is not oil-resistant, the leak will reoccur.
#5 Tighten the Thread With a Pipe Wrench
Return the nuts to the caps and tighten them well.
To make sure they are nice and tight, I recommend using a pipe wrench. This will help you to ensure that the radiator does not leak again.
Once you have finished tightening the caps, you can put the radiator back together. Don’t forget to put the connections back in their original places.
Then test the radiator to make sure there are no more leaks coming from it.
Would you prefer to see some of these steps in action? Then make sure you take a look at this tutorial video.
What Makes an Oil-Filled Radiator Leak?
Hats off to you if you’ve just finished following the step-by-step guide and have fixed the leak in your radiator. But perhaps you wonder why your oil-filled radiator began to leak in the first place.
Oil-filled radiators can leak if the weld joints are decaying or broken, the oil gasket has fractured, or if there’s a condensation leak.
How to Prevent a Leaking Oil-Filled Radiator
If your oil-filled radiator is leaking, you need to disconnect it and stop using it immediately. I do not recommend that you continue using the radiator until you have fixed the leak.
But, how can you prevent your radiator from leaking? Read on to find out!
How to Prevent a Condensation Leak
Condensation leaks in oil-filled radiators are very common. Here is a list of reasons why these occur.
- There is a clog in the condensation drain or tubing. It is important that this drain stays clear at all times.
- The condensation line has a break in it. You will need to consult a technician to repair a break in the line.
- There is a problem with the condensation pump. Not all oil-filled radiators have a pump. If yours does, you might need to get a technician to take a look at it.
How can you prevent these problems from occurring in the future? The most important thing to do is make sure the condensation drain remains clear.
You can do this by storing the radiator with a blanket over the top when it is out of action for long periods of time. This will prevent dust and debris from sticking to it.
You should also be careful when transporting the radiator from one room to another. This will avoid breaks in the line and condensation pump failure.
Good maintenance of the heater is also important for it to remain in the best condition possible.
How to Prevent a Fractured Oil Gasket
Another common reason why leaks occur in oil-filled radiators is because of fractures in the oil gasket. The oil gasket will then begin to leak oil that will pool out of the seals.
How can you stop this from happening in the future? The fracturing of the oil gasket most often occurs while the radiator is in storage.
So when storing your unit, make sure you do not lean anything against it or pile anything heavy on top of it.
How to Prevent Broken and Decaying Weld Joints
Leaking occurs when the weld joints on a radiator are damaged. Preventing this problem also comes down to how well you store the radiator when it is not in use.
When storing your unit, make sure you do not lean anything against it or pile anything heavy on top of it.
You should also handle it with care when taking it from one room to another.
Conclusion
That about covers it! This article has included 5 steps that you can take to fix a leak in your radiator. It has also mentioned what you should do to stop it from leaking again.
Has this guide been helpful to you? Then make sure you check out some of our other articles and free guides on our website. You could even sign up to our email list.
Have a great day!
-Craig


Designing Modern Living Rooms from Iconic Movies

7 Tips for Heating a Room with High Ceilings (On A Budget)